Einleitung
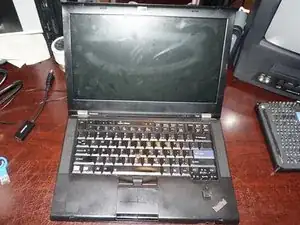
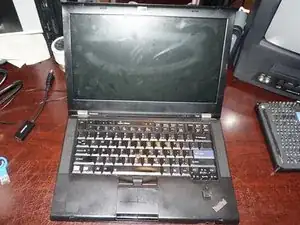
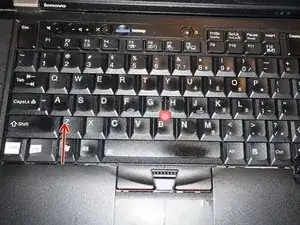
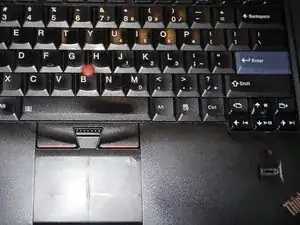
If your Lenovo T420 has keyboard or thermal issues, this guide will show you how to replace the keyboard and gain partial fan access.
Guide notes
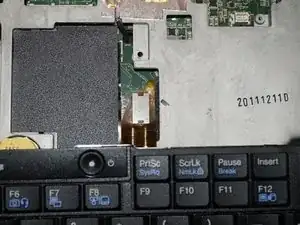
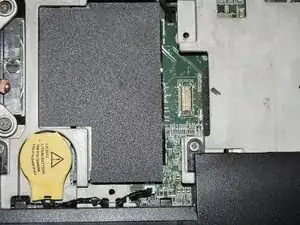
- If you are removing the keyboard for fan access, being too close or using too much air can damage the fan. If the damage is particularly severe the system will give you a fan error and shut off to protect the processor (and dGPU, if equipped). If the system says Fan error when it is rebooted, the fan is damaged and will need to be replaced in order for the system to boot. Use caution if you suspect the fan is failing prior to cleaning the heatsink. The fan in the author's system was rattling before cleaning and it has not happened since. If the fan ends up getting damaged, this is NOT your fault; all you did was reveal a hidden failure.
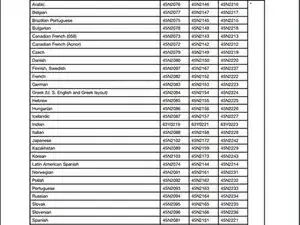
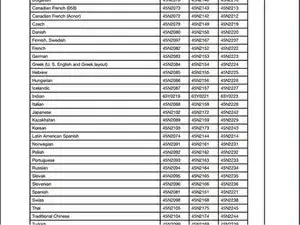
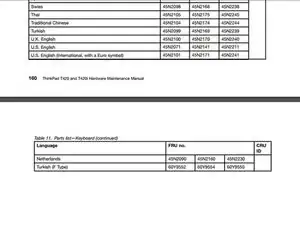
- If you are replacing the keyboard, check the Lenovo HMM to determine what keyboard you need. This can also be found on the back of your old keyboard as well. I am not referencing a part because every country uses a different FRU.
- While this is not a hard repair, you may wish to sort your screws. Multiple screw types are used.
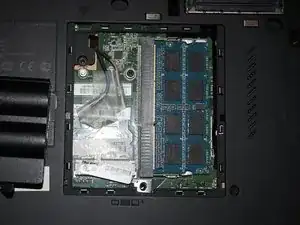
- Watch the ground on the chassis by the RAM door, especially if it has been serviced before. This can get in the way or come loose from the chassis. If this happens push it back into place. It will eventually come out again, so the only cure is to replace the lower chassis.
Werkzeuge
Ersatzteile
-
-
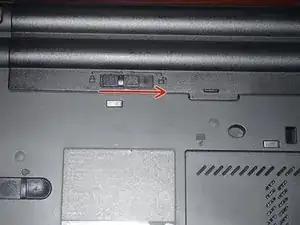
Remove the battery. Push the locking tab to the unlocked position.
-
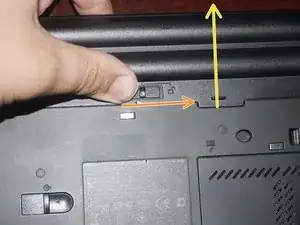
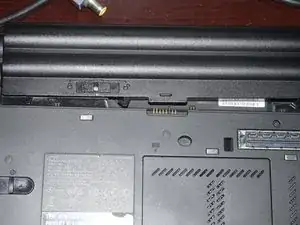
Once the battery is unlocked, hold the battery release tab in and pull the battery out.
-
-
-
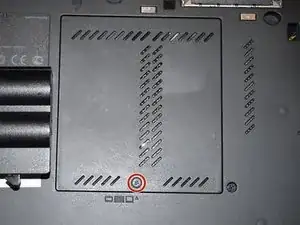
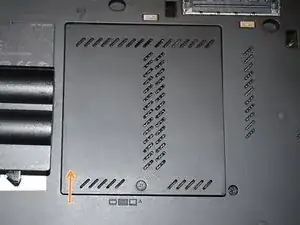
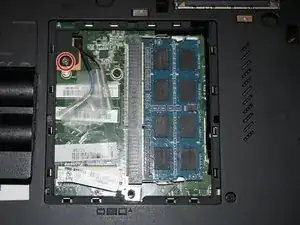
To remove the RAM door, use a Phillips #0 bit. Unscrew the RAM door and set the screw aside in a safe location.
-
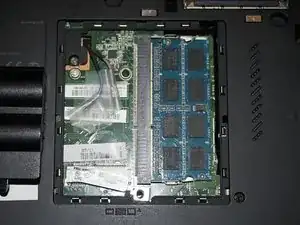
To remove the RAM door, pull it off from the side. This can be done with a plastic pry tool or your fingernail.
-
-
-
Open the laptop.
-
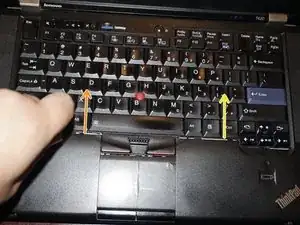
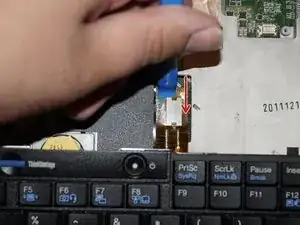
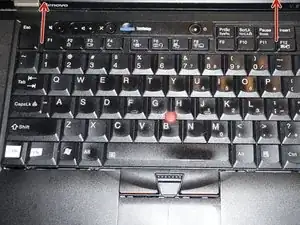
To remove the keyboard, release the keyboard hooks using a plastic pry tool.
-
Once the keyboard is loose, remove it from the chassis.
-
-
-
Reconnect the keyboard to the motherboard. Once connected, slide the top (volume controls) in first.
-
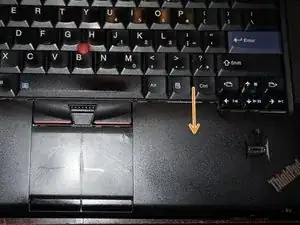
Once the top of the keyboard is pushed in, slide the keyboard down to re-engage the lower clips until they are not visible.
-
Replace the silver screw and RAM door.
-
