Einleitung

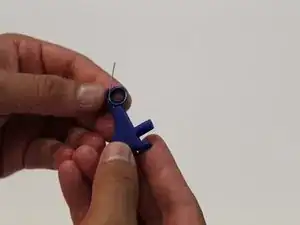
The goal of this guide is to show how to replace the trigger so it will function smoothly.

Werkzeuge

  1. 5c3pTOVwTNrEX4WK
    5c3pTOVwTNrEX4WK
    5nBjIBLVsZgiPCur
    • Be sure to disconnect the controller from the power source before disassembling.

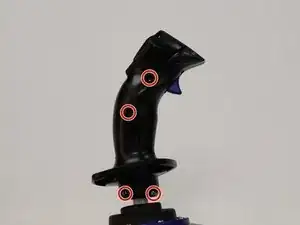
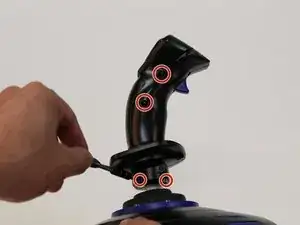
    • Remove the four 15 mm J1 JIS head screws from the exterior of the joystick.

    the bottom 2 screws are slightly longer

    skyfish -

  2. W43flYPG3eVLLBF5
    W43flYPG3eVLLBF5
    TAZnNYVeEXB2bY1N
    jGjPlVEEElvCJncT
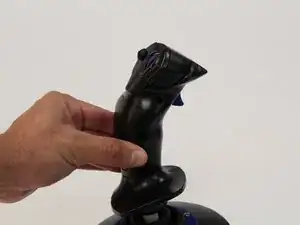
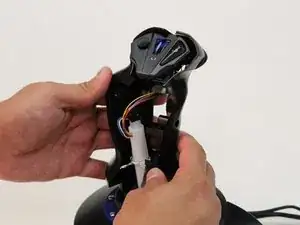
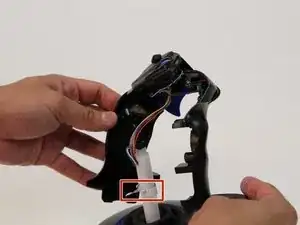
    • Carefully remove the paneling of the joystick using your hands to pull the panels apart.

    • Be aware that the panels will fall apart when the screws are removed unless they are held together.

    • This metal piece must be put back into its correct position. If not it will impair the movement of the joystick's rudder mechanism.

    The metal piece must be put back but the picture does not show the correct place for it. The silver metal spring is a coil with it’s two arms sticking out perpendicular to the coil. What you must do is hook the lower arm on the white plastic bar On the left side and then squeeze the upper arm over to the other side of the white plastic bar. The spring will be self clamped on the white plastic column with two arms gently gripping the left hand side white plastic bar.

    Graham Smith -

    Thank you. This was very useful. For further clarification, the spring must be clamped in the fashion that provides more resistance. I did it with the ends of the spring pointing inwards on the left side of the stick which was incorrect; the ends must be pointing away from each other on the left side of the stick when the spring is repositioned in order for it to work properly.

    Jake F -

    Be very careful when reassembling the two halves of the joystick you need to ENSURE you do not trap any off the many thin wires. The wires are the thinnest most miserable bits of wire and clamping one will most likely shear through the the two of three strands of copper wire within. Trust me this is easily done

    Graham Smith -

  3. sUmpGqC2NGNulEo1
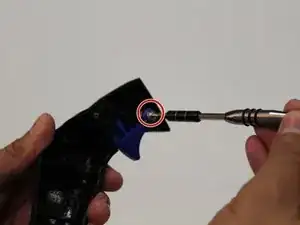
    • Remove the 8 mm J1 JIS head screw that is holding the trigger in place.

  4. VgpGLA56maJAVq3T
    VgpGLA56maJAVq3T
    utAxTF1K1rOFAyvx
    QYKKEIIgLIZxEKBR
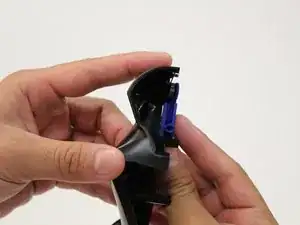
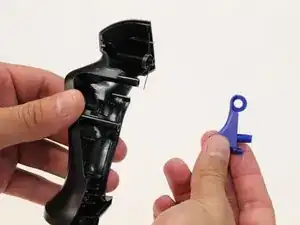
    • Remove trigger and metal spring.

    • Remember to position the metal spring in the exact same place.

    Do you stock replacement triggers

    Frank -

Abschluss

To reassemble your device, follow these instructions in reverse order.
Aaron Banaga

Mitglied seit: 11/09/17

526 Reputation

0 Kommentare