Einleitung
Overtime the motherboard's wires may come apart and make the device stop working. This guide will show you how to replace the motherboard with a new one.
Werkzeuge
-
-
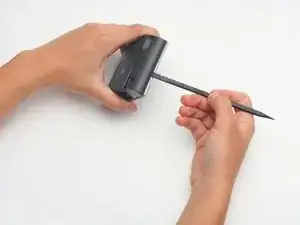
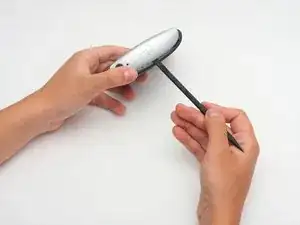
Using the spudger, gently pry apart the back case from the front case. It is easier to start on a side and work your way around the device.
-
-
-
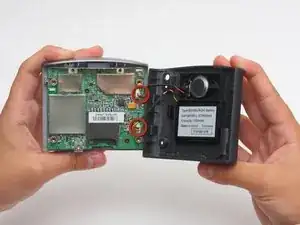
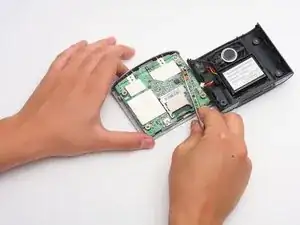
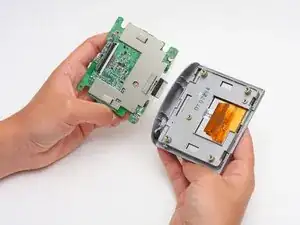
Once the two covers are separated, use tweezers, or even your fingers, to gently disconnect the two sets of wires that are connected to the motherboard from the back cover.
-
-
-
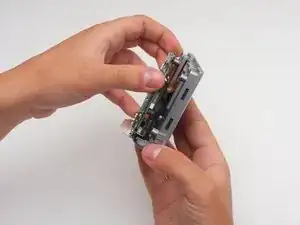
Next, you must remove the motherboard from the front screen.
-
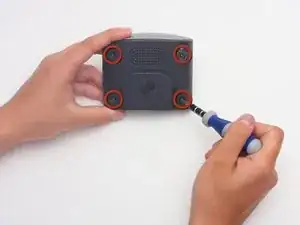
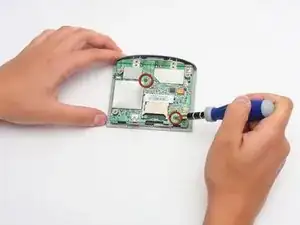
Use a Torx T-7 screwdriver to unscrew the two screws.
-
-
-
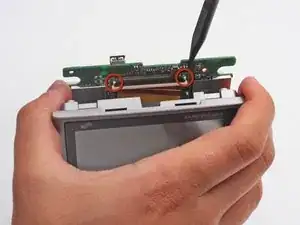
Before you can seperate the motherboard from the front cover, you must disconnect the wire connecting the two.
-
To do so, you must use the back end of the spudger to push out the two white tabs connected to the wire, that holds the motherboard and front cover together.
-
To reassemble your device, follow these instructions in reverse order.
