Einleitung
To complete this guide you will need patience and to work with a steady, gentle hand.
Werkzeuge
-
-
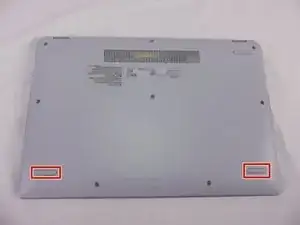
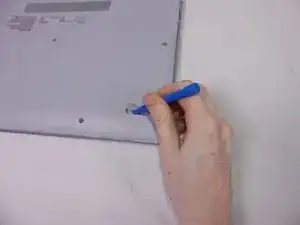
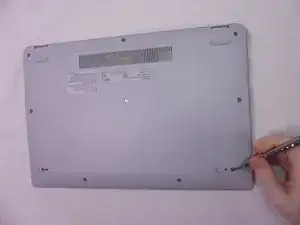
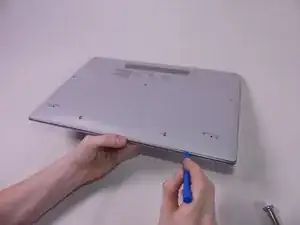
Remove the 2 rubber foot pads from the bottom (opposite the hinge) with the small Plastic Opening tool.
-
-
-
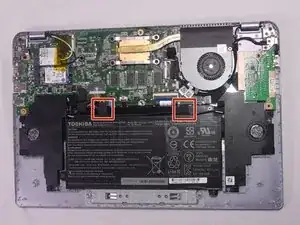
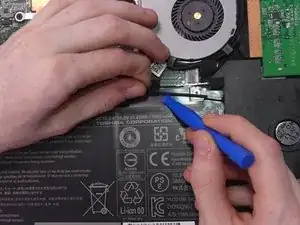
Remove the tape holding the speaker wire to the battery on both sides using a small opening tool.
-
-
-
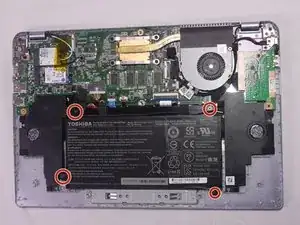
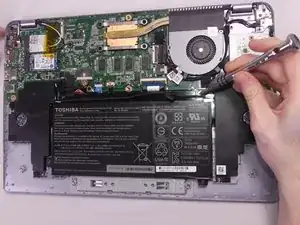
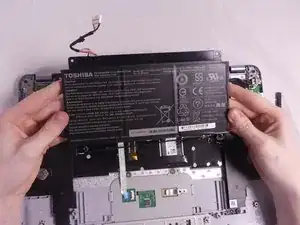
Remove the 4 Phillips 3.2 mm screws holding the battery in place, with the Phillips #1 screwdriver.
-
-
-
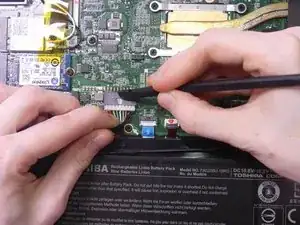
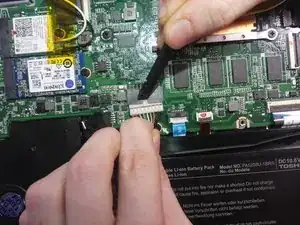
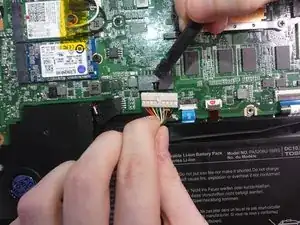
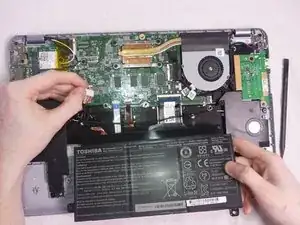
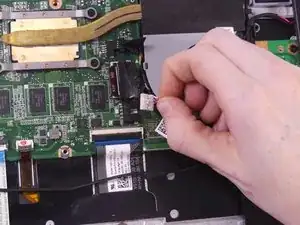
To disconnect the wire from the mother board, gently press down with the flat end of Spudger and pull on the wire.
-
-
-
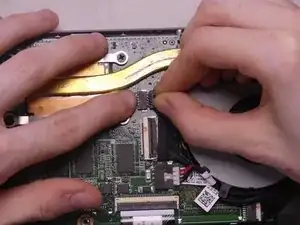
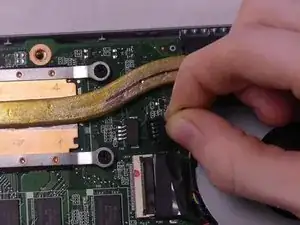
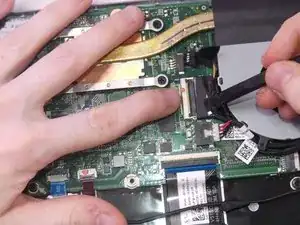
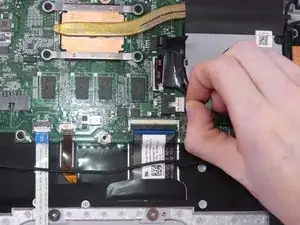
To remove the Wifi PCB wire lift up the hinged flap with your finger or with the aid of the spudger tool.
-
After the flap is lifted, pull the wire up out of the connector socket.
-
-
-
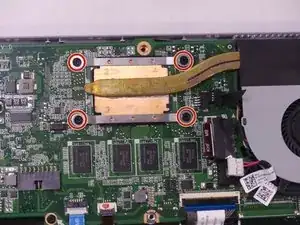
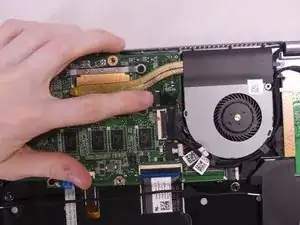
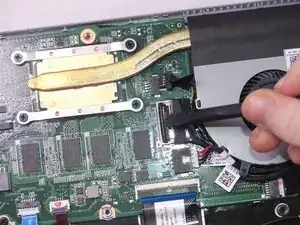
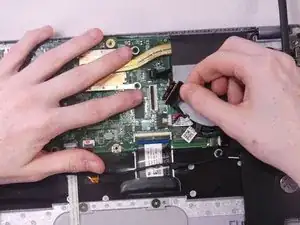
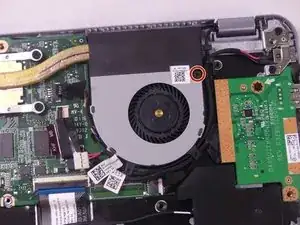
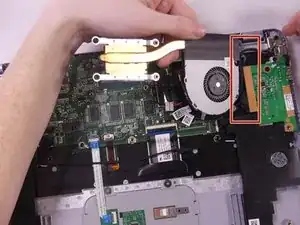
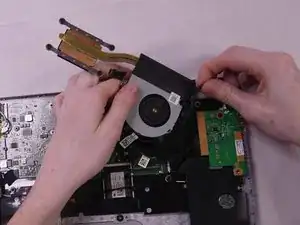
Once lifted, you will notice that there are two wires tucked under plastic tunnels on the right side of the fan. Remove these wires.
-
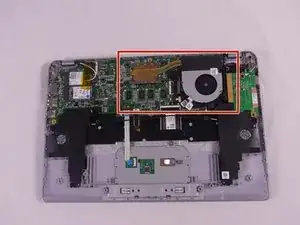
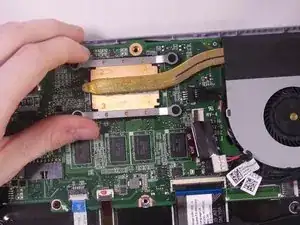
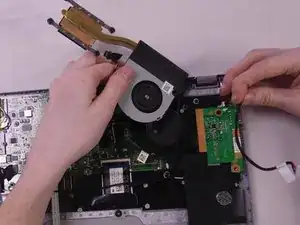
Once the wires are removed the fan should be removed entirely.
-
To reassemble your device, follow these instructions in reverse order.
