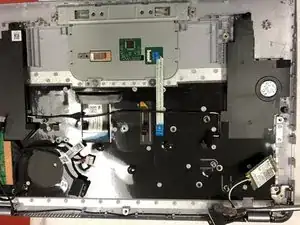
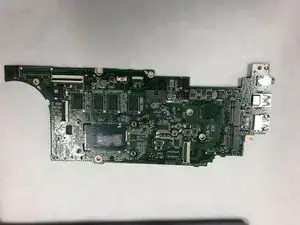
Einleitung
Werkzeuge
-
-
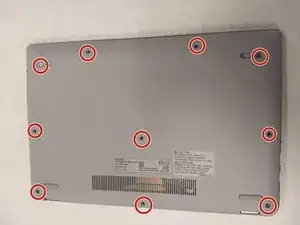
Remove the two rubber tabs near the front of the computer with a metal spudger and with PH0 Phillips head screwdriver, carefully remove all ten screws and place in a safe location.
-
-
-
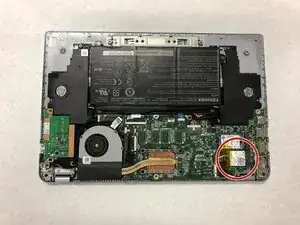
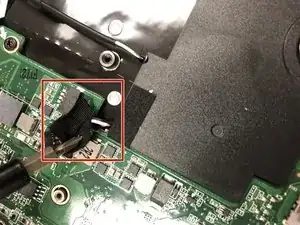
Ensure that there is no debris, dust, or any other foreign materials blocking the Wi-Fi PCB.
-
-
-
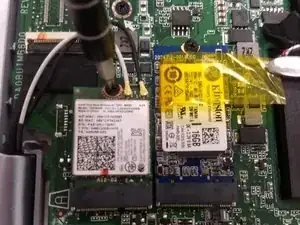
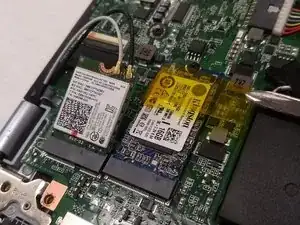
Carefully peel back the yellow tape by either folding it back or removing it entirely. Use the same PH0 Phillips head screwdriver to remove the single screw that connects the motherboard to the Wi-Fi PCB.
-
-
-
When the screw has been removed, the board will naturally spring up. Carefully apply light pressure to back the PCB out of its port.
-
-
-
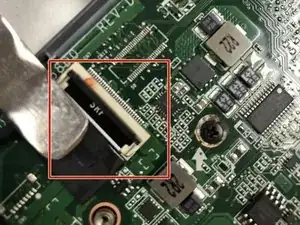
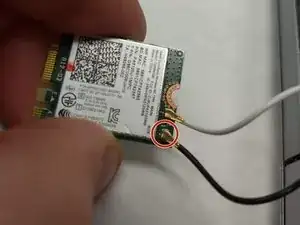
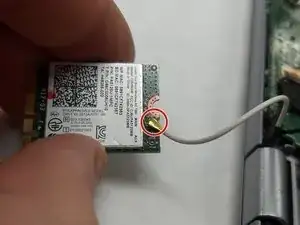
Disconnect the black wire that is plugged onto the 1 or AUX terminal by simply lightly pulling it from the board.
-
To reassemble your device, follow these instructions in reverse order.
