Einleitung
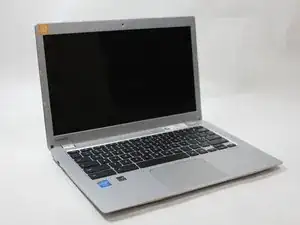
When the charger is plugged in but the Chromebook doesn't begin charging and the outlet the charger is plugged into works, then the charging port needs to be replaced. This is an easy fix that just requires you to pry up a hinge and pull some cables out that connect the port to the motherboard. This part can be purchased and swapped out.
Werkzeuge
-
-
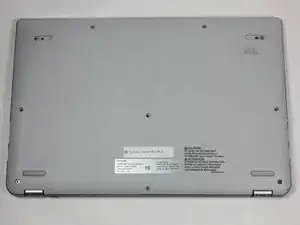
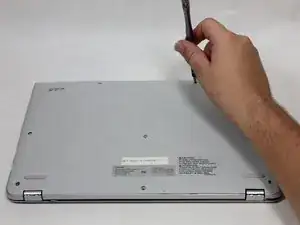
Close the Toshiba Chromebook 2 and turn it over so that the bottom of the laptop is facing upwards toward you with the lettering on the bottom facing right side up.
-
-
-
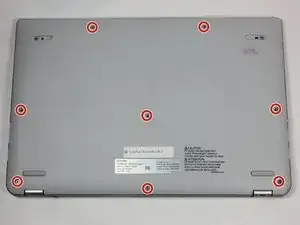
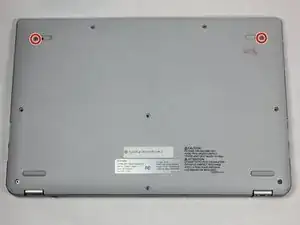
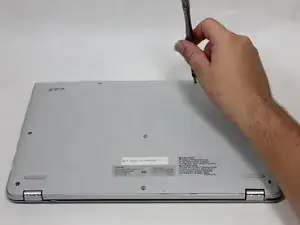
Remove 2 hidden Phillips 8.25 mm screws located underneath the rubber grips at the back (opposite the hinges) with the Phillips #0 screwdriver.
-
-
-
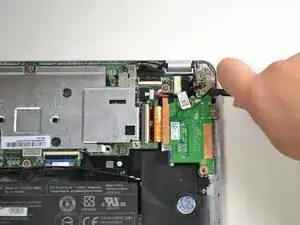
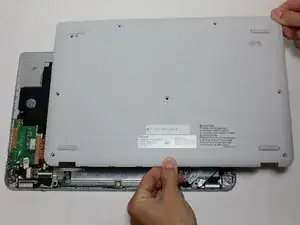
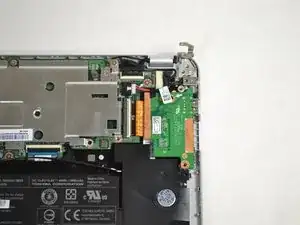
The changing port is located on the left side of the computer, when flipped over and the back cover is taken off, the port will be in the top right corner.
-
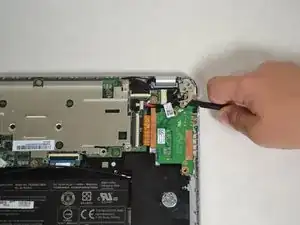
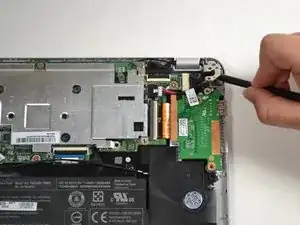
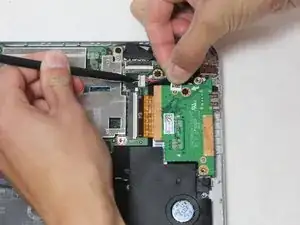
In order to access the port, the metal hinge in the top right corner must be lifted up.
-
-
-
Pry the metal hinge up with the spudger tool by sticking the flat end under the bottom of the hinge and leverage it up.
-
Open the hinge all the way until it is sticking straight up.
-
-
-
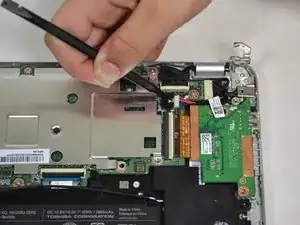
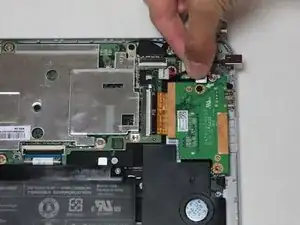
Press down on the white clip with the pointed side of the spudger tool and softly pull the wires out of the socket by pulling horizontally away from the clip to disconnect the charging port from the motherboard.
-
-
-
Pull the charging port out by pulling up on the cable that connects the port to the motherboard.
-
To reassemble your device, follow these instructions in reverse order.
2 Kommentare
ok… but what's the part for the charging port itself to replace??
The power port part # is either SIQDD0BUHAD000(shorter) or SIQDD0BUIAD000(longer) depending on which model you have.
