Einleitung
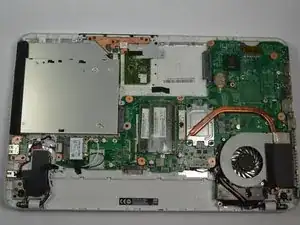
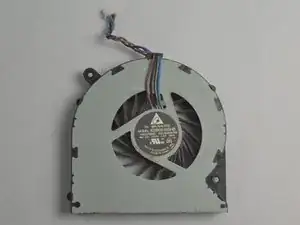
This guide will walk you through the process of replacing a fan in the Toshiba Dynabook T552-58G. You will need to replace the fan if it is faulty or broken. There are a few tools required for this guide.
Werkzeuge
-
-
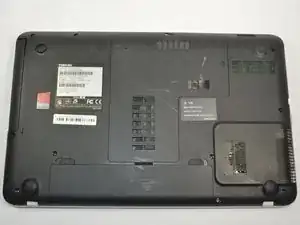
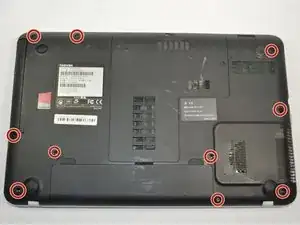
Remove the 10 screws located on the back panel of the Toshiba Dynabook T552-58G using a PH 0 screwdriver.
-
-
-
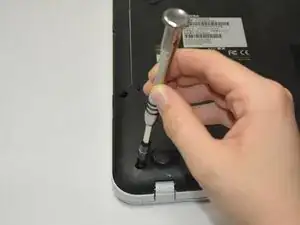
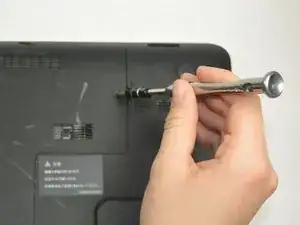
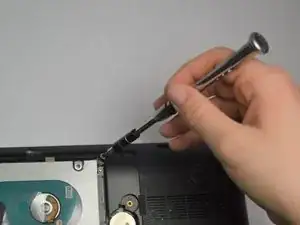
Remove the black screw using the J0 screwdriver. This is located by the top right foot of the device.
-
This will allow removal of the hard drive cover.
-
-
-
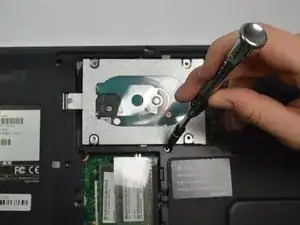
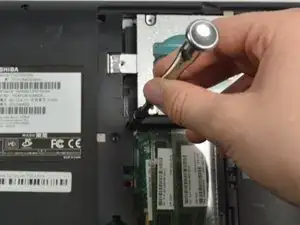
Remove the single screw located below the hard drive using the J0 screwdriver. This screw is 5.3 mm long.
-
-
-
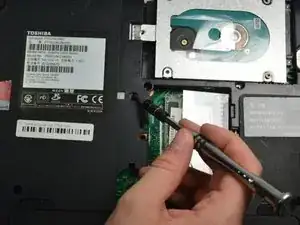
Remove two screws located diagonally from the bottom-left screw of the hard drive using a J0 screwdriver. The screw closest to the hard drive is 5.2 mm long and the screw farther away is 4.2 mm long.
-
Remove the screw located diagonally from the top right screw of the hard drive using a J0 screwdriver. This screw is 5.2 mm long.
-
-
-
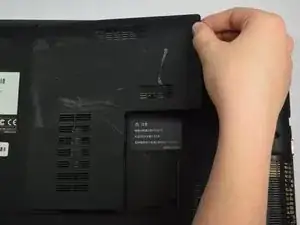
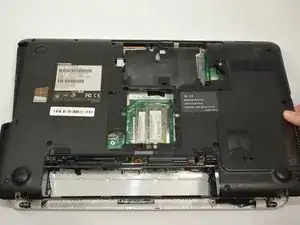
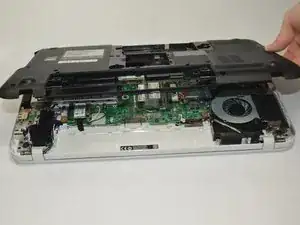
Slowly lift the back panel away from the computer.
-
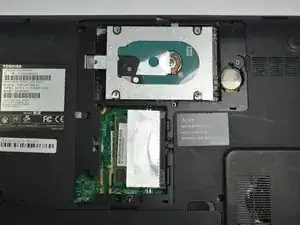
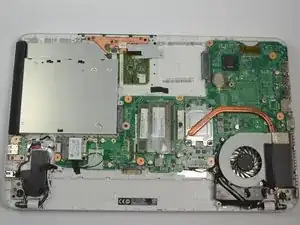
Once lifted, carefully remove the back panel.
-
-
-
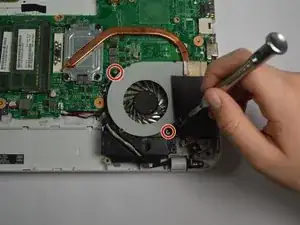
Remove the two screws located on the top left and bottom right of the fan. You should use a PH 0 screwdriver.
-
-
-
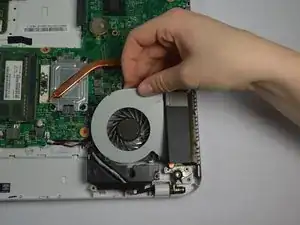
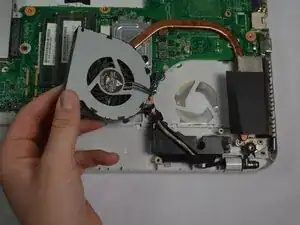
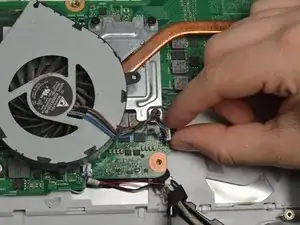
Gently lift the fan away from the base. There should be three wires that are connected to the base of the computer through a port.
-
To reassemble your device, follow these instructions in reverse order.
