Einleitung
The Toshiba Encore Mini is equipped with a built-in front-facing camera and a built-in rear-facing camera. Before replacing either camera, we recommend you back-up any photos (or other data) to an external storage device. Also, you will need a good place to keep track of five very small screws, as you will need them for reassembly.
Werkzeuge
-
-
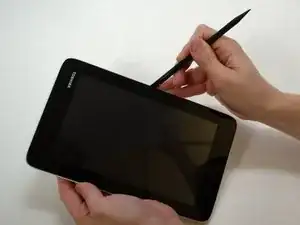
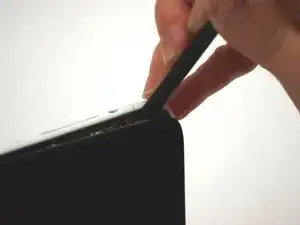
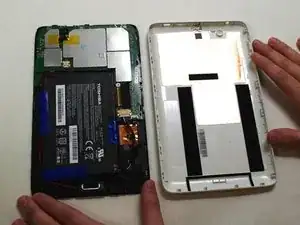
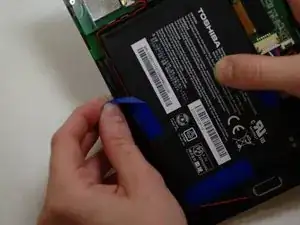
Using the flat end of the spudger, gently pry open the back case from the rest of the device.
-
-
-
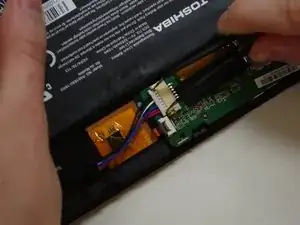
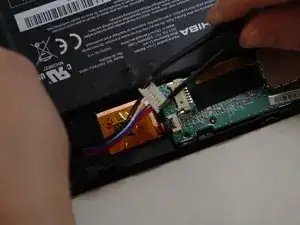
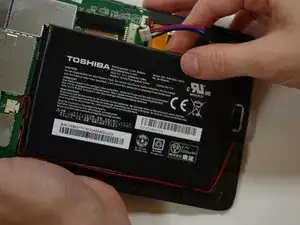
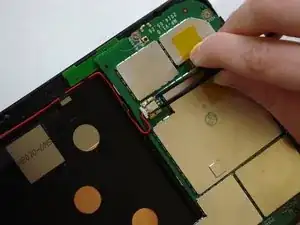
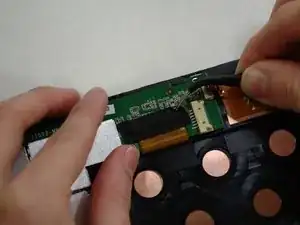
Using needle-nose tweezers, gently push the large white wire connector (connected to the black, red and blue wires) out of its housing.
-
-
-
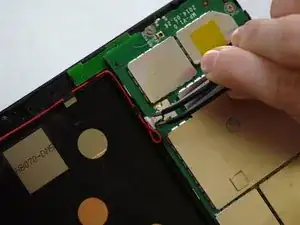
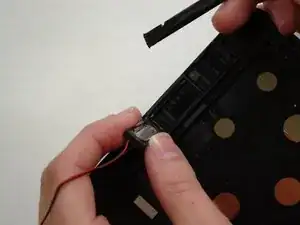
Using needle-nose tweezers, carefully push the small white wire connector (red/black wires) out of its housing.
-
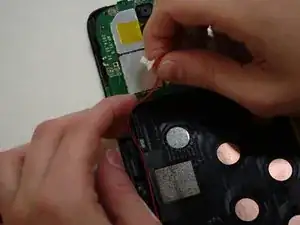
Gently remove red/black wire strands from the clips holding them to the back of the screen.
-
-
-
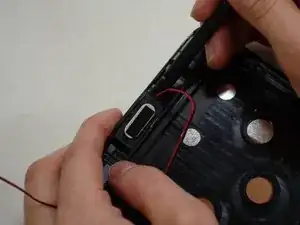
Gently pry audio module from the back of the screen using tweezers and spudger. Be careful not to pull on the wires.
-
Set the audio module and attached wire aside.
-
-
-
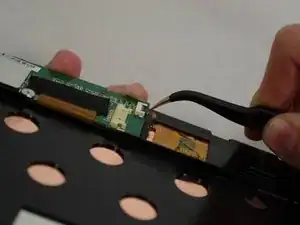
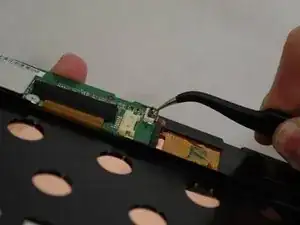
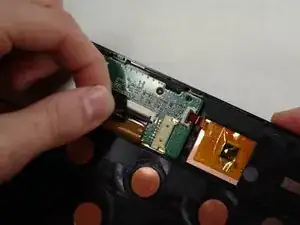
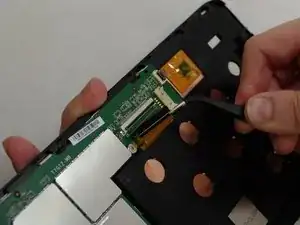
Using needle-nose tweezers, carefully flip up the dark gray cover on the right of the device holding the small orange ribbon in place. (It is approximately 1/4" wide.)
-
With the tweezers, carefully pull the small ribbon out of its housing. It will stay attached to the device at the other end.
-
-
-
Carefully pull the black tape off the ribbon housing and set it aside. You will need to replace the tape when reassembling the device.
-
-
-
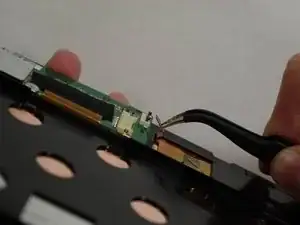
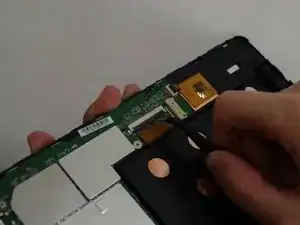
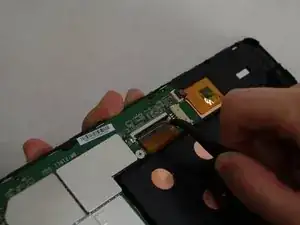
Using needle-nose tweezers, carefully flip up the dark gray cover.
-
With the tweezers, carefully pull the wide ribbon from its housing. It will stay attached to the device at the other end.
-
-
-
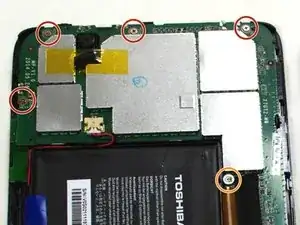
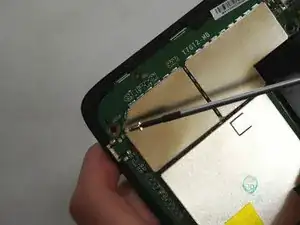
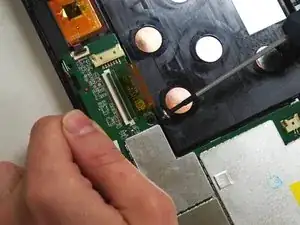
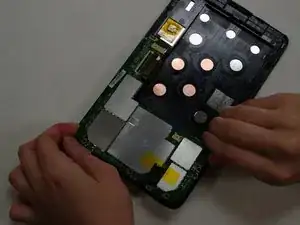
Using a Phillips 000 screwdriver, remove the screws holding components together.
-
Remove four 4.2 mm Phillips screws.
-
Remove one 3mm Phillips screw.
-
-
-
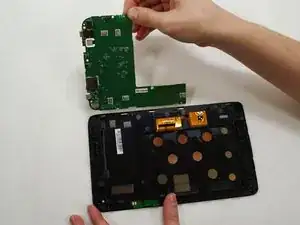
Holding the motherboard carefully by the edges, gently lift it up off the screen and carefully set it aside.
-
-
-
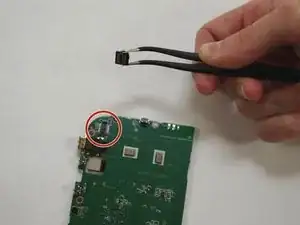
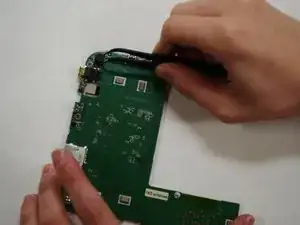
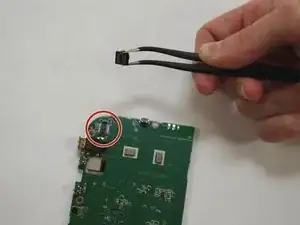
If camera has not already "popped" off the motherboard, use needle-nose tweezers to gently grasp the camera and remove from motherboard.
-
To reassemble your device, follow these instructions in reverse order.
