Einleitung
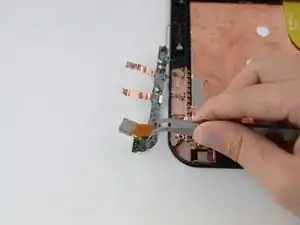
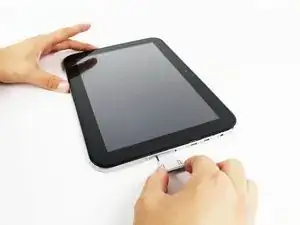
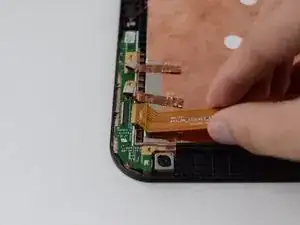
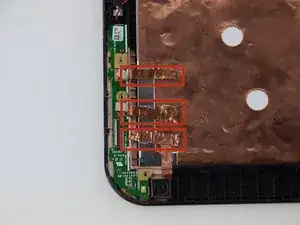
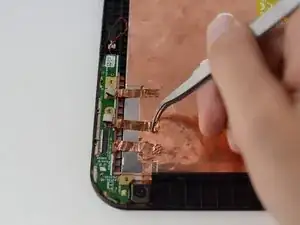
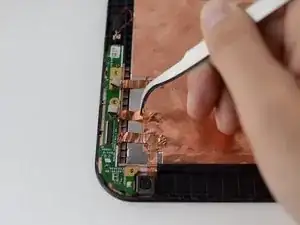
If the rear facing camera on your Toshiba Excite 10 AT300 is now longer functioning, replacement isn't difficult and this guide will give you the step by step procedure. It involves removing a screw, a ribbon cable, and several copper foil wires.
Werkzeuge
Ersatzteile
-
-
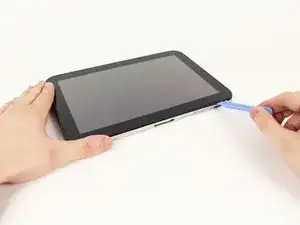
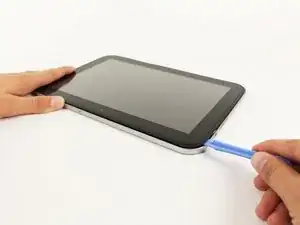
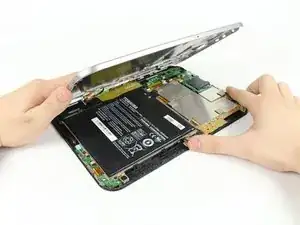
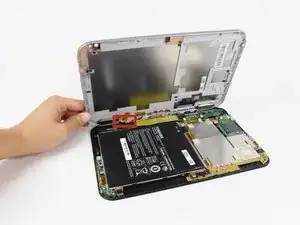
Use the opening tool to separate the front and rear panels by slipping the tool underneath the screen edge and sliding it around the entire device.
-
-
-
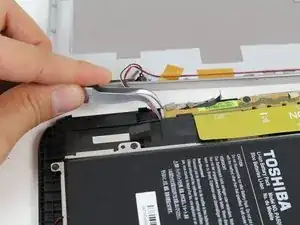
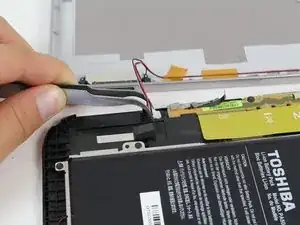
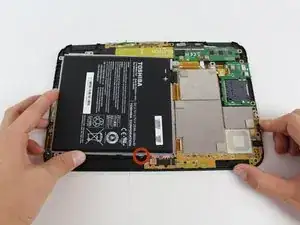
Remove the speaker cable from its socket by gripping both sides of the white connector piece with tweezers and pulling straight out.
-
-
-
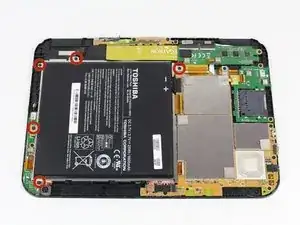
Using a #00 Phillips screwdriver, remove the following screws:
-
Five 3mm Phillips #00 screws
-
-
-
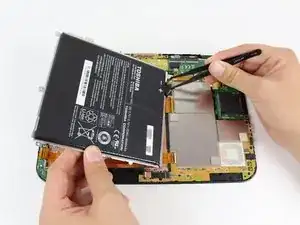
Gently lift the battery, pulling away from the tab holding it in place at the bottom.
-
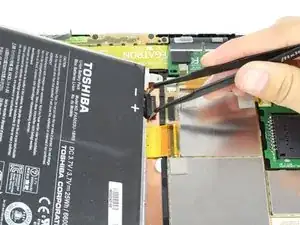
While holding the battery up, use a pair of tweezers to remove the battery cable from its connector.
-
-
-
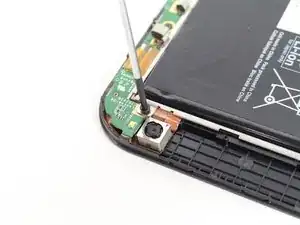
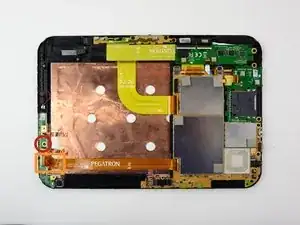
Using a #00 Philips screwdriver, remove the screw attaching daughter board.
-
Remove the yellow tape using a pair of tweezers.
-
-
-
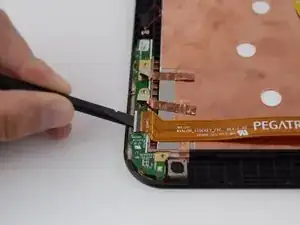
Unlock the ribbon cable housing using tweezers and/or a spudger.
-
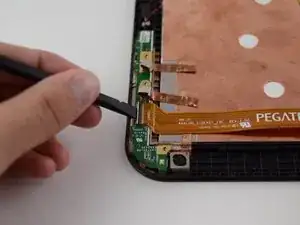
Gently pull the ribbon cable out of its housing using the tweezers or your hands.
-
-
-
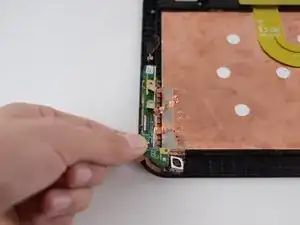
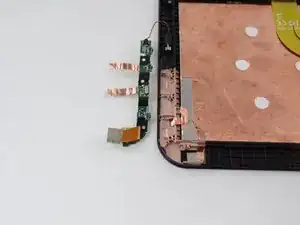
Using your hands remove daughter board by lifting it off of the tablet chassis. Flip it over and place it next to the tablet face-down.
-
-
-
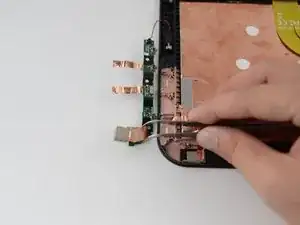
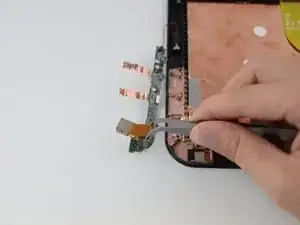
Gently pinch the ribbon cable connector between two fingers or with tweezers and pull it straight outwards. The ribbon cable connector should disconnect and the camera can now be replaced.
-
To reassemble your device, follow these instructions in reverse order.
