Einleitung
Werkzeuge
Ersatzteile
-
-
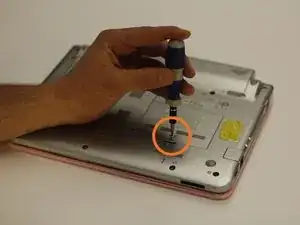
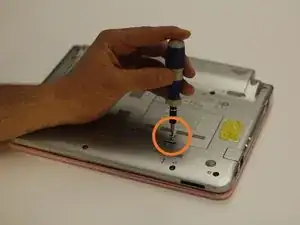
Use a bit driver and a Phillips #0 bit to remove the one 5 mm retaining screw.
-
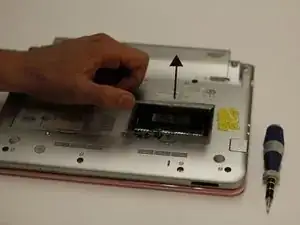
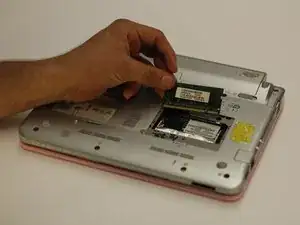
Lift the panel up and out of the way.
-
-
-
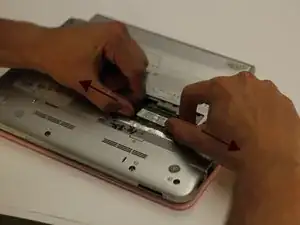
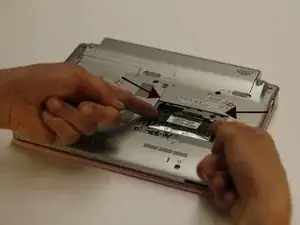
The RAM chip is secured by two retaining arms that run parallel with the chip. Gently pull these arms in opposite directions off of the chip.
-
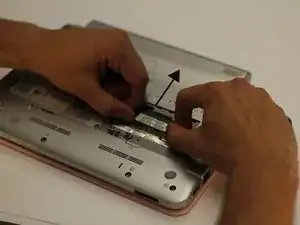
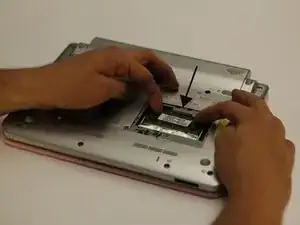
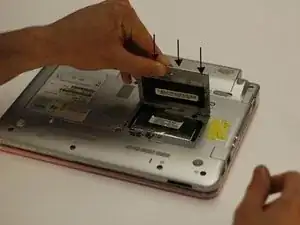
After the retainer arms are free, push the chip towards the top of the netbook. This will free the chip for removal.
-
-
-
Push the replacement RAM into the original position.
-
Reattach both securing arms onto the sides of the RAM chip.
-
-
-
Place the panel back into the securing slots and let it rest in its original position.
-
With the bit driver and Phillips #0 bit, secure the panel down with one screw.
-
Abschluss
To reassemble your device, follow these instructions in reverse order.
