Einleitung
When replacing your keyboard make sure that you are not to rough with the removal of the keyboard. Take your time and go slowly or you will run the risk of damaging the laptop. Replacing your keyboard can help with efficiency and make working on your leptop more productive.
Werkzeuge
-
-
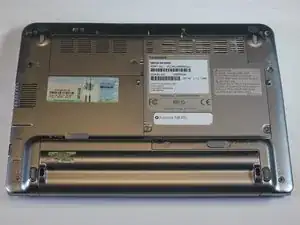
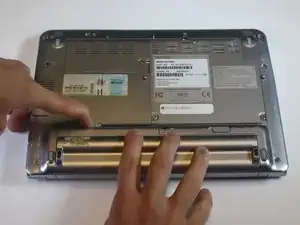
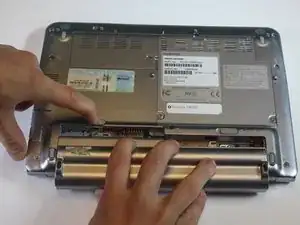
Use your left hand to hold latch 2 to the left.
-
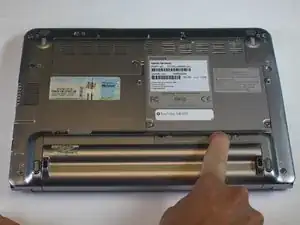
Simultaneously take the battery out with your right hand.
-
-
-
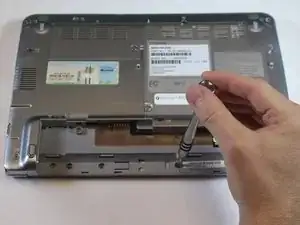
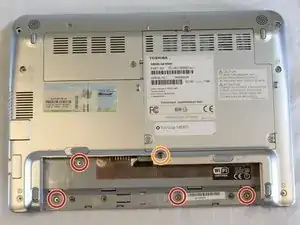
Remove the four F4 screws and the F6 screw underneath battery.
-
4mm Phillips-0 screws.
-
6mm Phillips-0 screws.
-
-
-
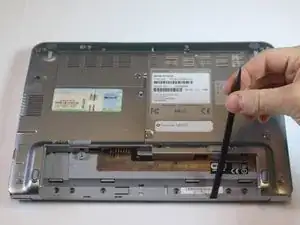
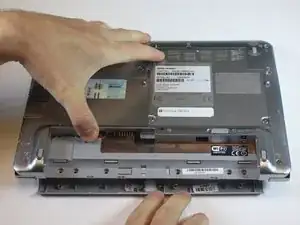
Using a spudger, gently pry out on the plastic cover.
-
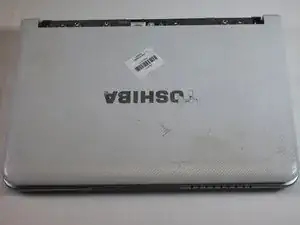
Turn it over and remove plastic cover on top of laptop with power button on it.
-
-
-
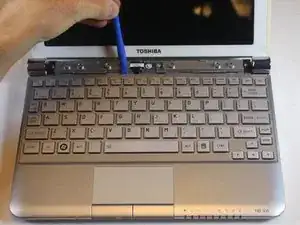
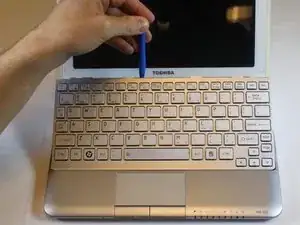
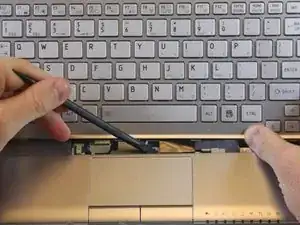
Use the plastic opening tool in little notches above the keyboard
-
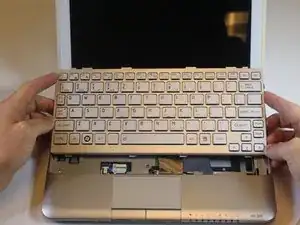
Gently pry up on the keyboard until it lifts up.
-
-
-
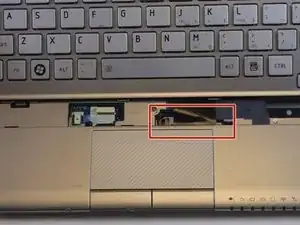
The ribbon cable has a clip on each side holding it to the motherboard.
-
Using a spudger, press on the clips to release the cable.
-
The cable will slide out on its own when it is properly released.
-
To reassemble your device, follow these instructions in reverse order.
