Einleitung

  1. 2vg2o4WUIiPlYNpN
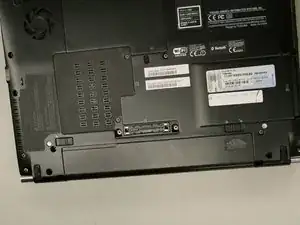
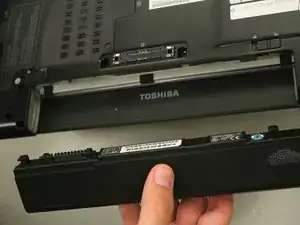
    • Locate the battery on the backside of the laptop. The battery is usually located at the bottom.

  2. SBlp4hJD2Px31SZB
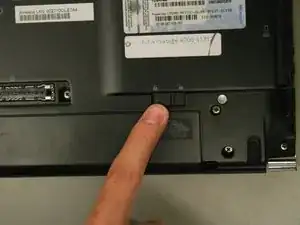
    • Locate the battery lock button and push it towards the unlock position.

  3. C42QscVeWC5M1NAw
    C42QscVeWC5M1NAw
    rmYfivbLYppehNiw
    hkhPkVTGZiRKVRgc
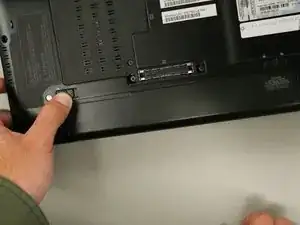
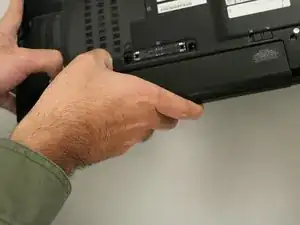
    • Hold the next lock in the unlock position. Simultaneously pull the battery towards you.

  4. U4VIinjQDyALiFFy
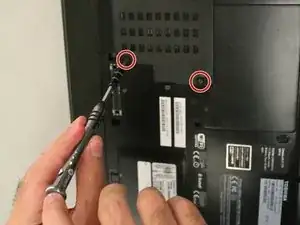
    • Remove the 40 mm screws from the RAM cover using a Phillips #00 Screwdriver.

  5. wHiHvgh3tsaiOQM4
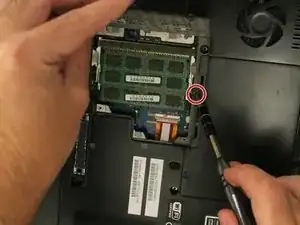
    • Lift and remove the RAM cover to reveal the first of 2 40mm screws holding down the hard drive cover. Remove the screw using a Phillips #00 Screwdriver.

  6. WyhRugKbUCDgkJGR
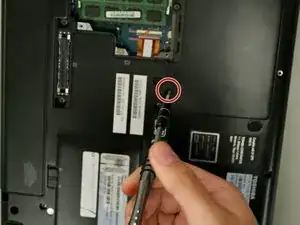
    • Remove the second 40mm hard drive cover screw using a Phillips #00 Screwdriver.

  7. BsgO1UpxkSry3hvi
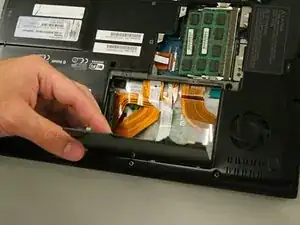
    • Lift and remove the hard drive cover.

  8. qjrXGxFlLU2SJSFo
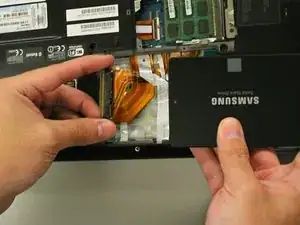
    • Connect the drive (in this case a solid state drive) to the laptop using the SATA cable located inside the hard drive placement area.

  9. kBbI51sJ2wWE3bZL
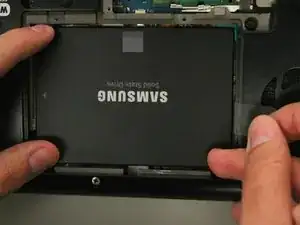
    • Once the drive is connected, carefully insert the drive into the laptop enclosure.

Abschluss

To reassemble your device, follow these instructions in reverse order.
Francisco Vilchis

Mitglied seit: 12/09/16

234 Reputation

0 Kommentare