Einleitung

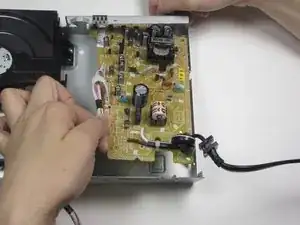
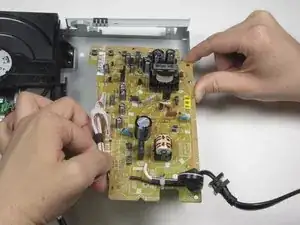
This guide gives instructions on how to remove the Right-Side Motherboard (Yellow) of the Toshiba SD-K740 DVD player, which controls the buttons and power function.

  1. Vyud1h2MWuS2TpZx
    • Unplug the DVD player before beginning.

    • Remove the three 7.7 mm screws from the back panel using a Phillips #0 screwdriver.

  2. qjIqF5xWSxeWSjY2
    qjIqF5xWSxeWSjY2
    yr4UK2hKnPb3nVEI
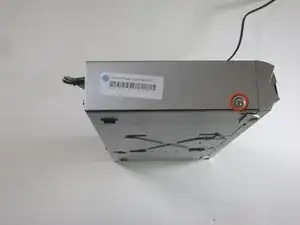
    • Turn the DVD player on its side.

    • Remove the 7.7 mm screw.

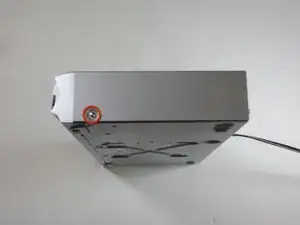
    • Flip the DVD player onto its other side.

    • Remove the 7.7 mm screw.

  3. XFCru5vZWdaO1Vi5
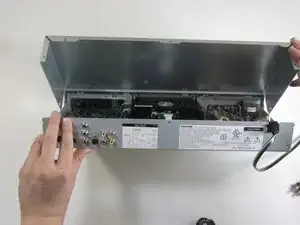
    • Flip the DVD player over onto its front face.

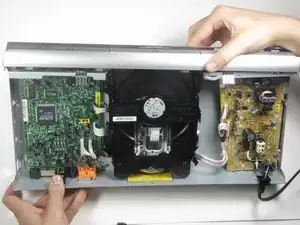
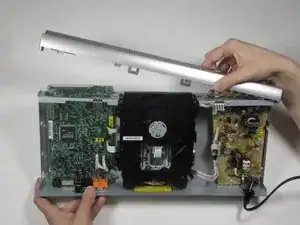
    • Remove the back panel by lifting up and pulling it towards yourself.

  4. KayvR3GonC6IDBJE
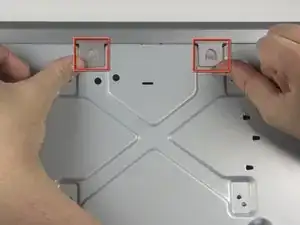
    • Flip the DVD player so its top is sitting on your working surface.

    • Lift and push away the two tabs located in the middle of the player.

    • The front panel will not detach during this step, so do not force it.

  5. istnxiFT1QvKKWB1
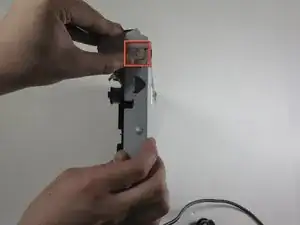
    • Flip the DVD player on its side.

    • Lift and slide forward the single tab on the side.

    • The front panel will not detach during this step, so do not force it.

  6. IQfbVfABamR5P3aX
    IQfbVfABamR5P3aX
    xNPjRTEfbrabbDZK
    • Grasp the front panel and pull forward to your right to remove it.

  7. YjL5klYXTLvXYJGe
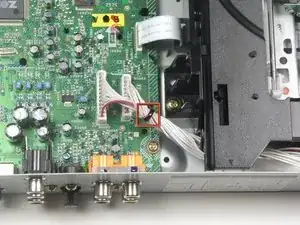
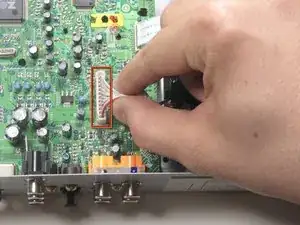
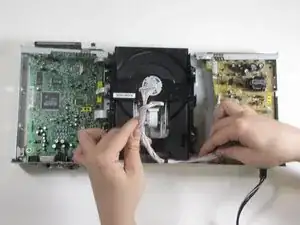
    • Remove the black tie holding the two rear ribbon cables together by untwisting it.

  8. NQ1WYKejsHOOOLeh
    NQ1WYKejsHOOOLeh
    wD5KUEwqgrPY6ONt
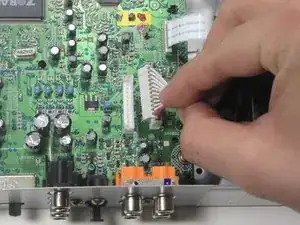
    • Remove the first of two ribbon cables connected to the motherboard by pulling vertically.

  9. xPChYuxdFXBKXWRx
    xPChYuxdFXBKXWRx
    BDhJykneQIOmX1eO
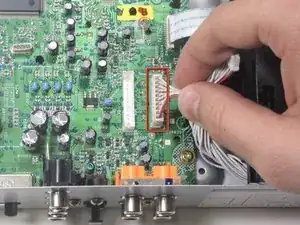
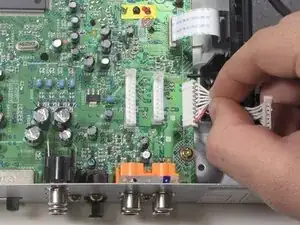
    • Remove the second of two ribbon cables connected to the motherboard by pulling vertically.

  10. fsOA4eBPpkHfOI3G
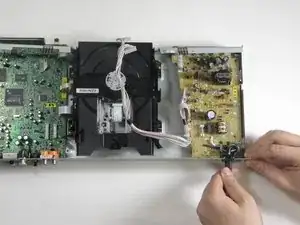
    • Pull the two cables to the right to disentangle from the disc drive.

    • Do not tug, pull, or force cable, it should slide out with minimal force.

  11. dEORFLKmxhHckiSU
    • Pull power cord vertically to detach from the casing.

  12. pHmcJcu4rOPOtdVF
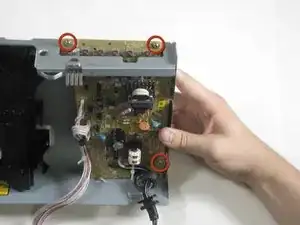
    • Remove the three .303 inch screws attaching the inverter board to the casing using a #0 Phillips screwdriver.

  13. 6OvvXMACLkhBK6SF
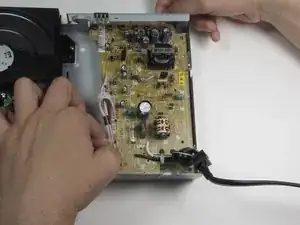
    • Push the inverter board forward and to the left to remove from the holding ledges.

  14. q5o2inAPl6wlOjFN
    q5o2inAPl6wlOjFN
    rcQFpBqywQg3Norq
    • Lift the inverter board from the back end and pull toward you to complete removal.

Abschluss

To reassemble your device, follow these instructions in reverse order.

Joe Murphy

Mitglied seit: 20/01/11

542 Reputation

0 Kommentare