Einleitung

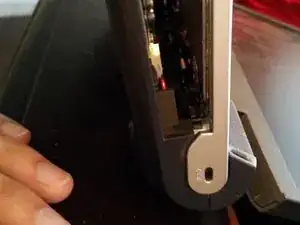
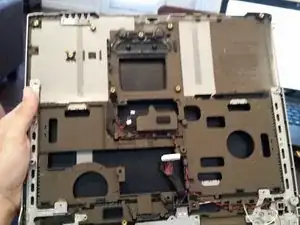
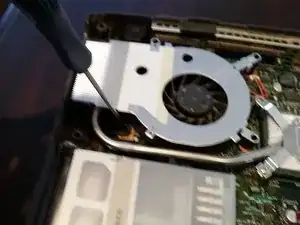
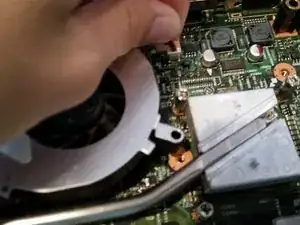
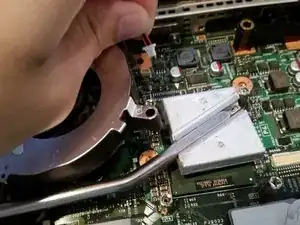
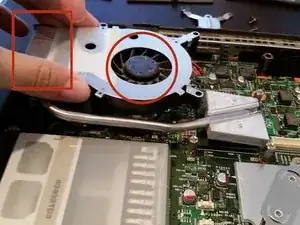
An overheating laptop, or an always on noisy fan, can be caused by a clogged heatsink, clogged fan, broken fan, or bad thermal paste.

This procedure is similar to the Satellite 1410.

  1. yrDNFXqk1jVX2A4J
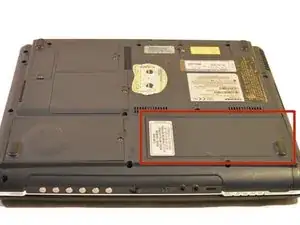
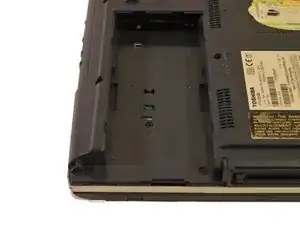
    • The battery is located on the front right corner of the laptop.

  2. fOUiSJgXBa2ttNl6
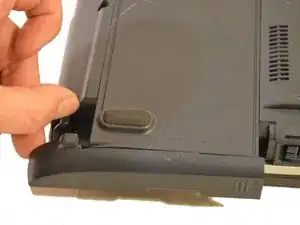
    • With one finger on the raised grip, slide the latch towards the front of the laptop.

  3. xRUntGHJX1B5y2SK
    xRUntGHJX1B5y2SK
    WpMFc6bUoWvUSeKn
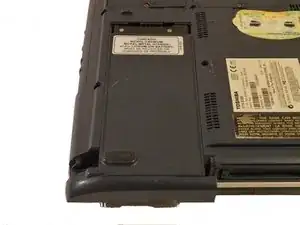
    • Pull the battery out towards the side.

  4. pteM2BVBULn2C1jZ
    pteM2BVBULn2C1jZ
    fBDnjdxOd6LQFSFS
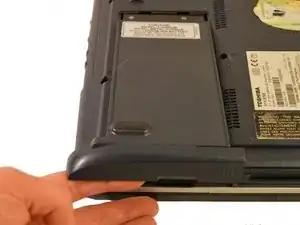
    • Lift the battery straight up, out of the computer.

  5. dxiDZ2KvjWhE1LEG
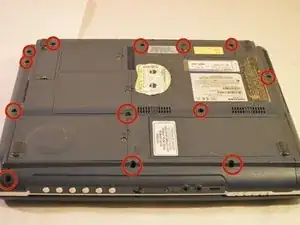
    • Unscrew all of the visible screws on the bottom of the laptop.

    • The screws circled are not necessary to remove.

    • Keeping track of which hole each screw goes in will speed up reassembly.

  6. JnROmhMpgtAuXvXb
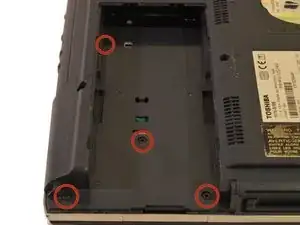
    • Unscrew the screws located beneath the battery.

  7. q4ZwDfXdyViqCIho
    q4ZwDfXdyViqCIho
    Zm2rjYQfY4wOeB5i
    aAZbW2KLbrMy3KyF
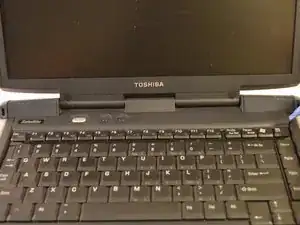
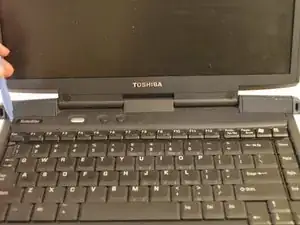
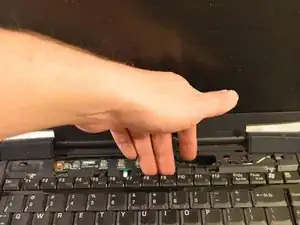
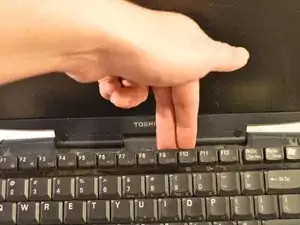
    • Using a set of case opening tools, pry open the left and right sides of the black plastic strip above the keyboard.

    • Fully detach the strip.

    These last two pictures seem to show the same thing.

    Dan Brown -

  8. W5YBUiCEvERQ46xN
    W5YBUiCEvERQ46xN
    1veBDvMoDSjsOG3t
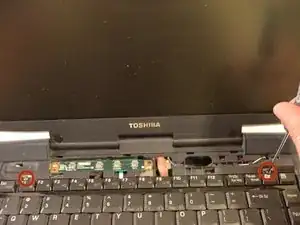
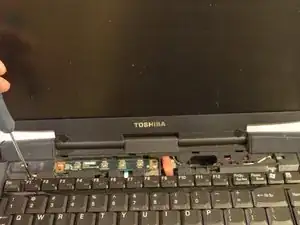
    • Unscrew the two screws near the top of the keyboard.

    Make sure to include screw lengths to the nearest mm.

    Dan Brown -

  9. K3dwIvisOgDebPc5
    K3dwIvisOgDebPc5
    HaX1WQnhGXNVtxGq
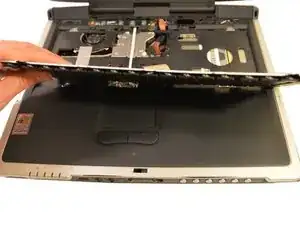
    • Lift the keyboard by holding the middle top of the keyboard.

    • The keyboard is still connected by a ribbon cable to the motherboard.

  10. J3AVXQ5FewWZQFeO
    J3AVXQ5FewWZQFeO
    soCRaW5jqBgmexCB
    ojZjhqfrDFipbCkW
    • Carefully pull upwards on the ribbon cable to detach.

    • Remove keyboard.

    Do not pull any ribbon cable. Instead slide moving part upwards. The ribbon is now loose and can be removed without the slightest force. The keyboard connection is similar.

    Albert van der Horst -

    Can i removed ribbon by hand only or do i need to undo the holder.

    Odiri -

  11. OKKA2RsyXreXJNBO
    OKKA2RsyXreXJNBO
    NiN4KddpndpPHXAH
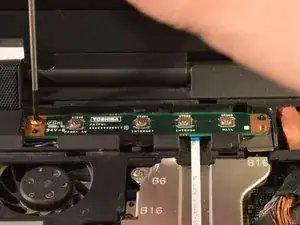
    • Unscrew the screws on either side of the power button circuit board.

  12. fg3hUidoajCrmjty
    fg3hUidoajCrmjty
    dNTylwAXrOeaCRUM
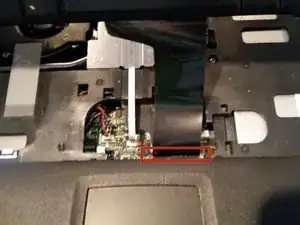
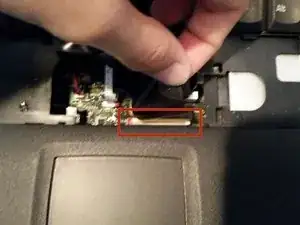
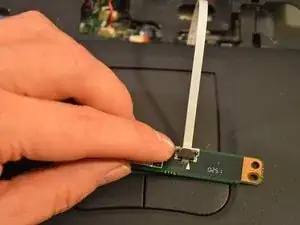
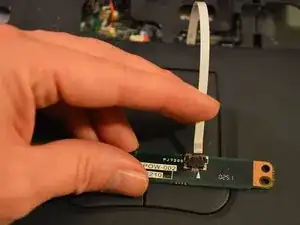
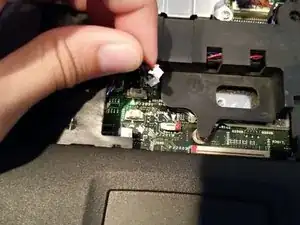
    • Pull upward on the small white ribbon cable to detach from circuit board.

  13. OwFPSsxpDgy2HDp2
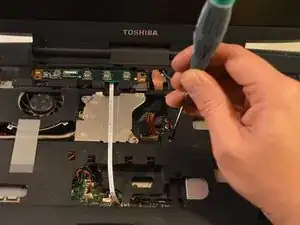
    • Unscrew the screw located on the left side of the optical drive near the heat sink cover in the middle of the laptop.

  14. CE1e4VdaF1Rcwae4
    CE1e4VdaF1Rcwae4
    XZiIbO12ZFQTBqHO
    SjCSsNQJBptUMKc2
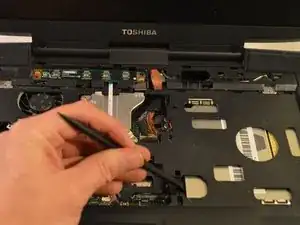
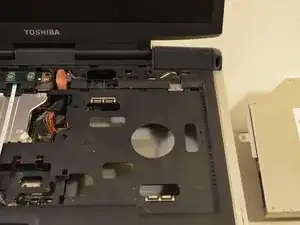
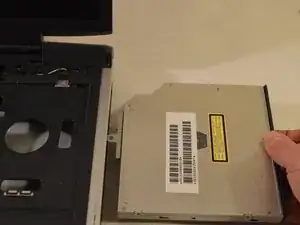
    • Using spudger, push the optical drive out to the right.

  15. PTTDJLGLFxmmsiCd
    PTTDJLGLFxmmsiCd
    gti5IAL1RQnLbWSu
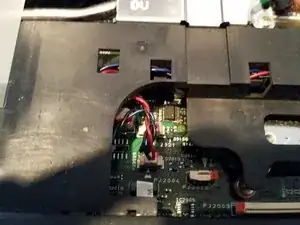
    • Disconnect both speaker connectors located near the center of the laptop.

  16. 5Bwm1iVpATMkMAuu
    5Bwm1iVpATMkMAuu
    b56UYIrRbJxFN2gc
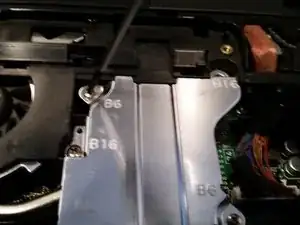
    • Unscrew all visible screws on the heat sink shield.

  17. R1hHlQhvojwP3oQN
    R1hHlQhvojwP3oQN
    6vcTYJfXbVXSq6k5
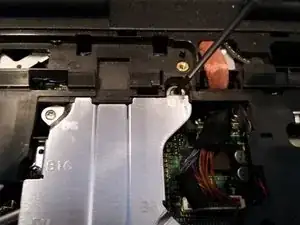
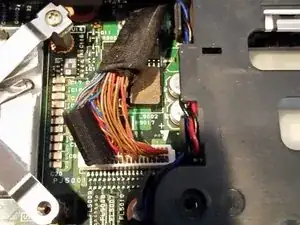
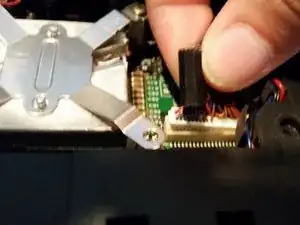
    • Disconnect the monitor connector.

  18. VDWTiZRh6VHIVlET
    VDWTiZRh6VHIVlET
    oFuBWPehb3IFLtnl
    V2pjAbuHRGQGDhLT
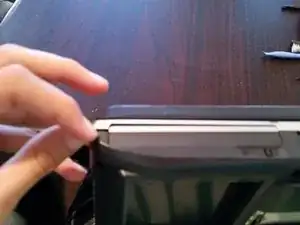
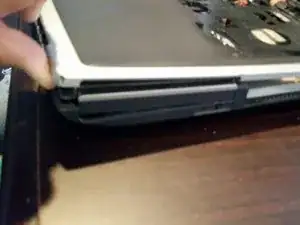
    • Starting from the front right corner pry apart the black bottom from the gray top.

  19. wpWcxiWngOZXCktB
    wpWcxiWngOZXCktB
    VkrgqPBWdKdlGGoC
    • Set aside the top half.

  20. baDi5OIlmEgjPSWW
    baDi5OIlmEgjPSWW
    VDauomEXkFBCnfL3
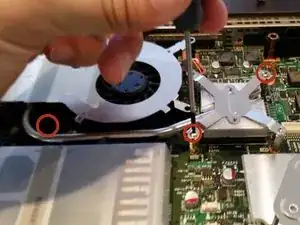
    • Unscrew the remaining screws on the heatsink and fan brackets.

  21. 5cXggQLukYGv6aIX
    5cXggQLukYGv6aIX
    KljLbChVu3coUcTh
    UlZG4P3ajsRcE41x
    • Disconnect the fan power connector.

    • Remove the heatsink and fan.

    • Check the heatsink fins and fan for any dust build-up. If any is found use compressed air to clean.

  22. 1LBrqgDCoiFoG1aX
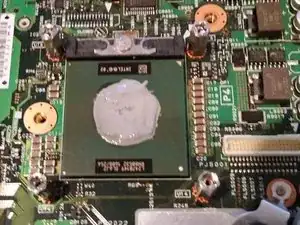
    • Clean the old thermal paste off the CPU and heatsink.

    • Use a q tip to remove the majority of the thermal paste.

    • Use an isopropyl alcohol soaked q tip to further clean remaining thermal paste.

    • Dry and clean both surfaces with another q-tip.

    • Once completely clean, apply a rice grain sized amount of new thermal paste to the CPU and reattach the heatsink and fan.

Abschluss

To reassemble your device, follow these instructions in reverse order.
Kiril Lange

Mitglied seit: 22/09/14

943 Reputation

0 Kommentare