Einleitung
The optical drive contains both precise lasers and lenses and a powerful motor to read and write disk drives. And we know that precision and fast spinning doesn't go well with each other. But don't worry! If your optical drive is giving you trouble, you can easily replace it with a new one.
Werkzeuge
-
-
Close the laptop and turn it over so that the base is facing upwards and the spine is facing away from you.
-
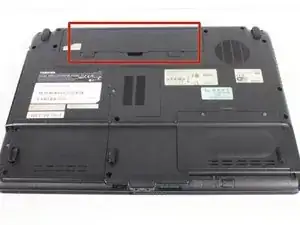
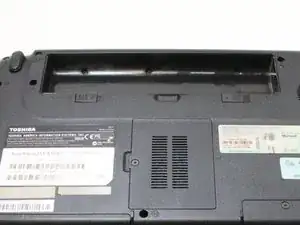
Find the battery compartment.
-
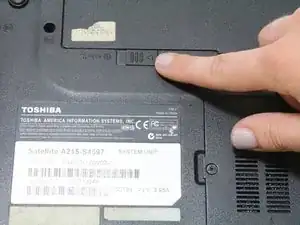
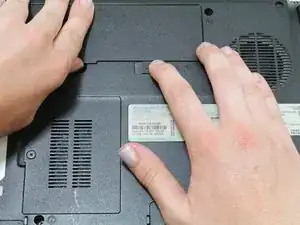
Slide the left slider which is just beneath the battery compartment into its leftmost position.
-
-
-
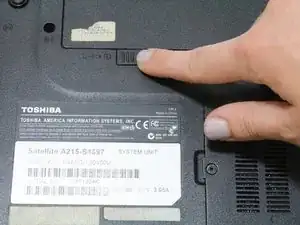
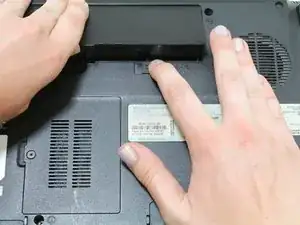
Slide and hold the right slider into its rightmost position. Lift the battery out of the compartment.
-
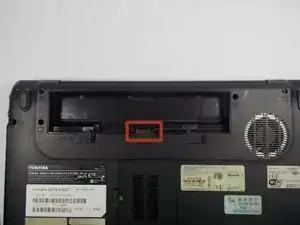
Do not touch the gold nodes inside the compartment.
-
-
-
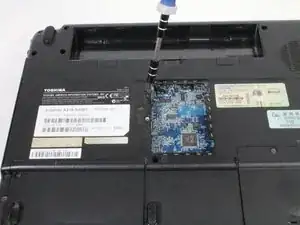
Turn computer over so that the battery compartment is facing up and is at the top.
-
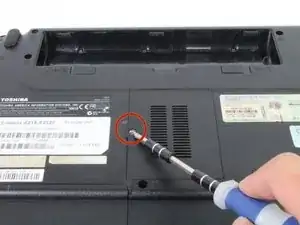
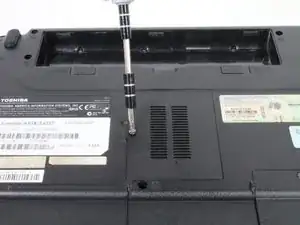
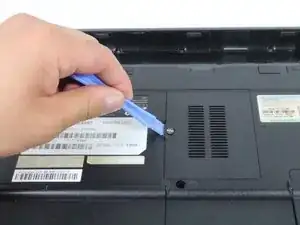
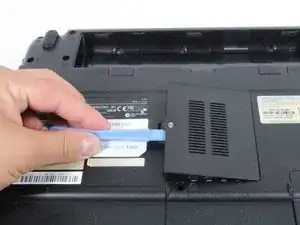
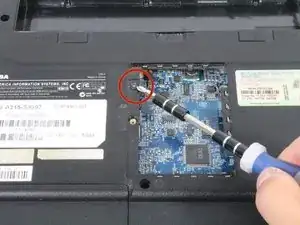
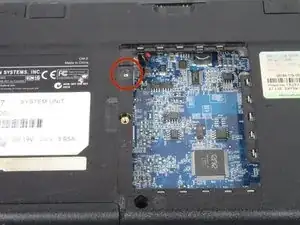
Locate and unscrew one captive Phillips #1 screw located at the center.
-
-
-
Flip your device right side up, and rotate it so that the optical drive is facing you.
-
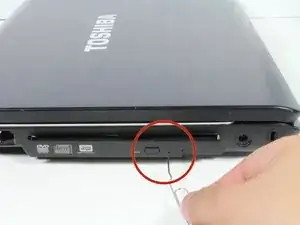
Insert a paper clip into a manual release switch located to the right of the automatic release button.
-
-
-
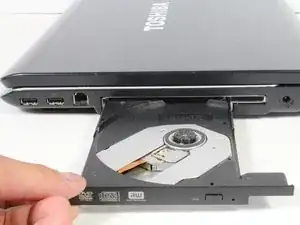
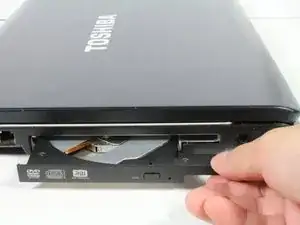
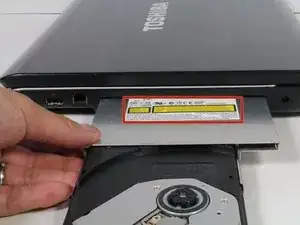
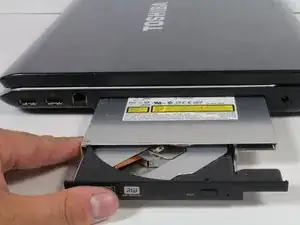
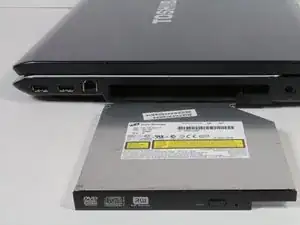
Gently pull out the disk drive until you can see the metallic case of the optical drive.
-
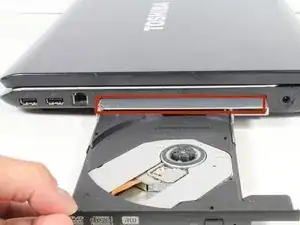
Hold the metal case and continue to pull the drive out toward you.
-
-
-
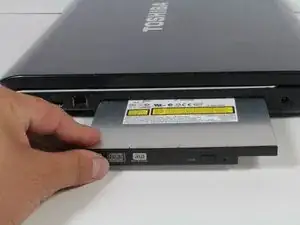
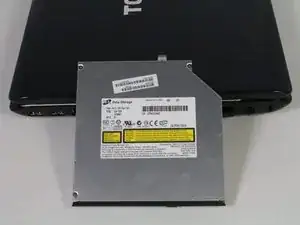
Once you see the yellow labels on the disk drive, fully retract the disk mount until you hear a click.
-
-
-
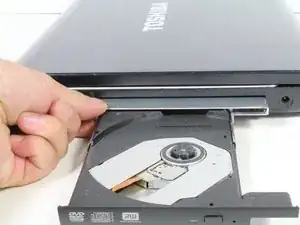
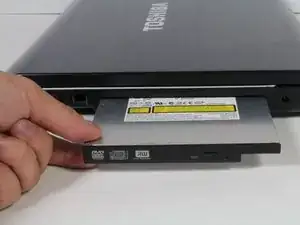
Continue to pull the disk drive toward you until it is completely removed from the laptop's housing.
-
To reassemble your device, follow these instructions in reverse order.
