Einleitung

  1. pmbrYOSlZ112STgM
    pmbrYOSlZ112STgM
    XqPgdmn2klIKS1W2
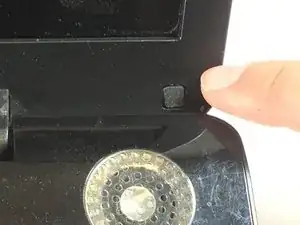
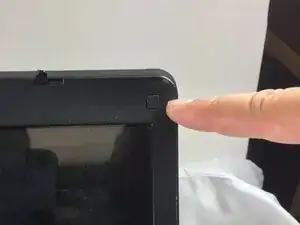
    • First, remove the four rubber screw coverings located at the top corners and bottom corners of the screen.

    • Remove the four screws underneath each cover and place them somewhere secure.

  2. YvC6WiOeYZecVKcI
    YvC6WiOeYZecVKcI
    CKlo1Wi3RvMK6dKc
    lGJpIOrQGTcJQ2Vr
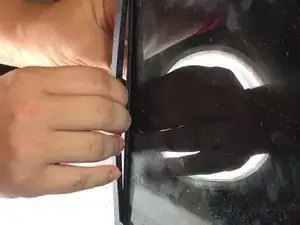
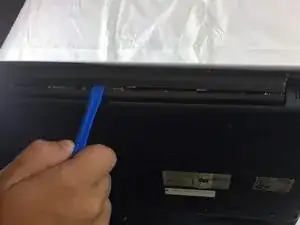
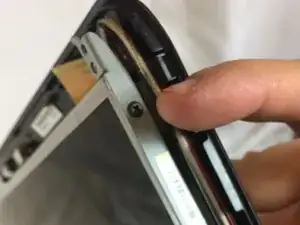
    • Remove the plastic paneling around the screen, and at the bottom of the display.

    • You may need a plastic opening tool to pry the back crease open.

  3. WpOwVproL26ffJjA
    WpOwVproL26ffJjA
    xRCOgLkERFXi1pMI
    QFROxn5InAYV1Ly1
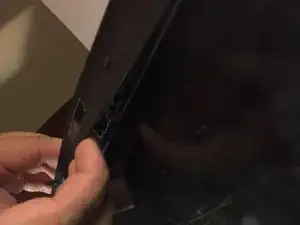
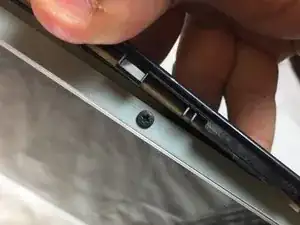
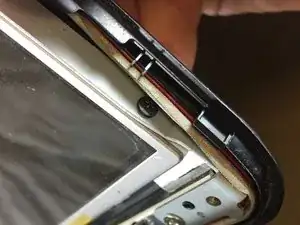
    • Remove the three screws on each side of the display, and place them somewhere secure.

  4. HGuUKE2KKIG2q5FA
    HGuUKE2KKIG2q5FA
    km6BOXNYf44Iwjab
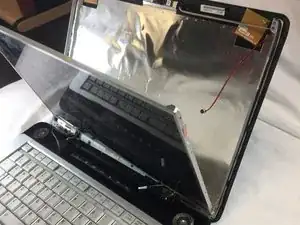
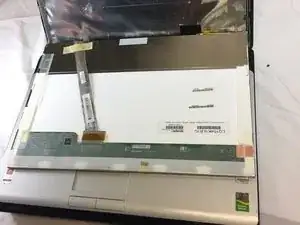
    • Gently move the display forward so you can see the back of the component.

  5. NPA2AK6tUxB6vKeZ
    NPA2AK6tUxB6vKeZ
    wUoRd6UAPFqGhEug
    V1Rq1vIyfx2AvLVi
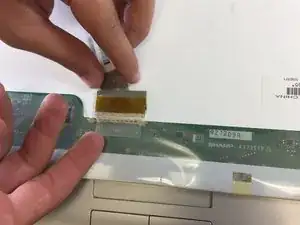
    • On the back of the display, there is a wire that is plugged in to the display and secured with tape.

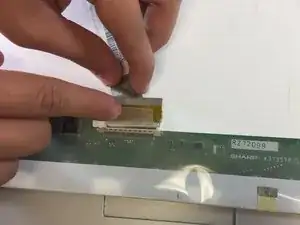
    • Gently lift the tape, leaving it attached to the wire.

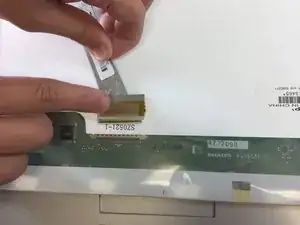
    • Pull the wire out of its socket in the display backing.

    • The display is now fully detached!

Abschluss

To reassemble your device, follow these instructions in reverse order.
Jacob Brown

Mitglied seit: 10/10/16

409 Reputation

0 Kommentare