Einleitung

  1. U5jnNJdTVwudZBmu
    U5jnNJdTVwudZBmu
    Qy2pMRQNdlDFgshy
    oJPfhs2L4ZojZSDD
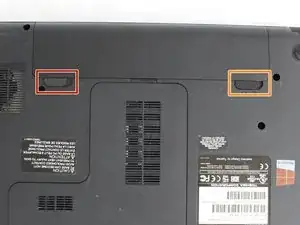
    • Push the left tab with your left hand.

    • Then push the right tab with your right hand.

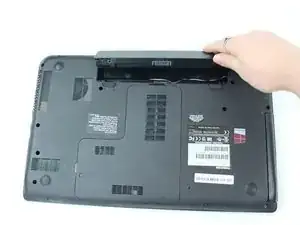
    • While your right hand is still pushing, remove the battery with your left hand.

  2. hcIWjTxNkqN6jxmU
    hcIWjTxNkqN6jxmU
    lYmKIaXmeyRpoys1
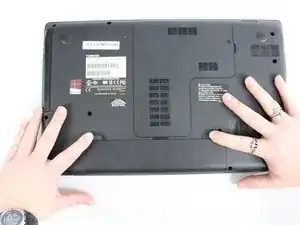
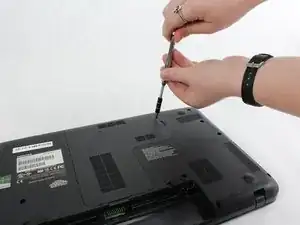
    • Remove one screw with a JIS #000 screwdriver.

    • This screw does not come completely out, but you will still be able to get the panel off.

  3. 2d3QGkjASsEOHXXV
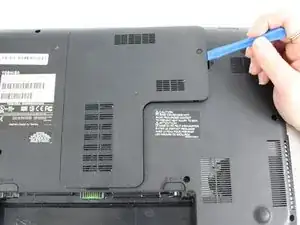
    • Use the plastic opening tool to pry open the back panel. Make sure to loosen all four sides then lift up.

  4. 6llYRrfDXUTvdVjL
    6llYRrfDXUTvdVjL
    TErRp6LRN6DwYjFQ
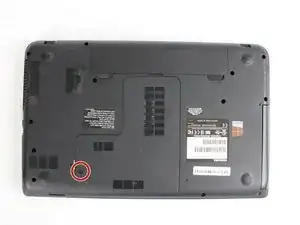
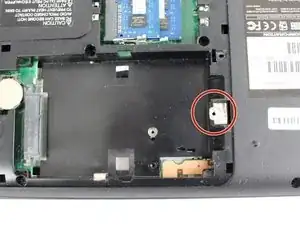
    • Remove a .5mm screw with a JIS #000 screwdriver.

    The wrong screw is circled in this step. That screw appears to be for the hard drive. The one you need is just above the circled screw in the photo and is visible in the secondary image but missing from the primary. The circled screw does not need to be removed at all.

    Shaun Sullivan -

  5. 6S6GSQ4XdhIAEsfP
    6S6GSQ4XdhIAEsfP
    GXRsjuXEZ3isOEnu
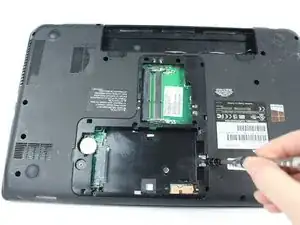
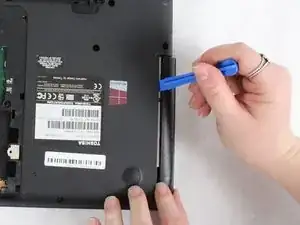
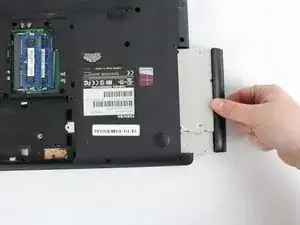
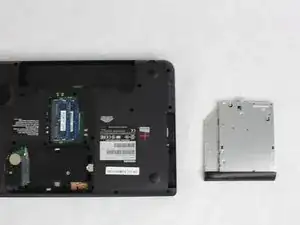
    • Using a plastic opening tool, pry open the disk drive. Once it has loosened it will pull out.

Abschluss

To reassemble your device, follow these instructions in reverse order.
Kari Rodgers

Mitglied seit: 08/02/18

482 Reputation

0 Kommentare