Einleitung
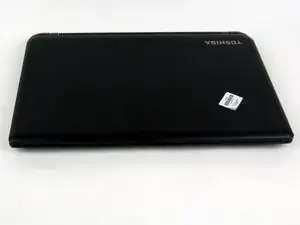
These are the steps for removing the webcam from your Toshiba Satellite C55-B5302 laptop. Since the webcam is delicate in nature and has photosensitive parts, you should be careful when handling the webcam unit and make sure not to scratch the lens or expose it to bright light for too long.
Werkzeuge
-
-
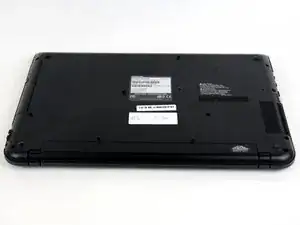
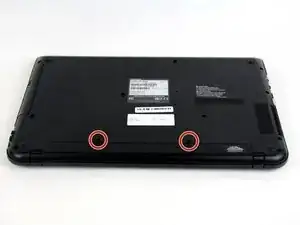
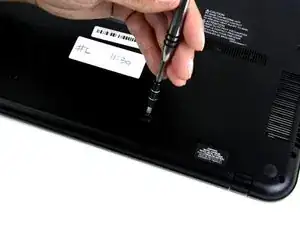
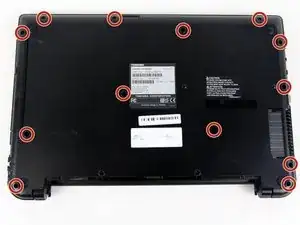
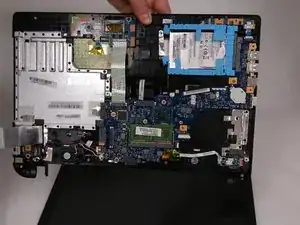
Remove the remaining 7 mm screws on the back panel of the laptop with a Phillips #0 screwdriver.
-
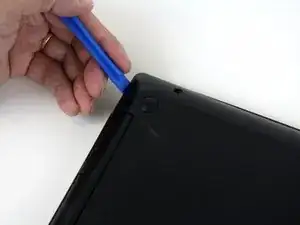
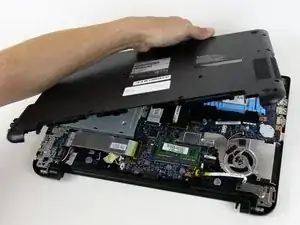
Use the plastic opening tool to pry up a corner of the back panel and continue to pop the back panel off.
-
-
-
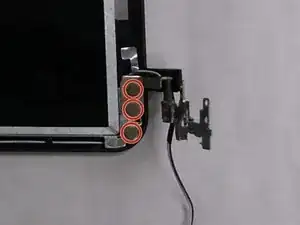
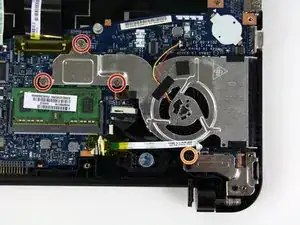
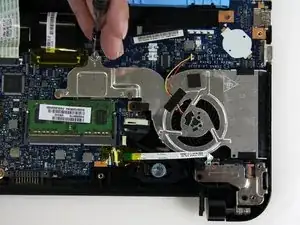
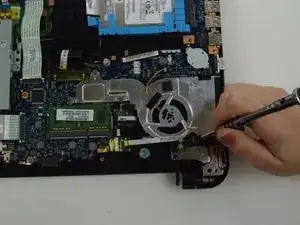
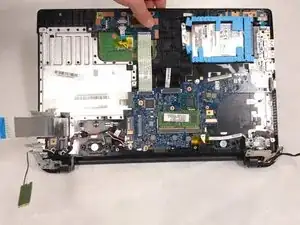
Remove the three 3 mm screws with a Phillips #00 screwdriver.
-
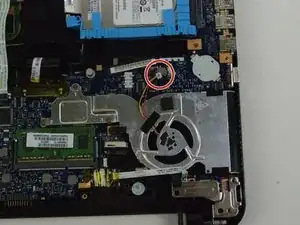
Remove the 5 mm screw with a Phillips #0 screwdriver.
-
-
-
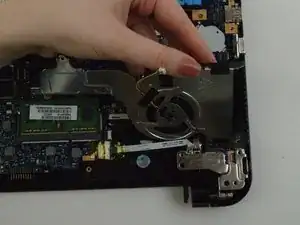
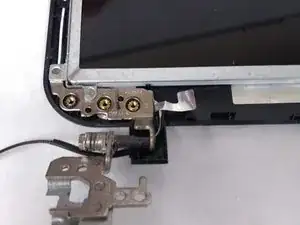
After the fan has been removed, lift the hinge so as to get access to the parts below it.
-
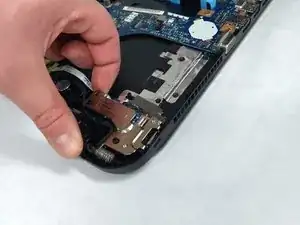
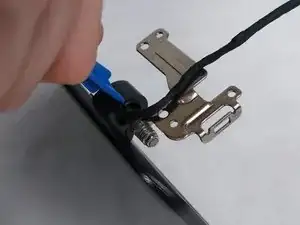
Remove the the black colored cable that is now exposed.
-
-
-
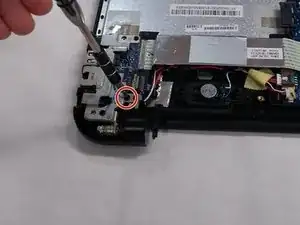
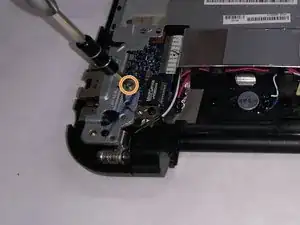
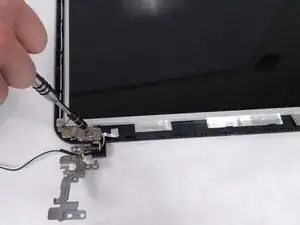
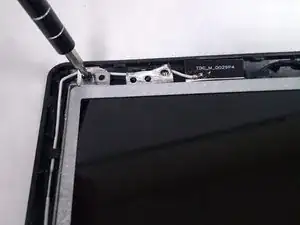
Remove the 7 mm Phillips #0 screw on the other hinge.
-
Remove the 3.1 mm Phillips #0 screw on the the same hinge.
-
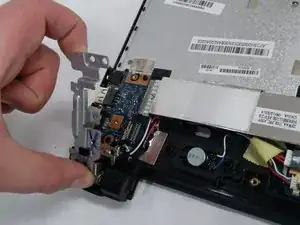
Lift the hinge up and towards you.
-
-
-
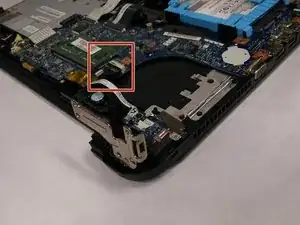
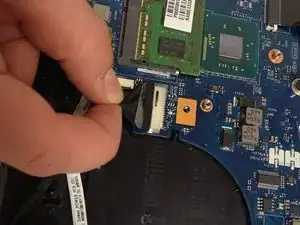
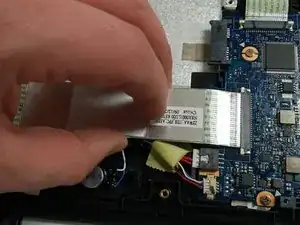
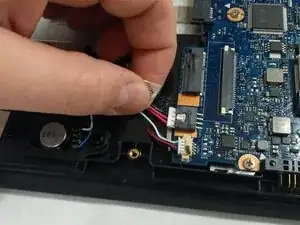
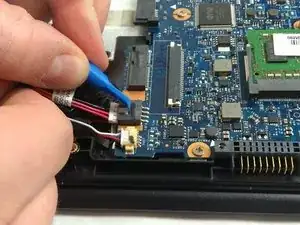
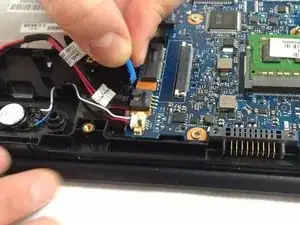
Hold the cable that is to be removed.
-
Use an iFixit opening tool to push down on the white protrusion of cable connector.
-
Now you can pull out the cable.
-
-
-
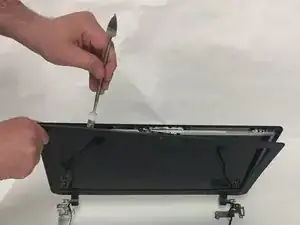
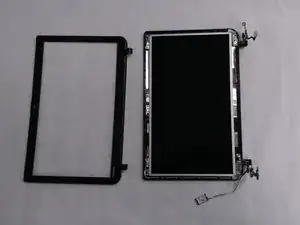
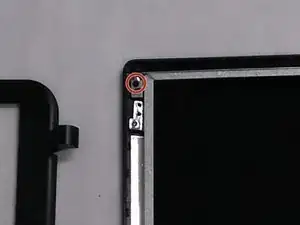
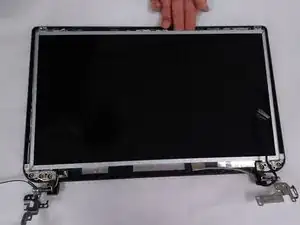
Use an iFixit opening tool to separate the two halves of the bezel starting at both the plastic hinges.
-
Use the metal spudger to separate the rest of the bezel.
-
-
-
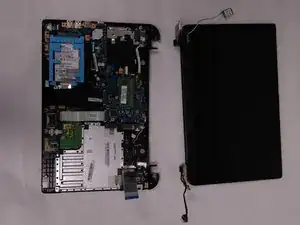
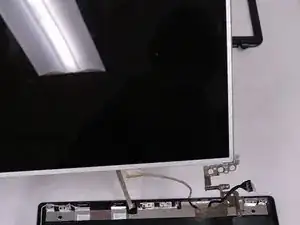
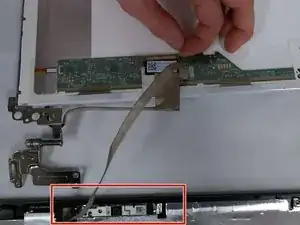
Pull up on and turn over the screen to expose the wire connecting the webcam to the screen.
-
-
-
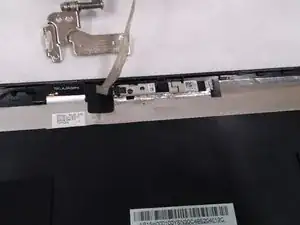
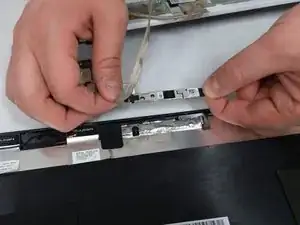
Once the screen has been detached and turned over, remove the webcam from its place on the bezel.
-
-
-
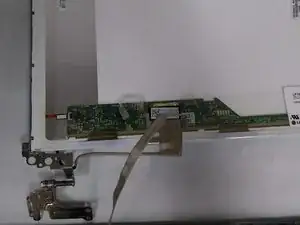
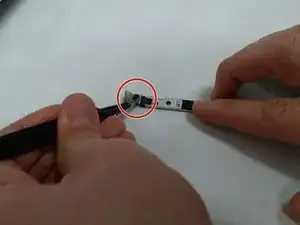
Carefully, take off the tape connecting the webcam to the circuit board using a set of tweezers.
-
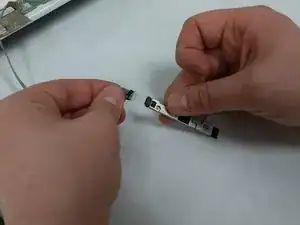
Once the tape has been removed, you can disconnect the webcam from the wire completely.
-
To reassemble your device, follow these instructions in reverse order.
