Einleitung
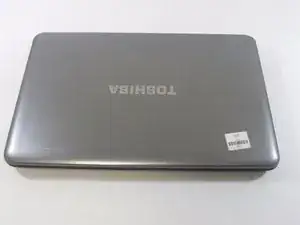
This is a step-by-step guide on how to replace the hard drive in a Toshiba Satellite C855D-S5109. The hard drive is responsible for long term storage on a device, housing all the user’s data and the computer’s operating system. A hard drive can become partially corrupted, leading to “File not Found” errors, or cease function completely, leading to errors during startup—if the OS cannot be loaded from the hard drive, the computer will usually get tripped up in the BIOS during startup. If you are experiencing either of these problems, or if you simply need more storage space for your machine, use this guide to replace or upgrade the hard drive in your Toshiba Satellite C855D-S5109.
Werkzeuge
-
-
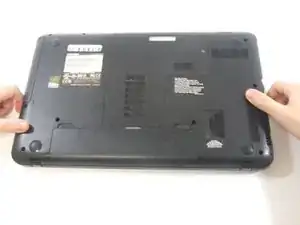
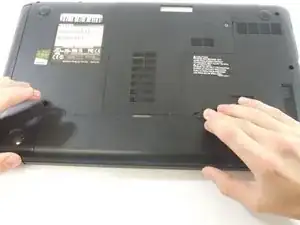
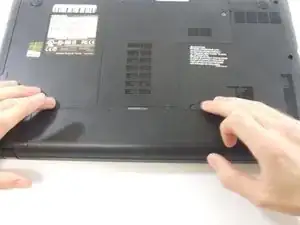
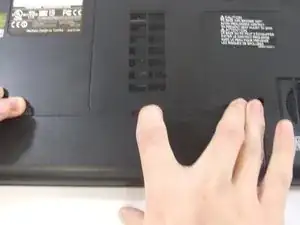
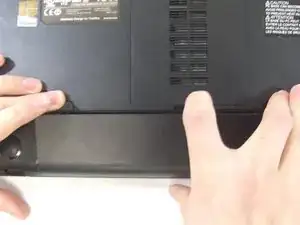
While still holding the lock tabs outward, use your hand to grab the top of battery and pull up.
-
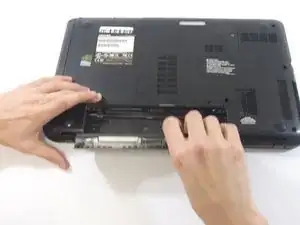
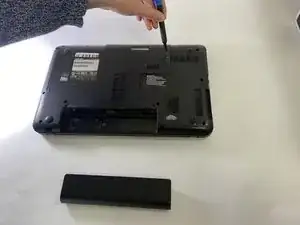
Remove the battery.
-
-
-
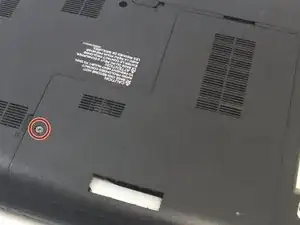
Use the Phillips #00 screwdriver to unscrew the captive screw on the L-Shaped panel.
-
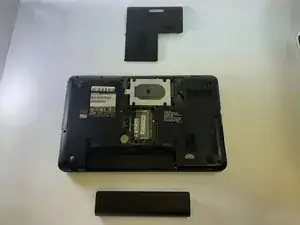
Remove the L-Shaped panel.
-
-
-
Using a Phillips #00 screwdriver, remove the screw(s) securing the hard drive to the laptop case.
-
Carefully pull the tab on the hard drive to detach the connecting wire to the right of the hard drive.
-
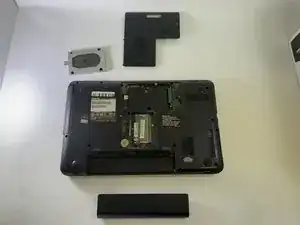
Remove the hard drive.
-
To reassemble your device, follow these instructions in reverse order.
