Einleitung
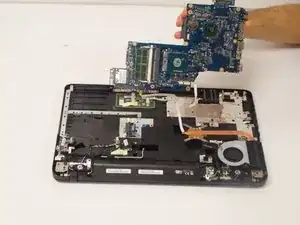
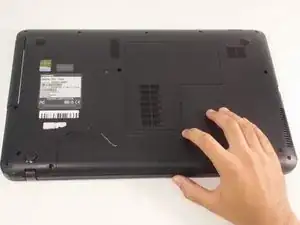
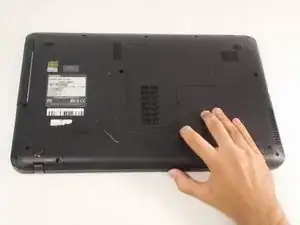
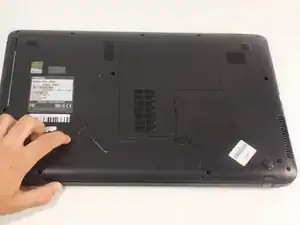
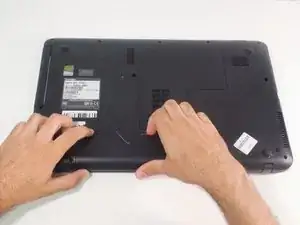
Use this guide to replace a faulty or dead motherboard in your Toshiba Satellite C875-S7304.
The motherboard is a printed circuit and is the foundation of a functioning laptop. If you notice your device suddenly stops working, it is likely due to a dead or dying motherboard.
A functional motherboard allows the laptop’s components to communicate with one another. A damaged motherboard can cause damage to other components and prevent the laptop from functioning properly. Motherboards are often the most difficult pieces of hardware to diagnose because you have to rule out every other piece of hardware connected to it. If you notice multiple faults in laptop components, slow boot times, or inabilities in recognizing connected flash drives you may want to replace your motherboard.
Disconnect the laptop from any external power source and power off your laptop completely before beginning the motherboard replacement.
Werkzeuge
-
-
Power off and unplug the charger from your device.
-
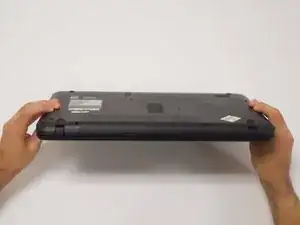
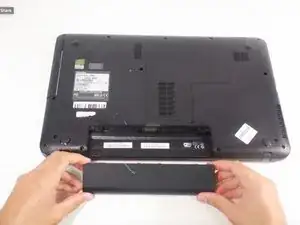
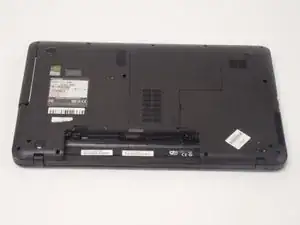
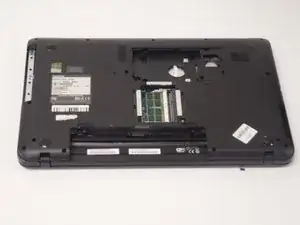
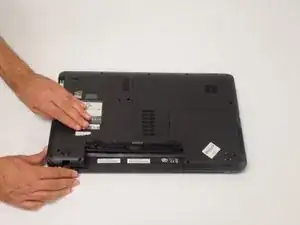
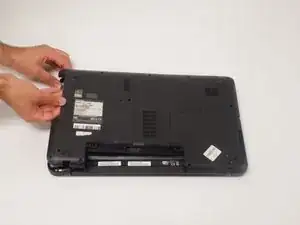
Carefully flip your device upside down laying it onto a flat surface with the battery facing you.
-
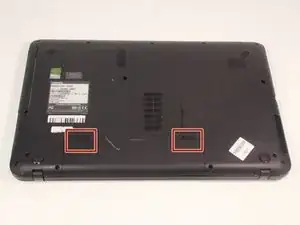
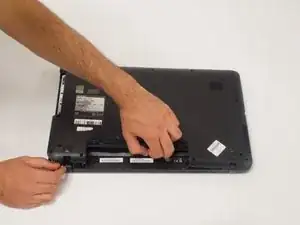
The two eject switches are located on the right and left side of the battery compartment.
-
-
-
Slide the switch to the left. Continue to push the switch because unlike the right switch, it will not lock into place.
-
-
-
Using both hands, continue to push the left switch and grasp onto the center notch located in between the right and left switch.
-
Pull the center notch towards you and you will notice the battery will start to eject.
-
-
-
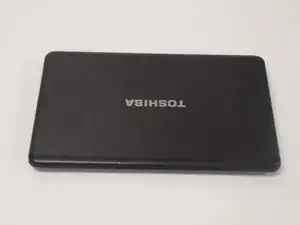
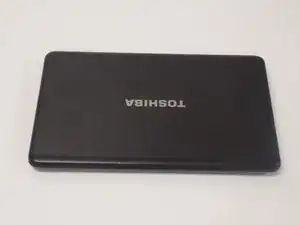
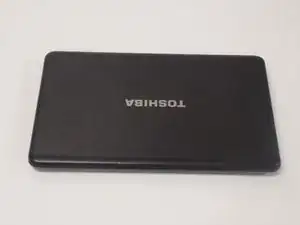
Carefully flip the device back over so that the 'TOSHIBA' logo faces away from you.
-
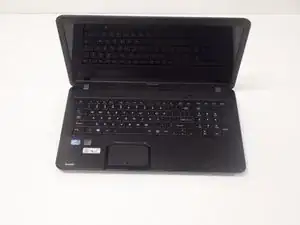
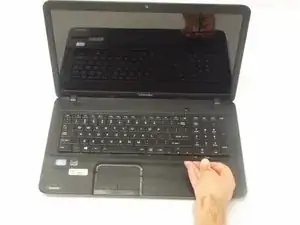
Open the laptop to display the keyboard.
-
-
-
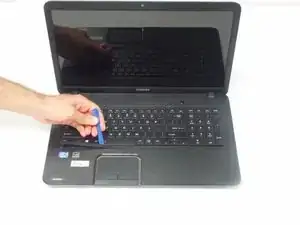
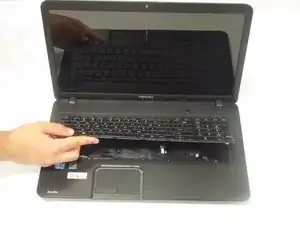
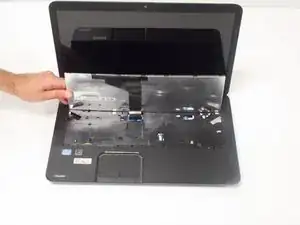
Pry the keyboard up and apart from the device.
-
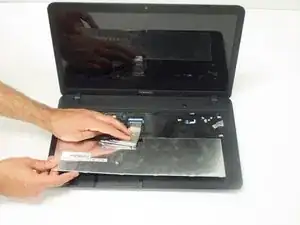
Disconnect the ribbon cable under the keyboard.
-
-
-
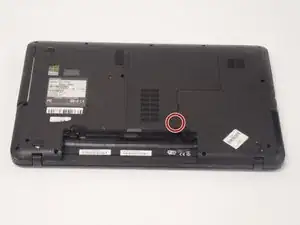
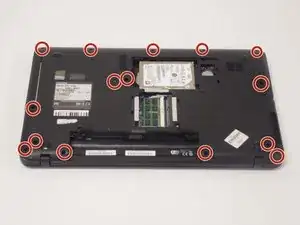
Use a Phillips #1 to unscrew one 7.0 mm screw from the hard drive/RAM panel and remove panel.
-
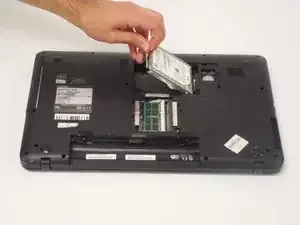
Slide the hard drive laterally first and then lift the hard drive up using the clear tab.
-
-
-
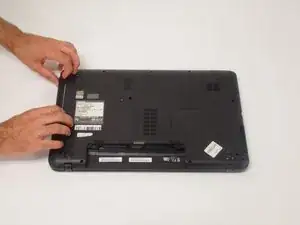
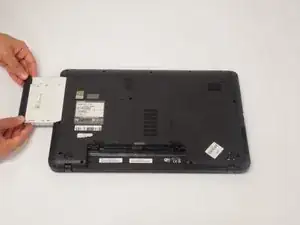
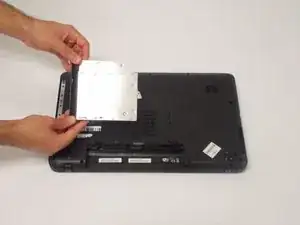
Gently pry open the entire bottom panel, pulling upward to remove the panel from the device.
-
-
-
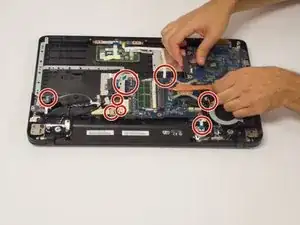
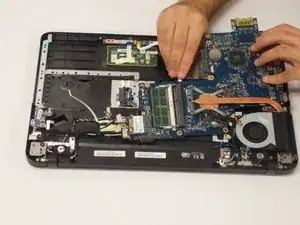
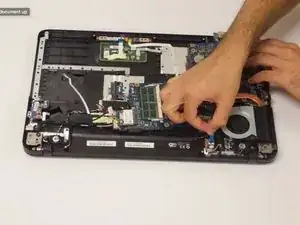
Remove all wiring from the motherboard and pry it from the device slowly making sure that no ribbons or wires are connected.
-
-
-
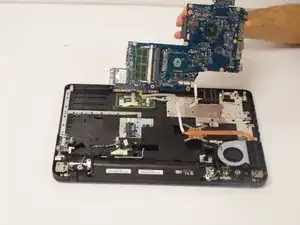
Gently remove the motherboard from inside the device. You are now ready to replace the motherboard.
-
To reassemble your device, follow these instructions in reverse order.
