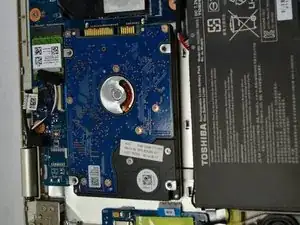
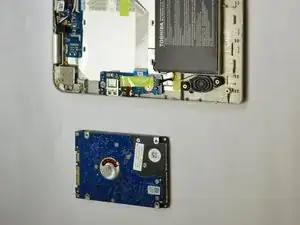
Einleitung
Werkzeuge
Ersatzteile
-
-
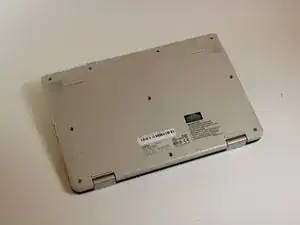
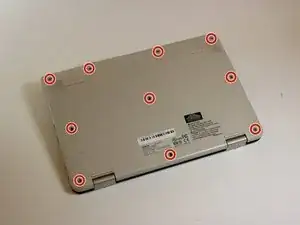
Unscrew the 10 5mm Phillips screws, located on the bottom side of the notebook using the PH1 bit and the Magnetic Driver.
-
-
-
Pry open the bottom cover of the notebook with the plastic spudger tools. Slide a thin tool along the edges without ports to pop open the latches.
-
-
-
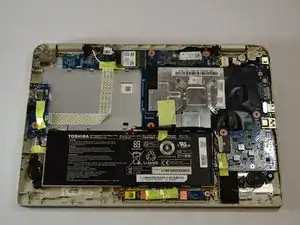
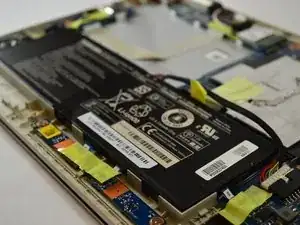
Remove the 1" yellow tape on top of the battery. This piece of tape is holding down the battery connection cable.
-
-
-
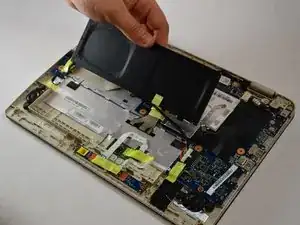
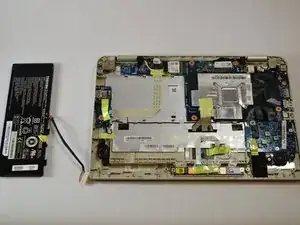
Lightly grip the battery on the two longest sides. Gently pull up until the adhesive on the notebook is separated from the battery.
-
To reassemble your device, follow these instructions in reverse order.
3 Kommentare
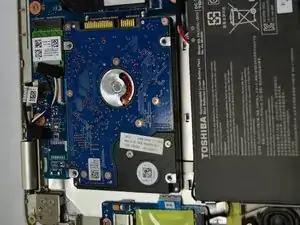
What kind of joke is this?! Spent an hour taking my toshiba apart and THERE IS NO DRIVE IN HERE!!!! WTF
Do we change ssd hearddisk 240gb with same ram
I agree with Hammerjockey Radios, you guys should be more clear. there’s no drive on this model.
