Einleitung
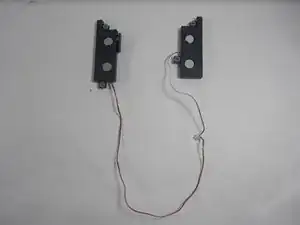
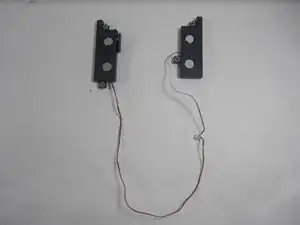
If the speakers in this device aren't working, they may be either dirty or broken. To best assess the problem, the speakers must be taken out. This guide shows how to take them out in order to clean and/or replace them.
Werkzeuge
-
-
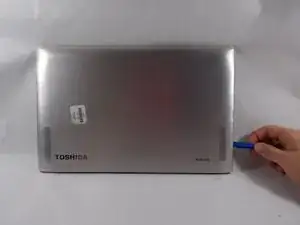
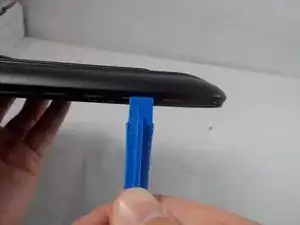
Begin by inserting the plastic opening tool into the lip that lies between the screen and the plastic housing and gently prying it open. The best place to begin the screen removal is the bottom left side of the screen.
-
Continue to work your way around the screen with the opening tool until all the clips are undone and the screen is free.
-
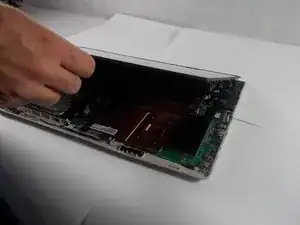
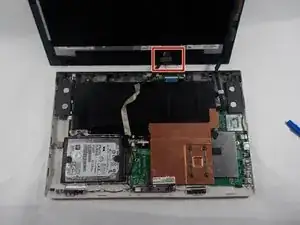
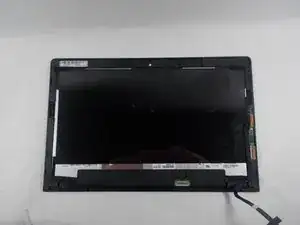
Lift screen off of plastic cover to expose the internal components.
-
-
-
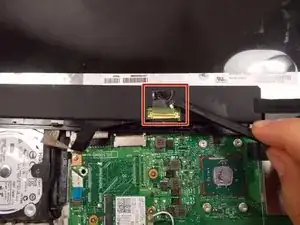
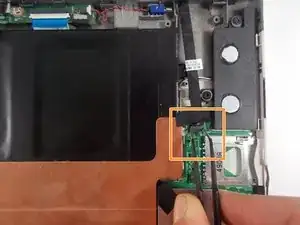
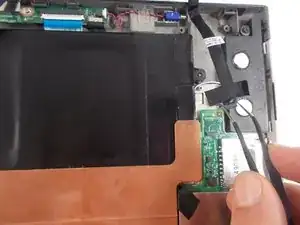
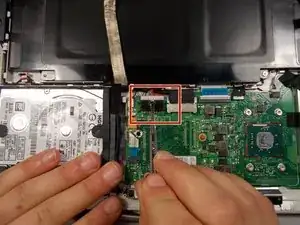
Locate the wide, golden connection on the bottom of the screen. Use the black spudger to peel away the tape holding it in place.
-
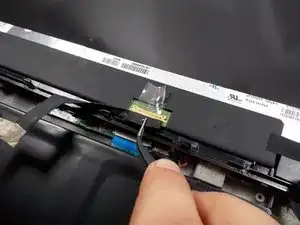
Use tweezers to gently remove the plug from the screen.
-
-
-
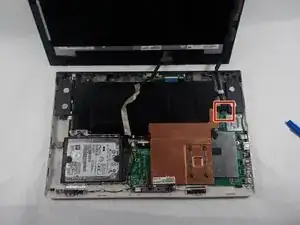
Trace the black ribbon cable that begins on the right of the screen. This cable is connected to the upper part of the motherboard, which is located near the right speaker.
-
Using tweezers, gently grasp the plug on the end of the ribbon cable and remove it from the motherboard.
-
-
-
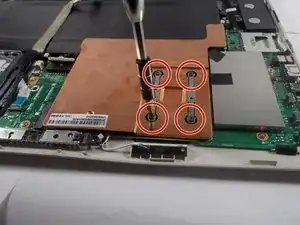
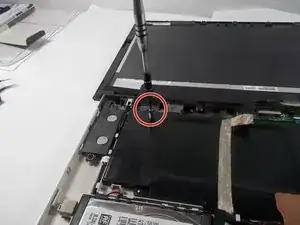
Remove the copper shield by removing the four Phillips screws that hold the shield in place.
-
-
-
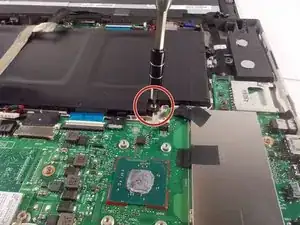
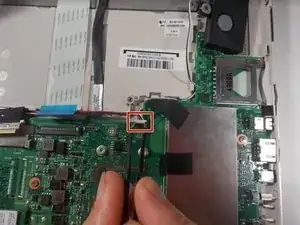
Unplug the battery from the motherboard by pushing the white clip with a metal spudger. You can attempt to use the plastic spudger first, but it may be more difficult.
-
-
-
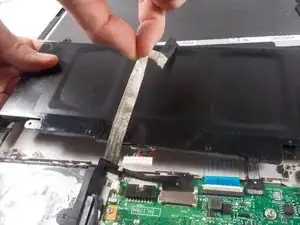
Remove the battery by lifting on the left side, while holding the ribbon cable above it out of the way.
-
-
-
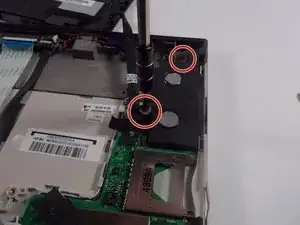
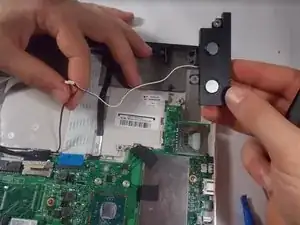
Identify the speakers on the upper left and right side of the inside of the device.
-
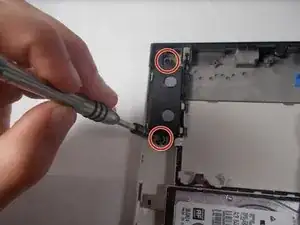
Using a Phillips 0 screwdriver, unscrew the two screws in each speaker.
-
To reassemble your device, follow these instructions in reverse order.
