Einleitung

To start this guide make sure you have the appropriate tools and materials. The removal of the solid state drive requires your full attention. Make sure to follow the steps closely as to not lose any important data.

  1. 2xPjFWPpV126Vwax
    2xPjFWPpV126Vwax
    Jr1oSkpBP5IOIoNi
    • Working on your device while it is turned on may result in electric shock. Make sure to shut down and unplug your device before you begin.

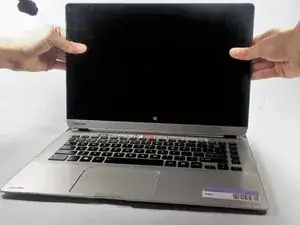
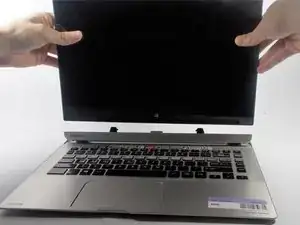
    • Push down on the tablet sides until you feel a click, then pull up.

    • This will separate the tablet from the detachable base, make sure to hold down the keyboard for easier detachment.

  2. qgXcdBw5TroH5Ora
    qgXcdBw5TroH5Ora
    V5QFMCDNLoMCM2ma
    TWiy6aLFm2gcYGtH
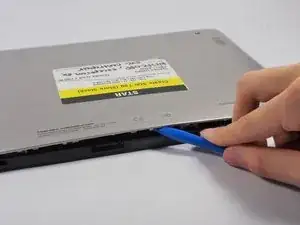
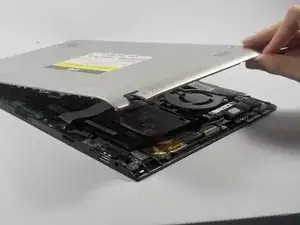
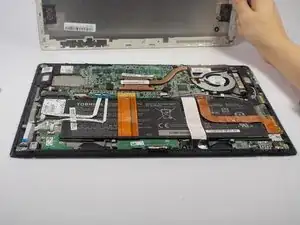
    • Remove the base of the tablet from the screen using a plastic opening tool.

    • Make sure to separate the base evenly on both sides when removing it from the screen.

  3. pedg6FJg6vFDOlak
    pedg6FJg6vFDOlak
    QcZKXsAFeWeepICW
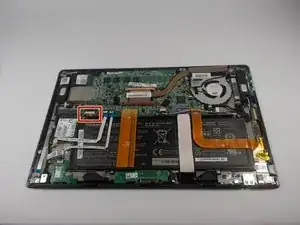
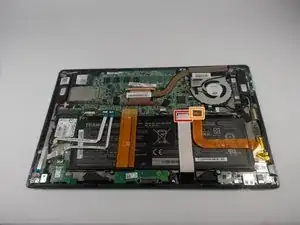
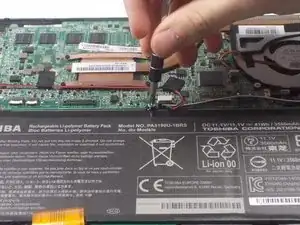
    • Remove the battery power connector using ESD safe tweezers.

  4. gqBDIP2IXLQOdsLV
    gqBDIP2IXLQOdsLV
    BrN3VDsCMu5unNmZ
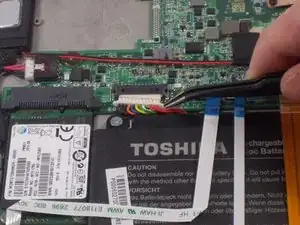
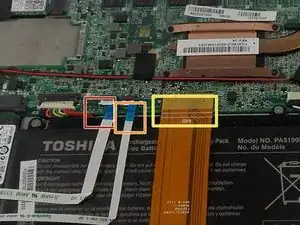
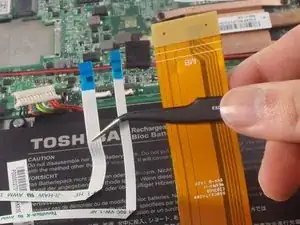
    • Remove the LED ribbon cable using ESD safe tweezers.

    • Remove the SIM card ribbon cable using ESD safe tweezers.

    • Remove the Docking connector ribbon cable using plastic opening tool.

    • The ribbons may be stuck to the battery so make sure to peel off gently to prevent damage.

    • Make sure to flip up the white connector attached to the LED and Sim Card ribbons before removing them .

  5. Okmo62oFJyCc3Vcw
    Okmo62oFJyCc3Vcw
    tcM6KbOMv6mmWdTj
    2XROSX2yFdT44JID
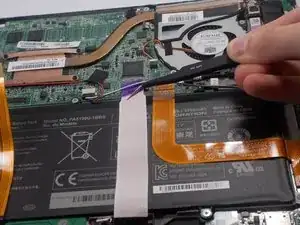
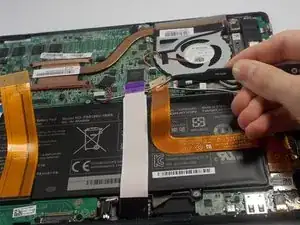
    • Remove the LCD Display ribbon cable using a plastic opening tool.

    • Remove the I/O ribbon cable using a plastic opening tool.

    • The ribbons may be stuck to the battery so make sure to peel them off gently to prevent damage.

  6. e3pt2ImFr1Dc2wqs
    e3pt2ImFr1Dc2wqs
    uEJviuKO6p6VvBow
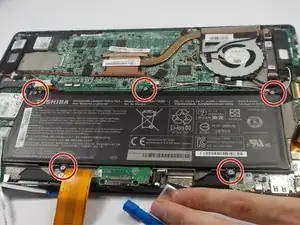
    • Remove five 3.5mm Phillips J0 screws using a Phillips screw driver.

  7. PTREn4cvjbv6CQtF
    • Remove the battery from its holding position.

  8. QpJH3POGLfgENnSL
    QpJH3POGLfgENnSL
    NLNNaKghkxvUwEZL
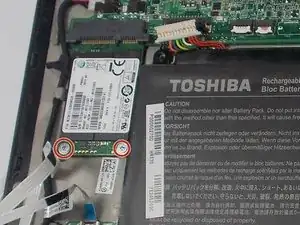
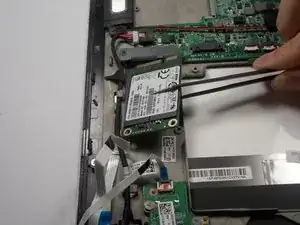
    • Remove the two screws using a J0 Phillips screw driver

  9. URWRH3cKpWJBAj2y
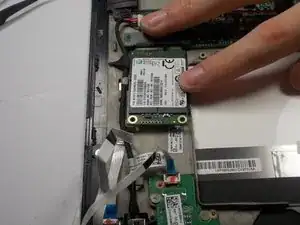
    • Remove the hard drive

Abschluss

To reassemble your device, follow these instructions in reverse order.

Paul DeOrsey

Mitglied seit: 10/03/16

893 Reputation

2 Kommentare

Ok, where do i search and order parts please?

Ching Ching -

and plus, i put the laptop model for replacement, doesn't show my laptop model…
Ching Ching -