Einleitung
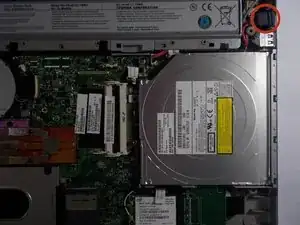
The charging port is where the charging cord connects into the device. If your device will not charge with the cord plugged in, it may need a new charging port.
Werkzeuge
-
-
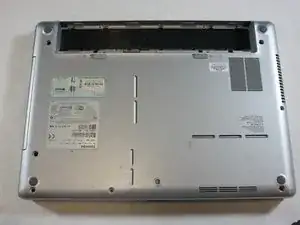
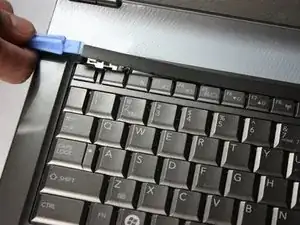
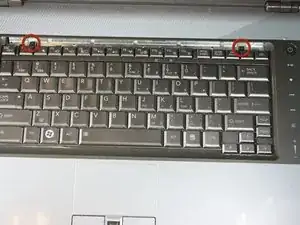
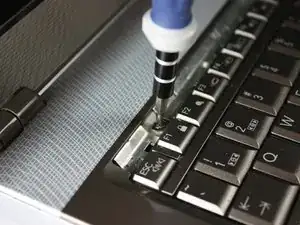
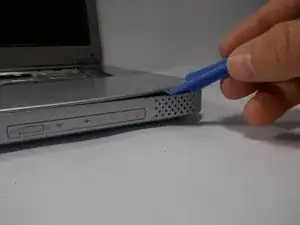
Flip the computer over and insert the plastic opening tool under the plastic strip at the top of the keyboard.
-
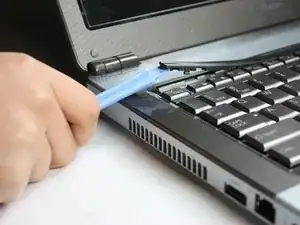
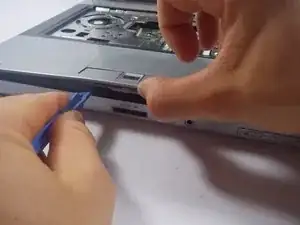
Pry the top plastic strip from the top of the keyboard.
-
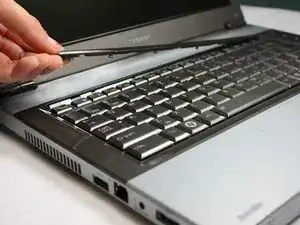
Peel the strip completely away from the keyboard.
-
-
-
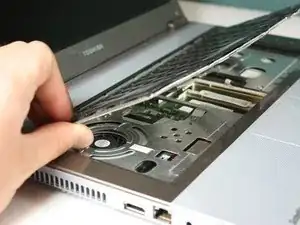
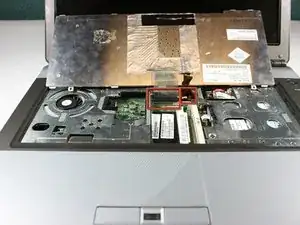
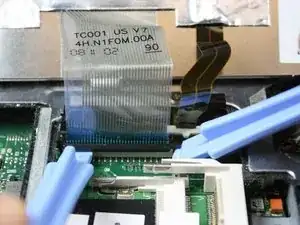
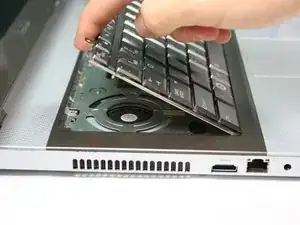
Flip the keyboard up from the bottom in order to see the two ribbons connecting it to the motherboard.
-
-
-
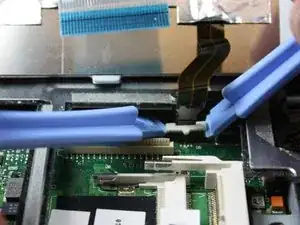
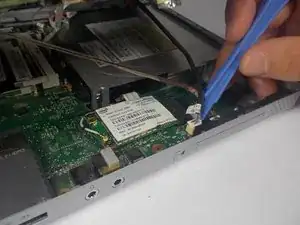
Using the plastic opening tools, pop out the second ribbon cable from the rest of the computer.
-
-
-
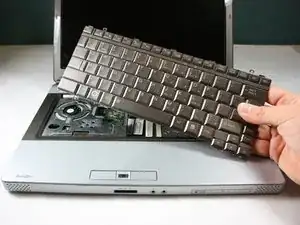
Completely remove the keyboard from the laptop by lifting up the part closest to the screen, and then gently pulling out the bottom half.
-
-
-
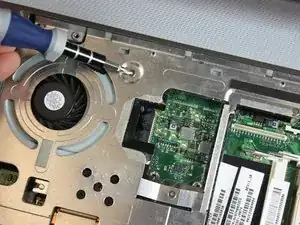
Locate the four silver screws on the front panel.
-
Using the Phillips #0, unscrew to remove all four 2.95mm silver screws.
-
-
-
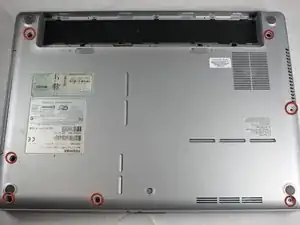
Flip the laptop over and locate all seven screws on the bottom of the laptop.
-
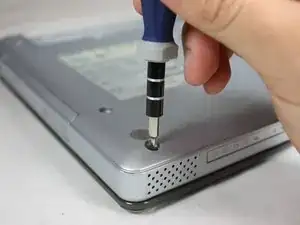
Unscrew all seven Philips#00 7.70mm screws.
-
-
-
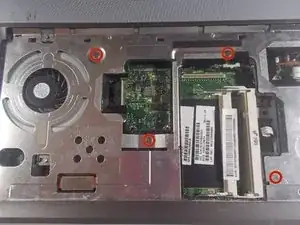
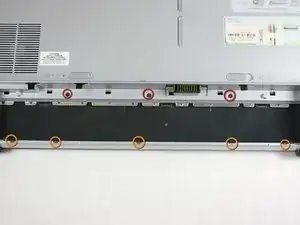
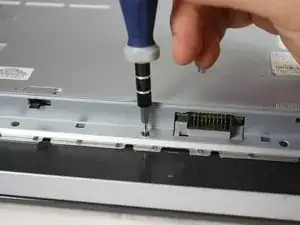
Locate and unscrew the three silver Philips #00 2.85mm screws inside the battery compartment.
-
Locate and unscrew the five black Philips #00 3.25mm screws inside the battery compartment.
-
-
-
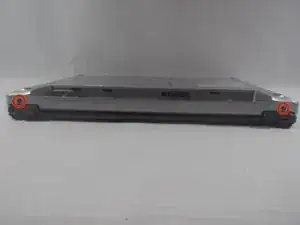
Rotate the laptop so the back faces you.
-
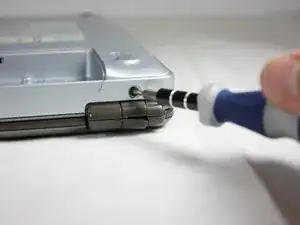
Locate the two black Philips #00 7.65 screws, one by each hinge, and remove.
-
-
-
Use the plastic opening tool to pry the top panel up from the base of the computer.
-
Slowly work your way around the computer with the plastic removing tool to make it easier to lift the top panel away from the base.
-
Disconnect ribbons, and slowly lift the top panel up, away from the base.
-
-
-
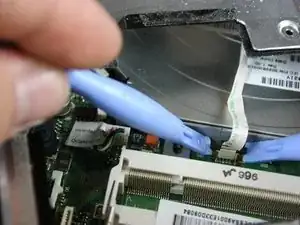
Locate the ribbon cable from the motherboard.
-
Using plastic removing tools, pop the ribbon base from the motherboard.
-
-
-
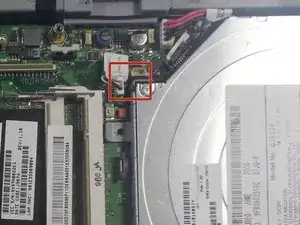
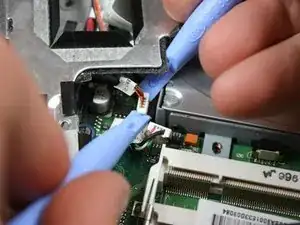
Locate the two plugs from the motherboard.
-
Using plastic opening tools, remove each plug from the motherboard.
-
-
-
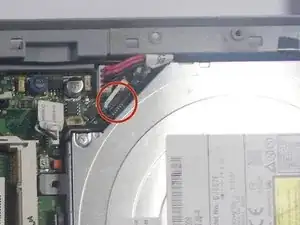
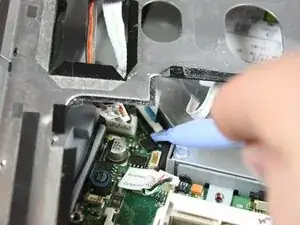
Locate the ribbon cable partially hidden under the front panel.
-
Using plastic opening tools, pop out the ribbon cable from the motherboard.
-
-
-
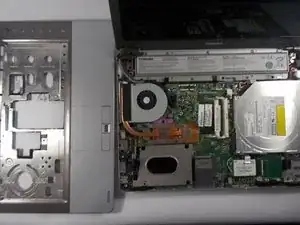
Slowly lift the top panel away from the base of the computer.
-
Place the top panel away from the computer and keep in a flat non-metallic surface until needed.
-
-
-
Turn the laptop so the side with the charging port is facing you.
-
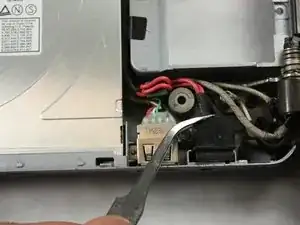
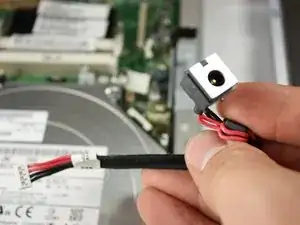
Using a tweezer, lift up the charging port to take it out of its retaining slot.
-
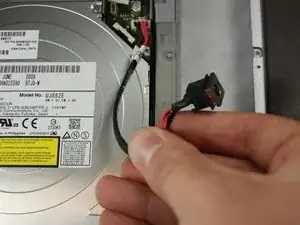
Pull the wires out from their nesting place in between the disc drive and the computer body.
-
-
-
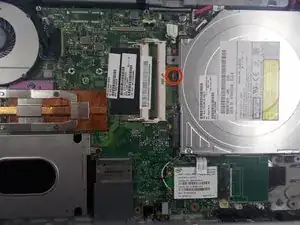
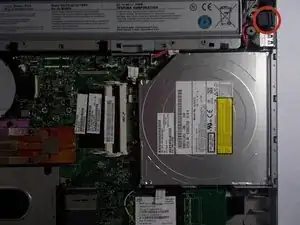
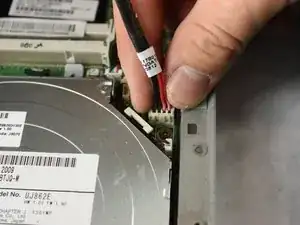
Locate the base of the plug on the motherboard.
-
Pull up on the plug to remove the charging port from the motherboard.
-
To reassemble your device, follow these instructions in reverse order.
