Einleitung
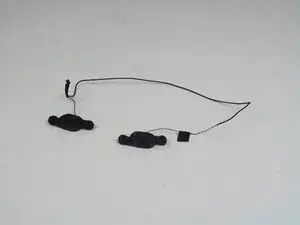
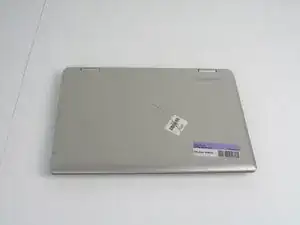
This guide demonstrates how to remove Toshiba Satellite L15W-B1208X speakers. Some reasons to remove the speakers might be damage, such as speaker blowouts, long periods of time without use, wire corrosion, etc. Removed speakers should be recycled. Be aware of tiny components during disassembly.
Werkzeuge
-
-
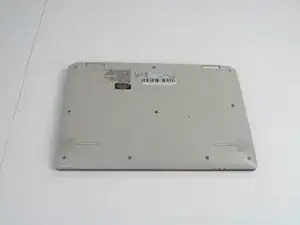
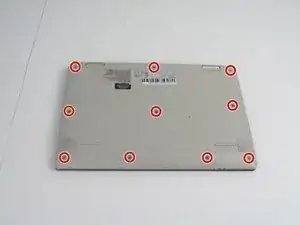
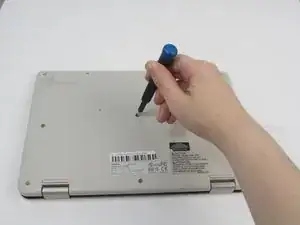
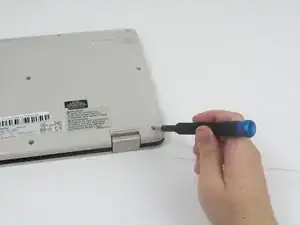
Use a Phillips #1 screwdriver (PH1 bit) to remove the ten 5mm screws that secure the bottom cover.
-
-
-
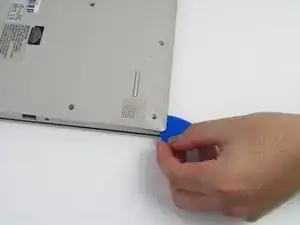
Use an opening pick by sliding it in the seam between the bottom casing and the main body of the laptop. Separate the bottom casing from the main body.
-
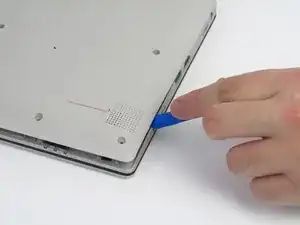
Use a plastic opening tool to separate the remainder of the back cover from the laptop.
-
-
-
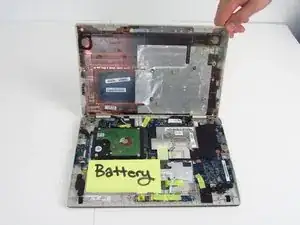
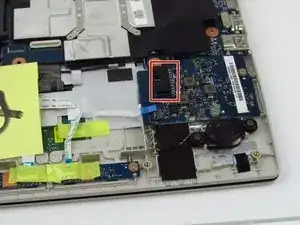
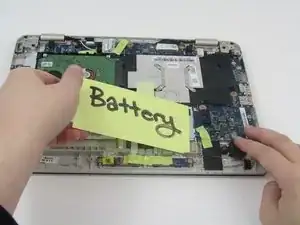
Disconnect the battery from the motherboard by gently pulling on wiring connecting to the motherboard.
-
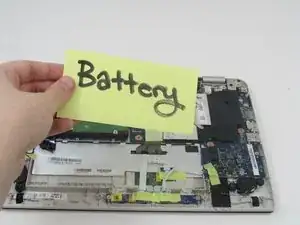
Carefully lift the battery out of the laptop.
-
-
-
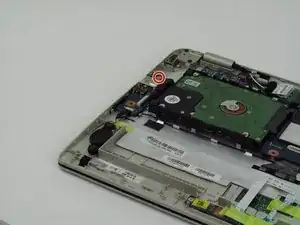
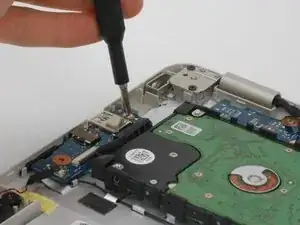
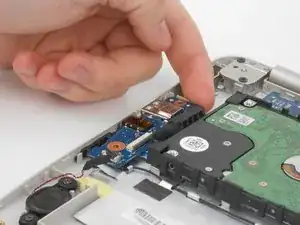
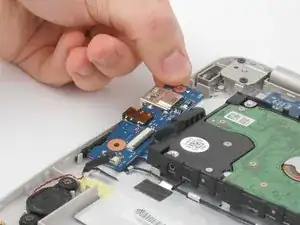
Use Phillips #1 screwdriver (PH1 bit) to remove the 2mm screw that secures the sound board.
-
-
-
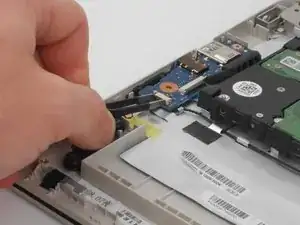
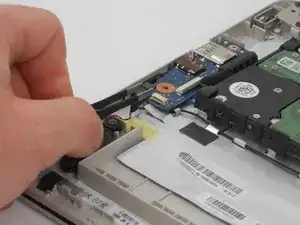
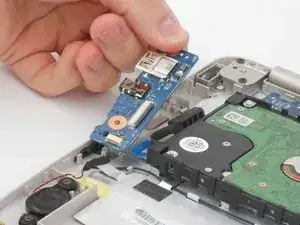
Using the ESD Safe Tweezers Blunt Nose gently pull on the plastic connector that attaches the speaker wiring to the soundboard to disconnect the soundboard from the laptop.
-
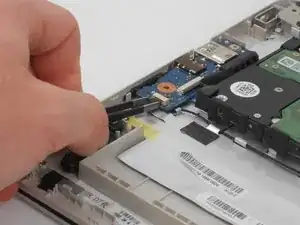
Gently pull the wire away from the soundboard using the ESD Safe Tweezers Blunt Nose.
-
-
-
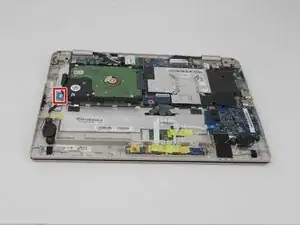
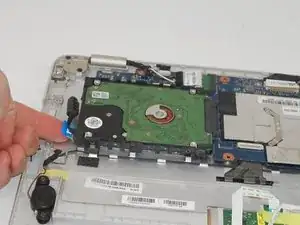
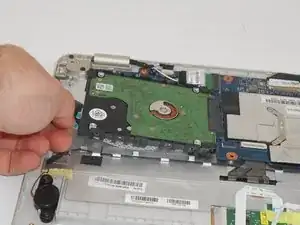
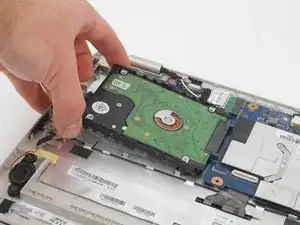
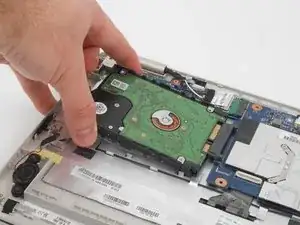
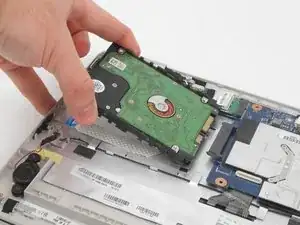
Gently pull the hard drive towards the edge of the laptop to disconnect the hard drive from the laptop circuitry.
-
-
-
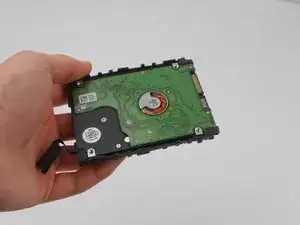
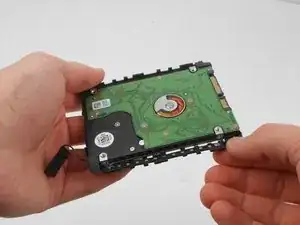
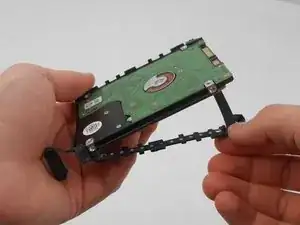
Remove the hard drive from black rubber mount by pulling the corner of the rubber mount away from the hard drive.
-
Continue pulling the rubber mount away from the hard drive until all four corners have been taken off.
-
Pull the remainder of the rubber mount away from the hard drive.
-
-
-
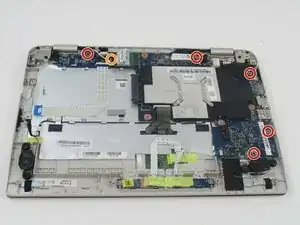
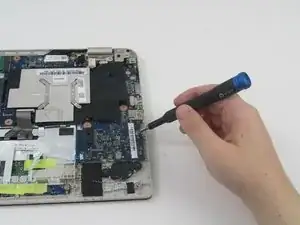
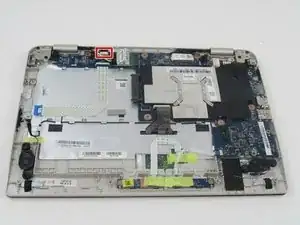
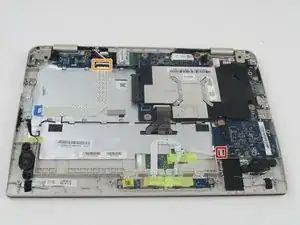
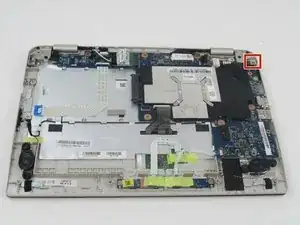
Remove the six 2 mm marked screws with a Phillips #1 screwdriver (PH1 bit).
-
The orange marked screw is wedged underneath the Wifi card, so be careful not to damage it when removing the screw.
-
-
-
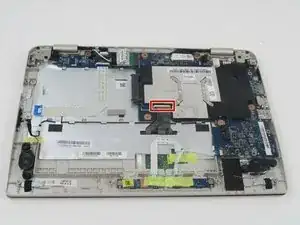
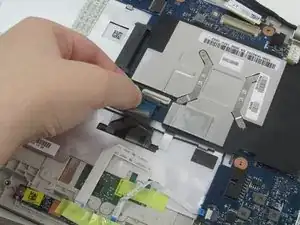
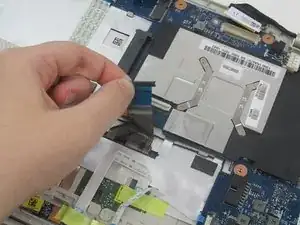
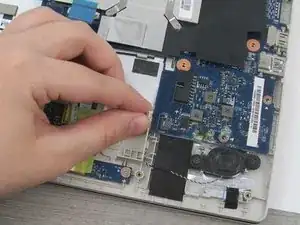
Carefully remove the blue ribbon cable attached to the silver plate on the motherboard using your fingernails to gently pull on the tabbed insert, and place it out of the way.
-
-
-
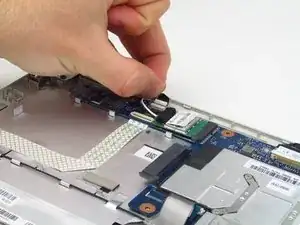
Gently remove the insert next to the wi-fi card on the motherboard. Use your fingernails to gently pull on the tabbed insert, and place it out of the way.
-
-
-
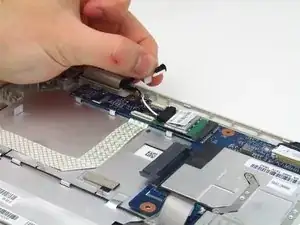
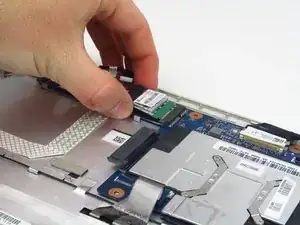
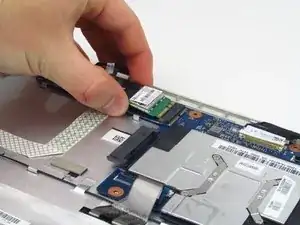
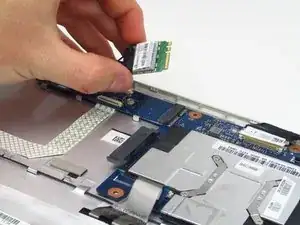
Pull on the sides of the WiFi card to remove it from its slot on the motherboard. Lift the card out and up away from the motherboard, as it will try to bend back into the casing.
-
-
-
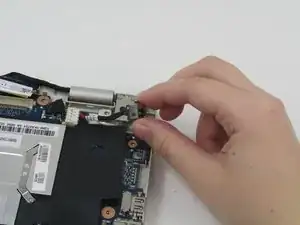
Grab the paper tab on the cable near the silver part of the motherboard. Gently pull it away from the slot, and place it out of the way.
-
-
-
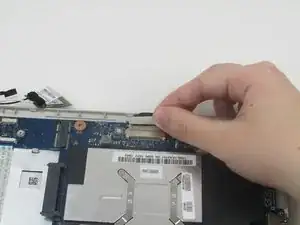
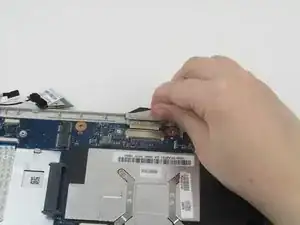
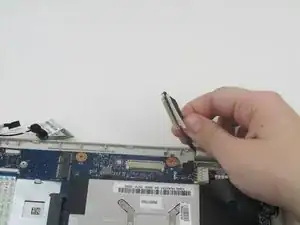
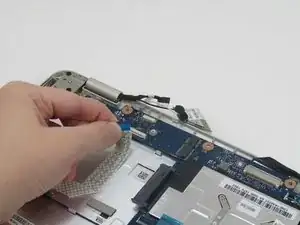
Use your fingernails to gently pull on the tabbed insert of the cable near the bottom of the motherboard, and place it out of the way.
-
Gently pull on the ribbon attached to the motherboard near the WiFi card. In needed, use your fingernails to carefully nudge the tab out of its slot.
-
-
-
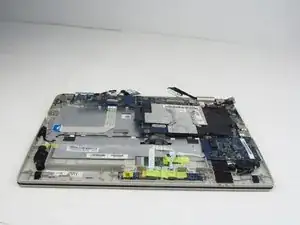
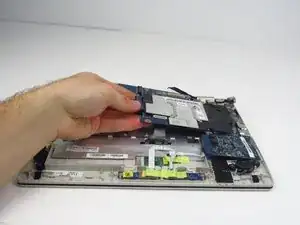
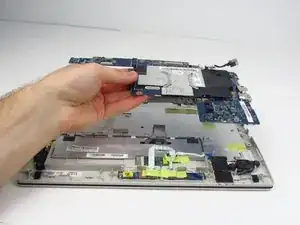
To remove the motherboard from the casing, gently lift the left side and pull it out of the casing.
-
-
-
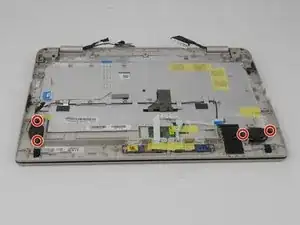
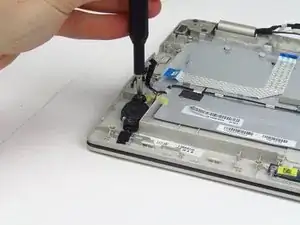
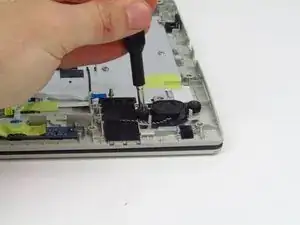
Use the Phillips #1 screwdriver (PH1 bit) to carefully remove the four 2 mm screws from the top of the speakers.
-
-
-
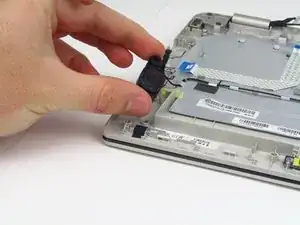
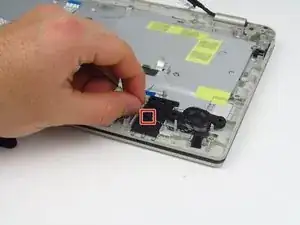
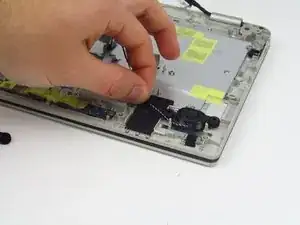
Gently lift the left speaker from the laptop casing and carefully place it outside of the laptop.
-
-
-
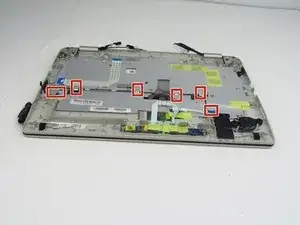
Use an opening pick by sliding it under between the tab and the laptop to lift the six tabs that secure the wire in place.
-
-
-
Remove the tape securing the wire to the laptop casing.
-
Gently lift both speakers and the connected wires away from the laptop, making sure not to damage either while doing so.
-
To reassemble your device, follow these instructions in reverse order.
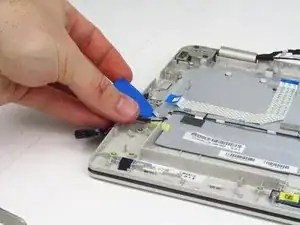
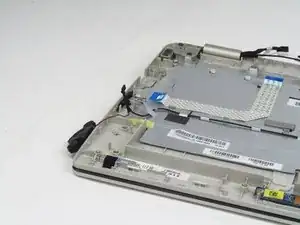
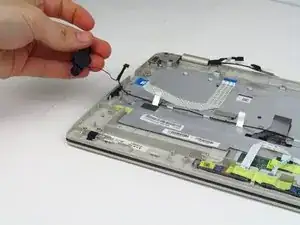
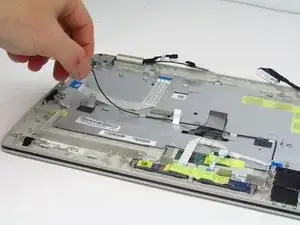
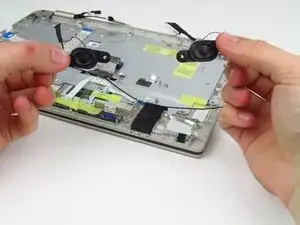
This is kind of a ta-da shot. It’s not a big deal here, but make sure you avoid these for complicated procedures.
Alex Watkins -