Einleitung

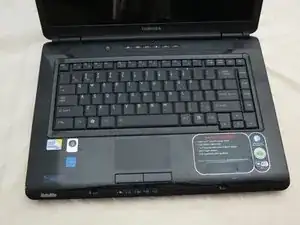
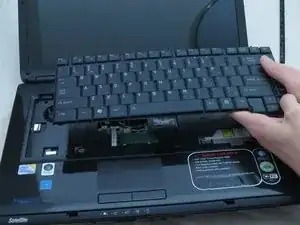
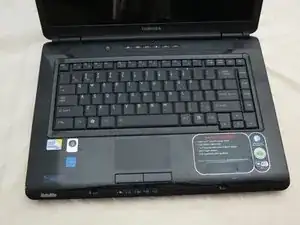
Use this guide to replace the keyboard in your Toshiba Satellite L305-S5946. Unresponsive or sticky keys are good indicators that the keyboard should be replaced. You must remove the keyboard to access the base housing.

  1. OFyVSJM22YeKOGbR
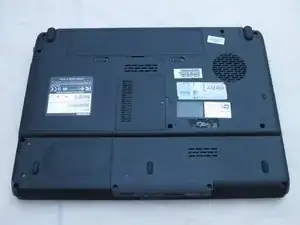
    • Place the laptop upside-down with the display hinges facing away from you.

  2. EsonHCyJ5QuFkVCr
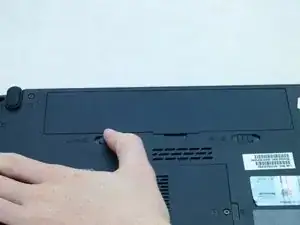
    • Slide the latch for the left battery bay to the left.

  3. ZCoKtRD4nnq3KVgK
    ZCoKtRD4nnq3KVgK
    TLjMRGGGuhacnD3A
    UIAHElAWljgtQM2Y
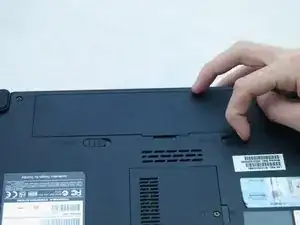
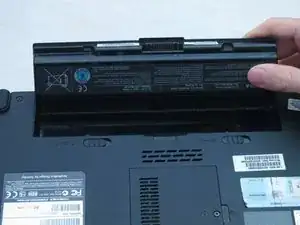
    • Slide the latch for the right battery bay to the right and hold.

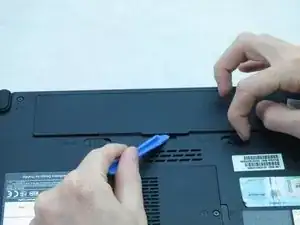
    • Continue to hold the latch while using a plastic opening tool to lift and remove the battery bay cover.

    • Remove the battery.

  4. wSoK52GKdUeROQTp
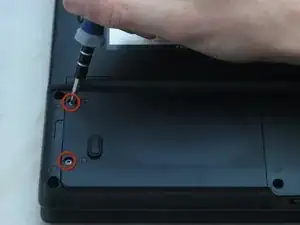
    • Loosen the two captive screws on the bottom left corner of the hard drive using a Phillips #1 screwdriver until you hear a click.

  5. CSINWcTJ3XCdxOGe
    CSINWcTJ3XCdxOGe
    rPhV5r5gmhCrka3A
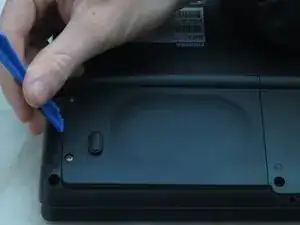
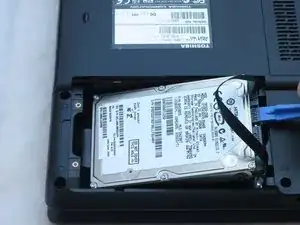
    • Lift the hard drive cover using a non-marring iFixit opening tool.

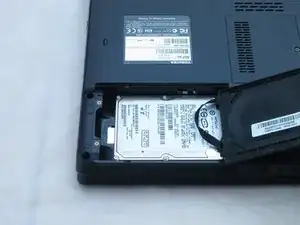
    • This will expose the hard drive.

  6. MIombvRf3kOWCIra
    MIombvRf3kOWCIra
    SLJPmTbTyxflKPn1
    rOCoOQwDWxpMRjNR
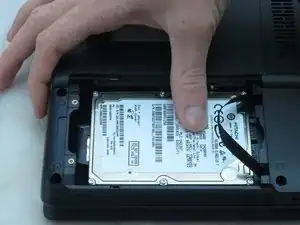
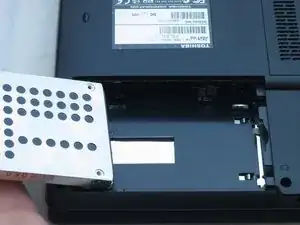
    • Slide the hard drive to the left using your fingers.

    • Remove the hard drive by inserting an iFixit opening tool under the right side of the hard drive and carefully lifting it out.

  7. lrJh6NFtlEgElCqg
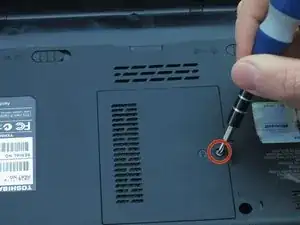
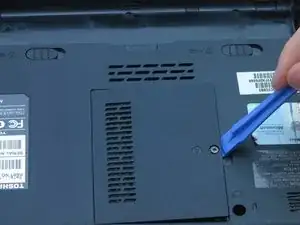
    • Using a Phillips #1 screwdriver, turn the screw on the RAM cover until you hear a click.

    • This is a captive panel screw and remains with the cover.

  8. ijWRPLn56olfGygf
    ijWRPLn56olfGygf
    MBiG5yvdH1hPLJfv
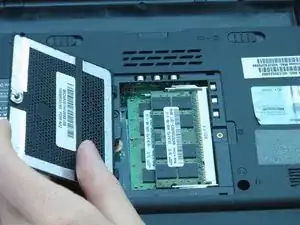
    • Remove the RAM cover by inserting the plastic opening tool into the indent and lifting.

  9. vnTsEhKEylSDyY3V
    vnTsEhKEylSDyY3V
    MFjkdyCLCAqGNSMY
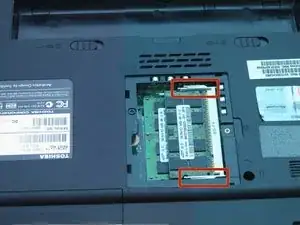
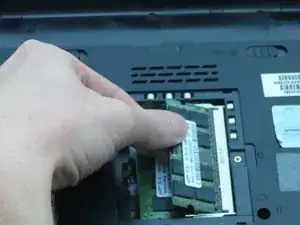
    • Push the white and silver retaining clips away from each side of the RAM card using your fingernails.

    • The RAM card should pop up at an angle.

  10. mVcSjSPdTDjVkAA4
    mVcSjSPdTDjVkAA4
    BfsYVLnytwfRlHdA
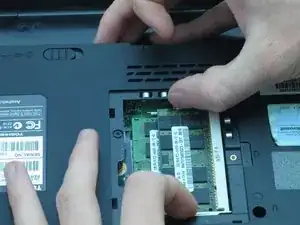
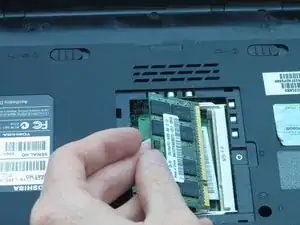
    • Pull the RAM card away from the computer.

    • Repeat Steps 6 and 7 to remove the other RAM card that may be installed.

  11. WDNTVhXFdba1Q5tg
    • Place the laptop right-side-up so the screen faces you.

  12. ya2ToiUZWBwqeIR3
    ya2ToiUZWBwqeIR3
    omSQvSVTfnCkfd6I
    LoUhZjgPh5nUmDAM
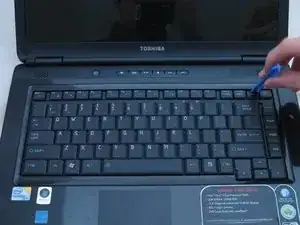
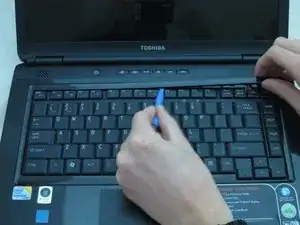
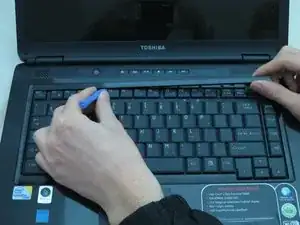
    • Remove the strip of plastic at the right furthermost edge of the keyboard using a plastic opening tool.

    • Insert the plastic opening tool at either end of the strip.

    • Lift upwards and proceed to the other end while repeating this lifting process every one to two inches.

  13. 4MDtijhvwGjSUa4G
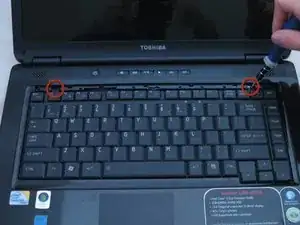
    • CAUTION: do not allow hardware or debris into the CPU fan and duct.

    • Remove the two 3-mm screws at the top edge of the keyboard using a Phillips #00 screwdriver.

    • These are not captive panel screws and, once loosened, will be free to move about the assembly.

  14. SrZoJ4wbxBGDcDIf
    SrZoJ4wbxBGDcDIf
    mGnJdWURItcMDNoH
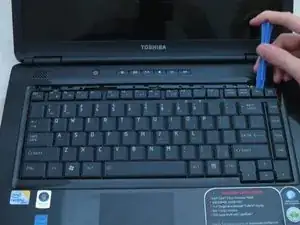
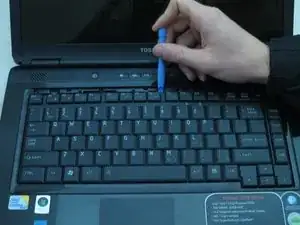
    • Pry the top of the keyboard loose from its casing using a plastic opening tool.

  15. doWVXbehiZFqFIMq
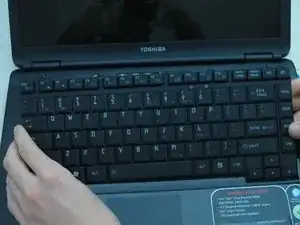
    • Gently grasp the top of the keyboard and pull it up and toward the screen.

    • CAUTION: Pulling too hard could damage the black ribbon cable under the keyboard.

  16. ZsFTBTJRNKfqmD6I
    ZsFTBTJRNKfqmD6I
    1UBTIk1LVHXd1KOF
    2XRclGECBmKuKqkR
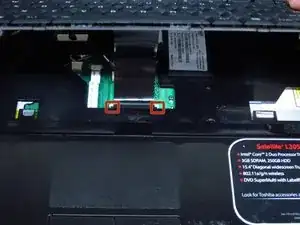
    • Gently push the two tabs locking the black ribbon cable.

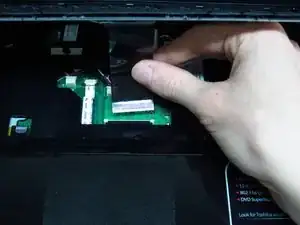
    • To remove the black ribbon cable from the motherboard, slide the keyboard toward the screen.

    • You may now safely separate the keyboard from the laptop.

Abschluss

To reassemble your device, follow these instructions in reverse order.
Michael Erberich

Mitglied seit: 18/04/13

130 Reputation

0 Kommentare