Einleitung

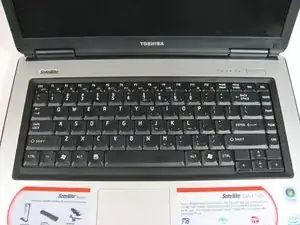
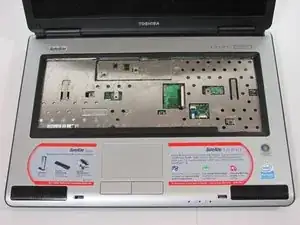
The keyboard is subject to some of the most abuse experienced by a laptop. Whether it is from over use or even water damage, the keyboard can stop working. With the removal a couple screws and the release of a few tabs, the keyboard can be replaced with little effort.

  1. 6PvUPOJHQIYAYUfL
    6PvUPOJHQIYAYUfL
    yoZEVkKjxVJCDQBl
    LVIwIUaeQqSgEQxQ
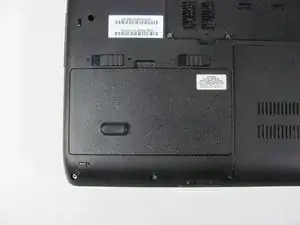
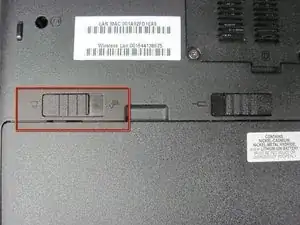
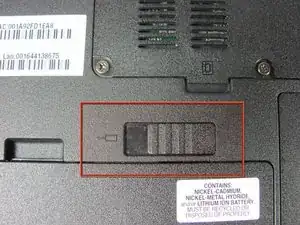
    • Make sure the battery lock switch is switched to the unlocked position.

    • The battery is unlocked when the battery lock switch is slid to the side with an image of an unlocked lock.

  2. THHqDxNA6MXFkTwi
    THHqDxNA6MXFkTwi
    vwNqrMfSEBV5ITIL
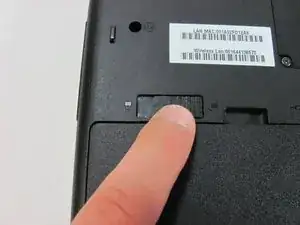
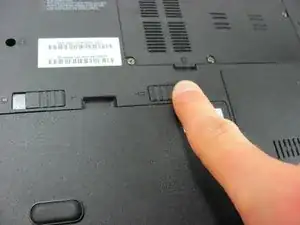
    • Slide the battery release switch to the left.

    • The switch is spring loaded, so you must hold the switch in place while removing the battery.

  3. XPvCrG255Cx3wDUL
    XPvCrG255Cx3wDUL
    mirIw4JqnSe4HREv
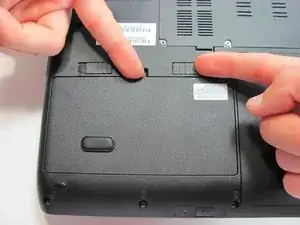
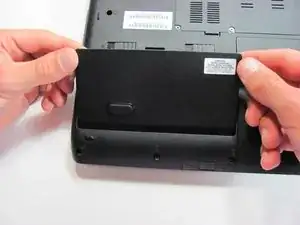
    • Using a finger, lift up the battery.

    • The battery release switch must be held in place.

  4. vhB2ppFrdljktxZN
    vhB2ppFrdljktxZN
    ROPlWSLOXxojZq22
    MJluuxRcVOfuGi1C
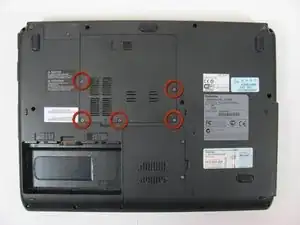
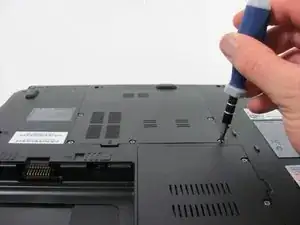
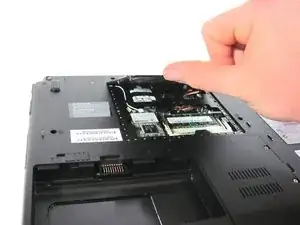
    • Remove the 5 Phillips screws holding the panel in place.

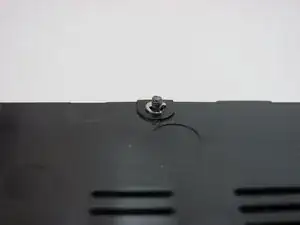
    • These screws are permanently fastened to the panel; they are designed to be removed only partially to avoid loss.

  5. TiMZSHtsZNpMoWXw
    TiMZSHtsZNpMoWXw
    vmkoTkUDbr11AcHY
    jrlORZLG55iHBncA
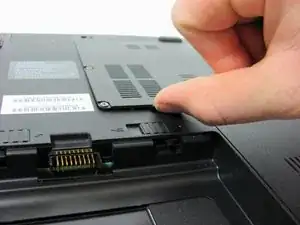
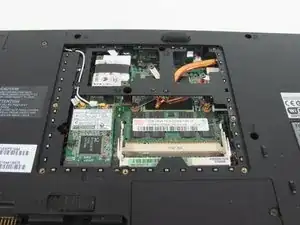
    • Use a finger to remove the panel by lifting up on the provided removal tab.

  6. bNMirdVo4TdKJpLa
    bNMirdVo4TdKJpLa
    BKkXaMre2TBABHKJ
    nLZqLqAcmcLHbhRs
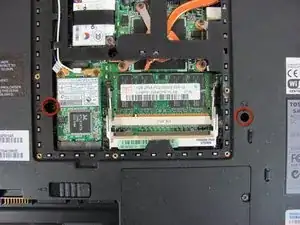
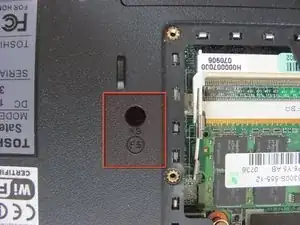
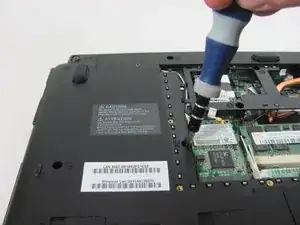
    • Remove the two screws holding the keyboard in place.

    • Two 5.7 mm Phillips screws.

    • 'KB' is written alongside the screw holes. This indicates the screws hold the keyboard in place.

  7. hckRyJjRExnPHYAe
    hckRyJjRExnPHYAe
    CnLsQbpunBDjcjhJ
    ASJJ5CFywYKR5GLA
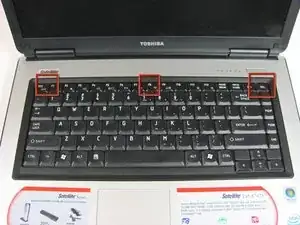
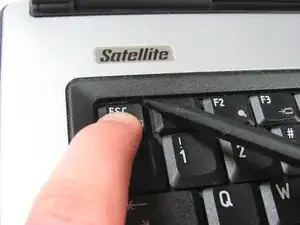
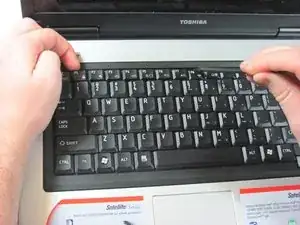
    • There are three tabs holding the keyboard in place.

    • They are located under the ESC, F8, and DEL keys.

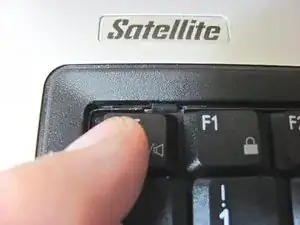
    • Expose the tabs by pressing down on adjacent keys.

  8. IqixgPbunR1E6VWQ
    IqixgPbunR1E6VWQ
    IRZKUgA6JksihUYO
    1lGCRLrIFf1dfNrN
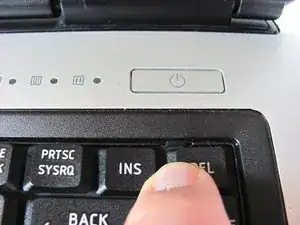
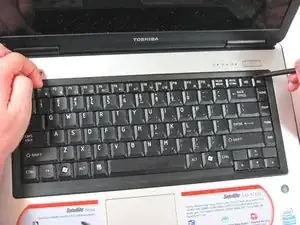
    • While you press down the ESC key, push the tab with the spudger to release that side of the keyboard.

    • Use a finger to prevent the keyboard from locking back in place.

    • Repeat the previous step for the tabs under the F8 and DEL keys.

  9. tCgknSKdgbZgAWZU
    tCgknSKdgbZgAWZU
    I5521BaLotahvwCv
    pDESIaZ2oHgZGuRB
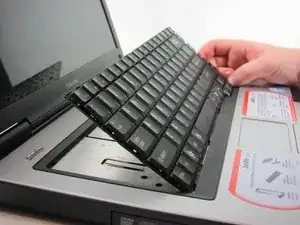
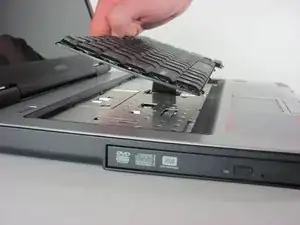
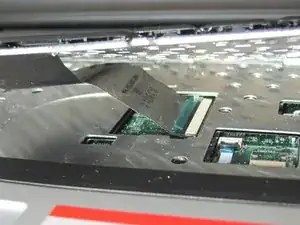
    • Pick up the keyboard. This exposes a cable that connects the keyboard to the laptop.

    • Lift the keyboard gently. The cable connecting it to the computer is a ribbon. If pulled too hard, the ribbon may be damaged.

  10. TGtwYsbkWTdJRVUn
    TGtwYsbkWTdJRVUn
    vLblDcnPiyxmwtWy
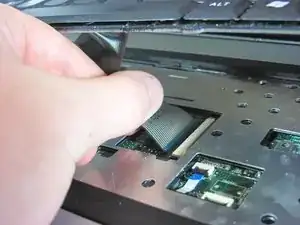
    • Gently unplug the ribbon cable connecting the keyboard to the laptop by pulling horizontally.

Abschluss

To reassemble your device, follow these instructions in reverse order.

Stephen Sippel

Mitglied seit: 16/04/13

194 Reputation

Ein Kommentar

Great instuctions plus photos. Spot on, tx

Darrell -