Einleitung
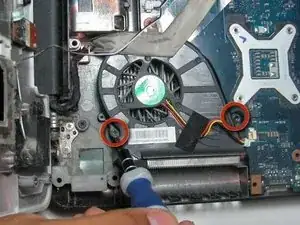
This guide is useful for replacing a broken cooling fan on your laptop. The fan is designed to draw in cool air to prevent the laptop from overheating. In this replacement guide, you will remove the lower cover to access the fan.
Note: Before starting any removal or installation, remember to turn off the device and to remove it from the power source.
Werkzeuge
-
-
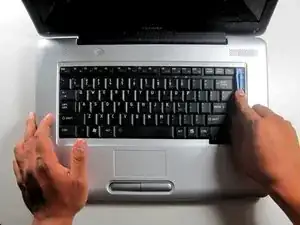
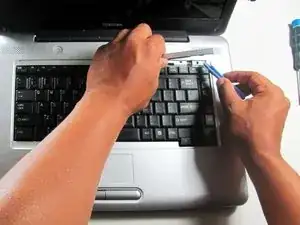
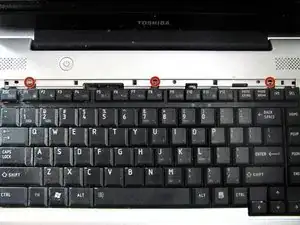
Use the flat edge of the plastic opening tool to pry open the narrow plastic strip above the keyboard.
-
-
-
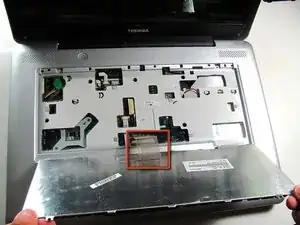
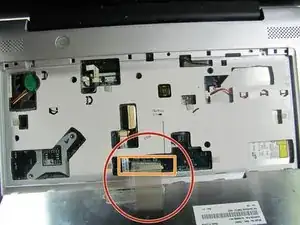
Disconnect the keyboard cable that is still attached to the keyboard.
-
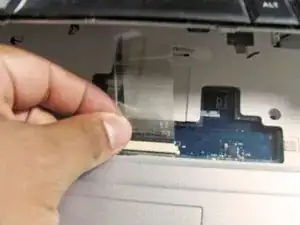
Unlatch the fastener.
-
Using your hands, pull the keyboard connector out, not up.
-
-
-
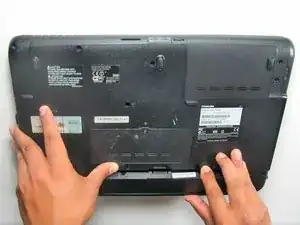
Flip the laptop over to access the battery.
-
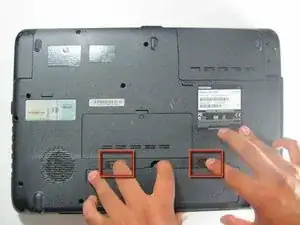
Remove the battery by sliding fingers away from each other and lifting up the tab at the same time.
-
-
-
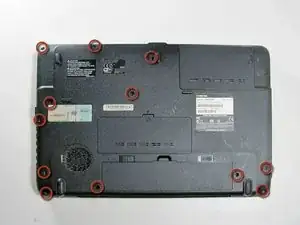
Remove the twelve 10mm screws with a Phillips #00 screwdriver.
-
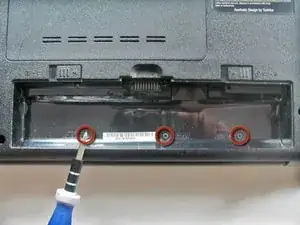
Remove the cover over the hard drive (upper right in photo) and remove the four 10mm screws at the four corners.
-
-
-
Flip the laptop over so it's in the right-side-up position.
-
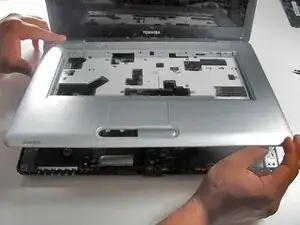
Lift the grey plastic casing up and unhook any wires attached to the casing.
-
Remove the five 10mm screws, each with a label 'F10' next to them.
-
-
-
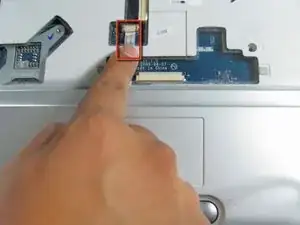
Disconnect the flat thin wire connecting the track pad to the motherboard by pulling it straight out.
-
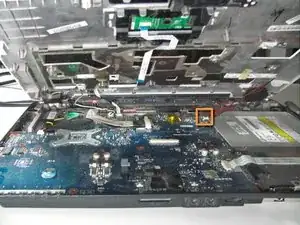
Disconnect the thin red wire on the right side of the motherboard.
-
-
-
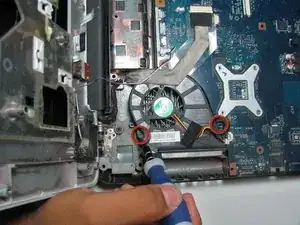
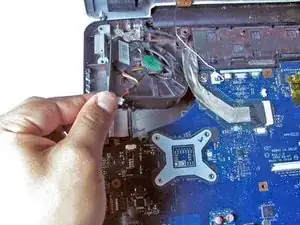
Disconnect the red and yellow wires connecting the fan to the motherboard by pulling the wires straight out.
-
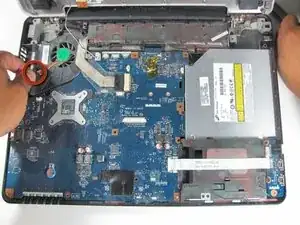
Remove the fan.
-
To reassemble your device, follow these instructions in reverse order.
Ein Kommentar
I've taken my Toshiba L455 apart a few times from watching a few different You Tube videos. I WISH I would've seen THIS site & demonstration then! It makes it SO MUCH easier by actually showing each & ALL of the screws that need to come out,It tells you in GREAT detail step by step of everything you need to do so that nothing's ruined in the process! In the videos like when it comes to removing the keyboard/ribbon for it,you can't see what they're doing when removing the ribbon,which was my hardest part! I actually had it all put back together to learn it wasn't put back together right(since I wasn't exactly sure how it came off!) After 3 times,I FINALLY figured it out,by myself! So even this 1 doesn't say that the white clip that comes out 2 release the ribbon goes back UNDER the ribbon when putting it back! Cuz mine came out fast so I missed how it was even in there. Hopefully this helps someone since I SO wished I had this! Lol!
pds252 -
