Einleitung
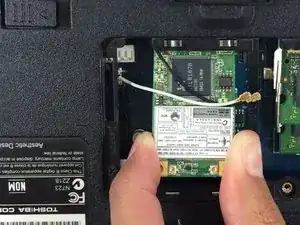
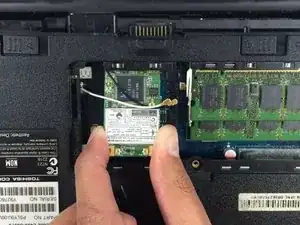
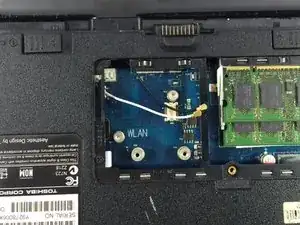
This guide is useful when you need to replace the wifi card due to it not working properly. In this guide, you will remove the wifi cover to access and then replace the wifi card.
Note: When installing new WiFi card be sure to connect the black wire to the right where there is a small letter “B” imprinted and place white on the opposite side.
Werkzeuge
-
-
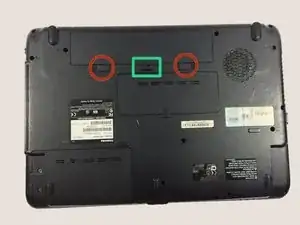
Flip Laptop into an upside-down position.
-
Push latches (indicated in red) outward.
-
Lift battery by notch (indicated in green) to remove.
-
-
-
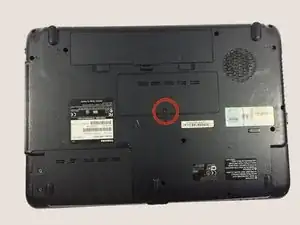
Remove the plastic cover closest to the battery by first unscrewing the single 7mm screw (in red) with the phillips #00 screwdriver.
-
Now, lift the cover by the notch under the screw (in red) using a plastic opening tool.
-
-
-
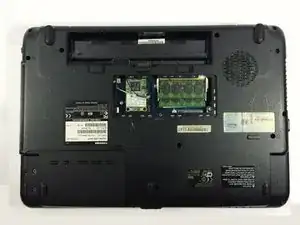
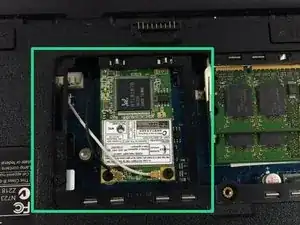
Locate the Wifi Card on the right-hand side of compartment you just revealed
-
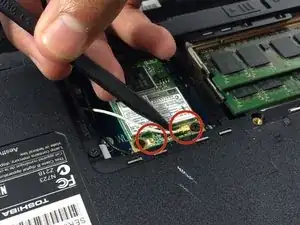
Remove the black and white wire by carefully pulling them off with the plastic lever (you will hear a light snapping sound).
-
-
-
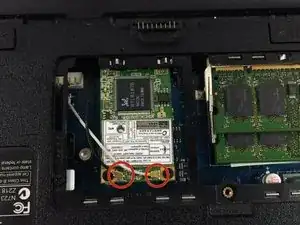
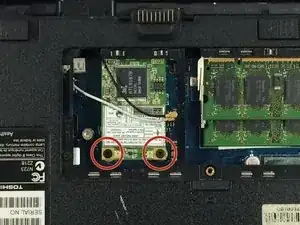
Unscrew the two 6 mm screws (indicated in red) located at the bottom of the WiFi card and store them in a safe place.
-
Note: When installing new WiFi card be sure to connect the black wire to the right where there is a small letter “B” imprinted and place white on the opposite side.
To reassemble your device, follow these instructions in reverse order.
