Einleitung
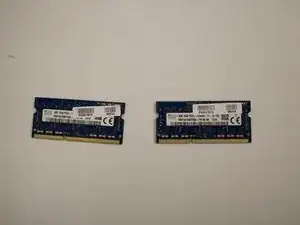
This guide will instruct you on how to safely remove and replace the RAM in your Toshiba Satellite L55W-C5256. You may need to do this if:
- Your device’s RAM has failed, and needs to be replaced
- You are upgrading your device’s RAM
Before beginning this replacement guide, it is recommended that you use an anti-static work mat and that you ground yourself using an anti-static wrist strap. This helps to protect your device from damage caused by static discharge. If you do not have these materials, you can find an anti-static wrist strap here, and an anti-static work mat here. To learn how to properly use an anti-static wrist strap and an anti-static work mat (recommended), see the guide found here.
Werkzeuge
-
-
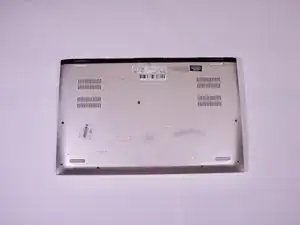
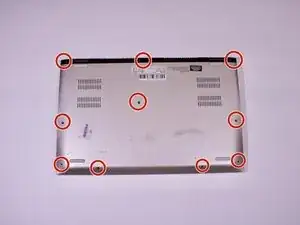
Use a Phillips #00 screwdriver to remove the 10 screws that secure the back cover to the device.
-
-
-
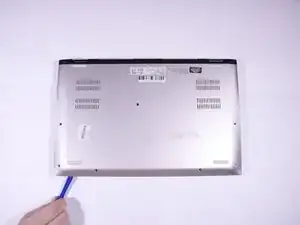
Gently use an iFixit opening tool to separate the back cover from the laptop. Go around all edges until plastic clips are completely free.
-
-
-
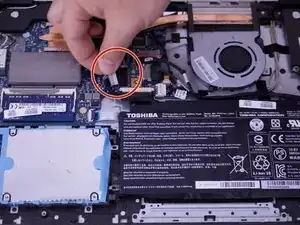
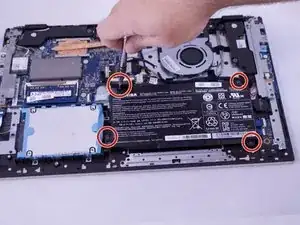
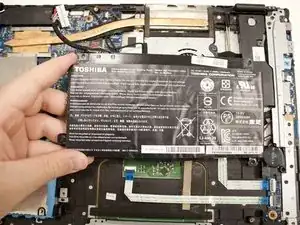
Using a Phillip's #00 screwdriver, remove the four 7.0 mm screws that secure the battery to the motherboard.
-
-
-
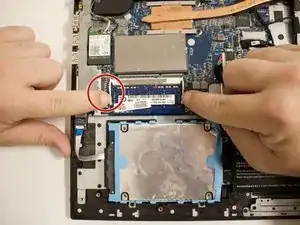
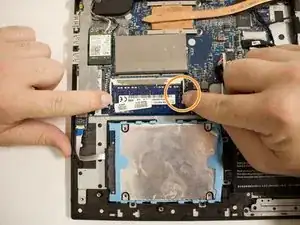
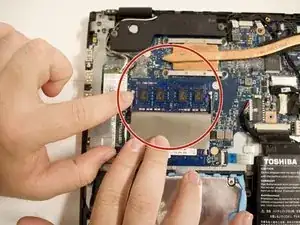
Using your forefinger, gently pull on the left bracket that secures the RAM to the motherboard.
-
Using your forefinger, gently pull on the right bracket that secures the RAM to the motherboard.
-
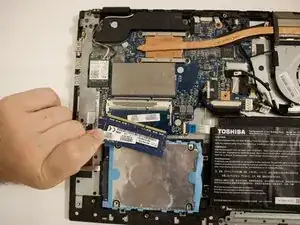
Lift the RAM stick from the motherboard.
-
To reassemble your device, follow these instructions in reverse order.
