Einleitung
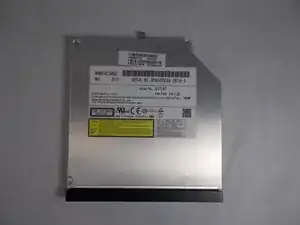
This guide will show how to remove and replace the disk drive. It is important to remember to use the prerequisite guide to remove the battery before starting. This repairing process is relatively easy and can be done by beginners.
Werkzeuge
-
-
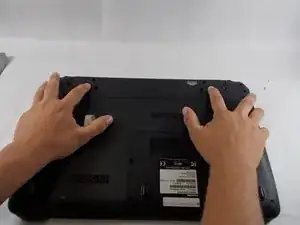
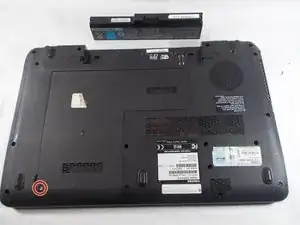
Flip the laptop on a scratch free surface, exposing underneath the laptop.
-
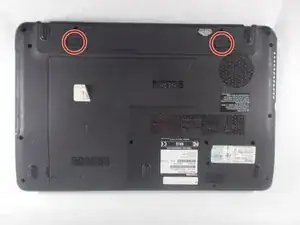
Identify the unlocking latches denoted by the red circles.
-
-
-
Simply slide the latches outward to the unlocked position.
-
The latches should stay in the unlocked position. If not, hold them in the unlocked position.
-
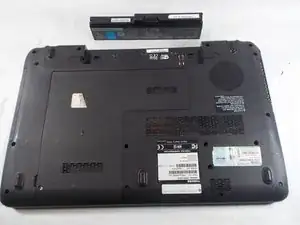
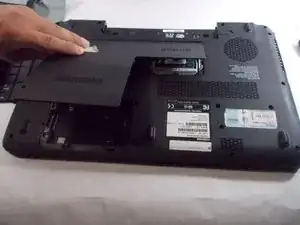
With the latches in the unlocked position, slide the battery out, away from the laptop.
-
-
-
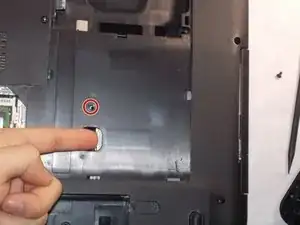
Remove the screw shown by the red circle.
-
Locate the small square that shows the back edge of the disk drive.
-
Push the drive in the direction shown until it cannot be pushed any further.
-
-
-
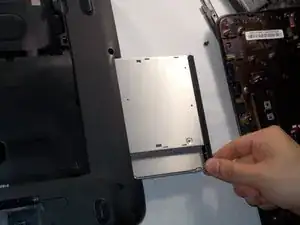
Pull the now revealed part of the disk drive in the direction shown until the disk drive is released.
-
To reassemble your device, follow these instructions in reverse order.
