Einleitung

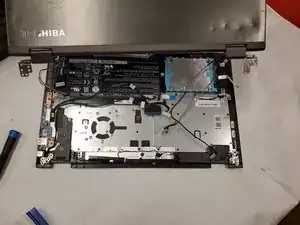
The screen is a component that is susceptible to extensive damage. In addition, the screen is the one of the most common components that is replaced. If your screen is cracked or if the images aren’t properly displaying on your laptop, follow these instructions to remove the screen in your laptop.

  1. FLLCGXhwdsUdYVZK
    FLLCGXhwdsUdYVZK
    oSuMJjEKHZJxAWTr
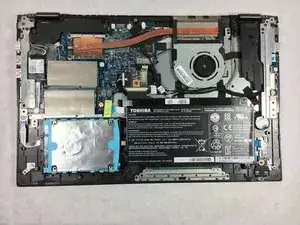
    • To prevent injury, ensure the laptop is powered off before starting your work.

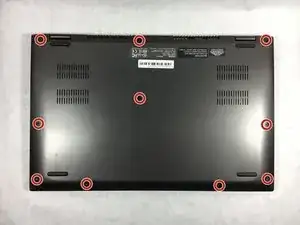
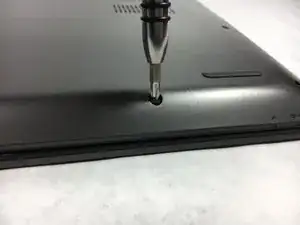
    • Unscrew the .3mm Phillips head screws on the back panel using the PH1 screwdriver.

  2. HHlYZYBLMwY1HnRS
    HHlYZYBLMwY1HnRS
    qoJWpCj5FuDLKWGd
    Mtg5rYJHHRkvgVus
    • Be careful to not crack the panel where the USB and power cord ports are.

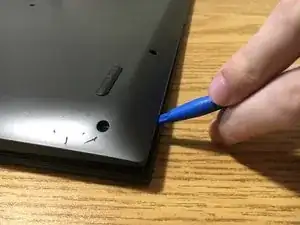
    • Insert the opening tool in between the back panel and the laptop to pry it open.

    • The back panel is magnetically attached at the front of the laptop so you may have to move the opening tool along the length of the panel.

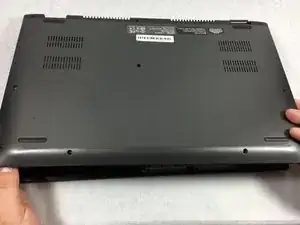
    • Lift the panel from the front off of the laptop.

    Please where to buy this back panel , thank you

    Yvette Menthong Mana -

  3. MgpitAshqe2G1FY5
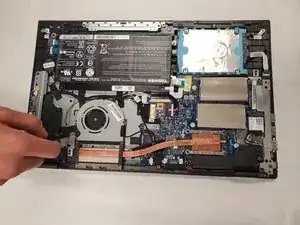
    • Remove both screws from the fan.

  4. CDQqnIgwDHw1wLh3
    CDQqnIgwDHw1wLh3
    YKTPggILLSyaMoa1
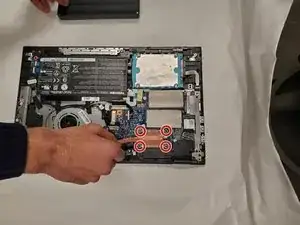
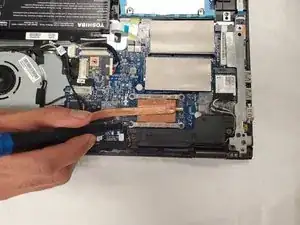
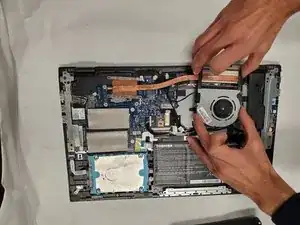
    • Remove the screws securing the 4 corners of the heatsink.

    • Gently remove the heatsink. Keep in mind thermal paste is used and it may be slightly difficult to remove.

    Replace new fan, need more detail where to put thermal paste on the heatsink like just around edge or whole or what? How much should put thermal paste on the heatsink? Need show some pictures about put thermal paste on the heatsink, please.

    Linda Lepisto -

  5. AlmYUEUC3AmOFdcR
    AlmYUEUC3AmOFdcR
    D2RocRElAtIkWMeJ
    lSJKCZVYmSZ5LCEh
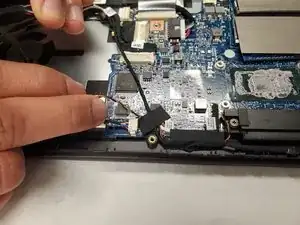
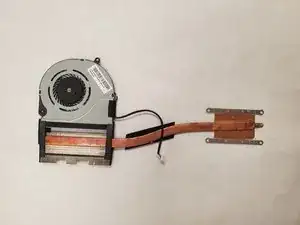
    • Remove the small, beige colored connector securing the fan to the laptop and remove the fan and heatsink assembly from the laptop.

  6. rWlOgaSVNaXWcY6w
    rWlOgaSVNaXWcY6w
    cTsTdTUA3QRU1pb2
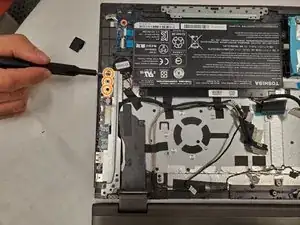
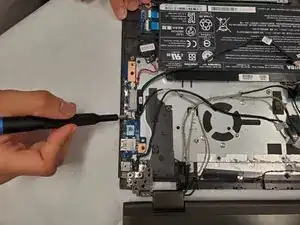
    • Using the Phillips #00 screwdriver, remove the two screws securing the silver USB protector located on the far right side of the laptop, and pry off the protector.

    • Remove the three screws at the top end of the USB protector using the Phillips #00 screwdriver.

  7. i1ttLMM3vbYmQVZc
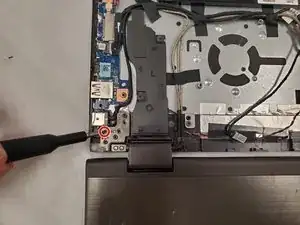
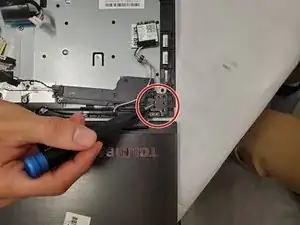
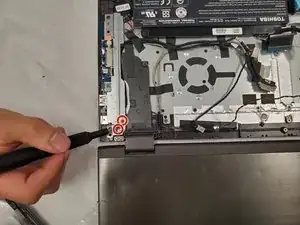
    • Using the Phillips #0 screwdriver, remove the screws on metal hinge securing the screen to the laptop.

    • There was only a single screw at the time of guide creation but you should remove any screws from the hinge.

  8. DTAAb2iNNshOfu3I
    • Repeat the previous step to remove the screws on the other hinge securing the display to the device.

  9. ZuI6DkrQNglEUva3
    ZuI6DkrQNglEUva3
    a6HAW4PKUBnatJYD
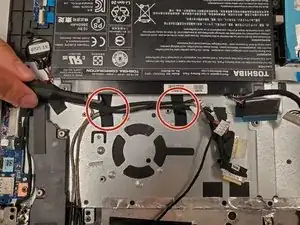
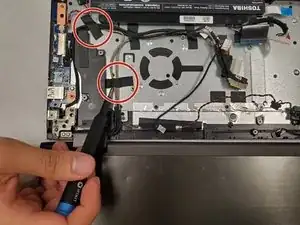
    • Remove all of the black tape securing the hinge to the laptop.

  10. ipYPOhCtw1PBFUdV
    • Disconnect the connector directly above the IO cable.

  11. CHFtLtNbtRgQAP4W
    • Remove the display assembly from the device.

Abschluss

To reassemble your device, follow these instructions in reverse order.
Kyle Dierking

Mitglied seit: 07/11/19

133 Reputation

0 Kommentare