Einleitung
Werkzeuge
-
-
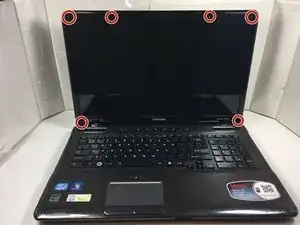
Begin by removing all of the screws around the perimeter of the screen. There are 6 total.
-
-
-
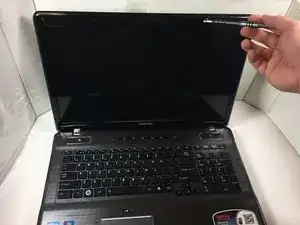
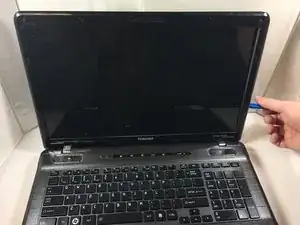
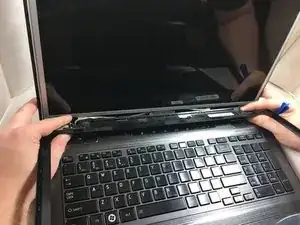
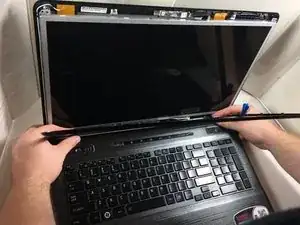
Gently remove the plastic lining of the screen. Use a card, guitar pic, or another tool to pry open the lining, but be careful during this process.
-
-
-
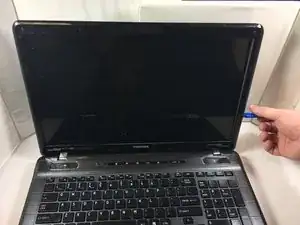
Once the plastic lining is loose from the device, you can remove the lining. Gently pop the lining of the screen off of the hinges of the computer.
-
-
-
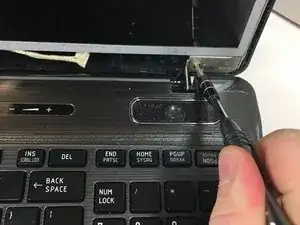
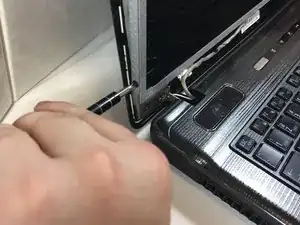
Unscrew the screws located on the sides of the silver part of the screen. Some of the screws are smaller than others, so be sure to get all of them. The screen cannot come off if the screws are not all out.
-
-
-
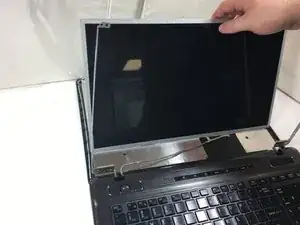
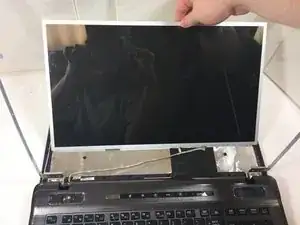
At this point, your screen is almost disconnected. Be sure to support the screen because there is nothing holding it up.
-
-
-
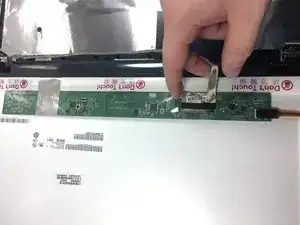
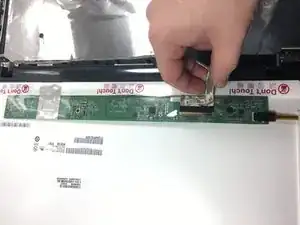
Gently remove the tape from the screen. After you have done so, your screen is ready to be replaced!
-
To reassemble your device, follow these instructions in reverse order.

