Einleitung
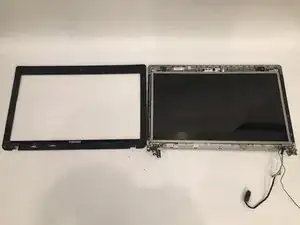
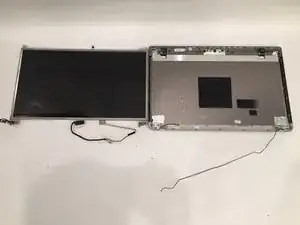
Guide is to replace the hinge of the Toshiba Satellite P855-S5312 . Reasons for replacement would be if the screen will not stay in place being to flimsy because hinge. Tools required for guide are phillips size 0 screwdriver.
Werkzeuge
-
-
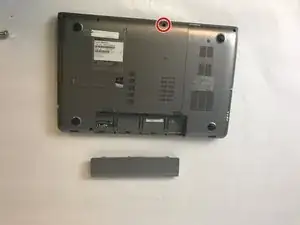
Unscrew the one 1.5mm screw using a Philips #0 screwdriver holding the L shape panel.
-
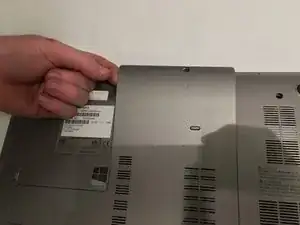
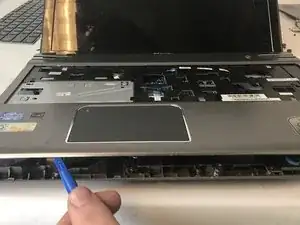
Pry up the panel to gain access to hidden screws.
-
-
-
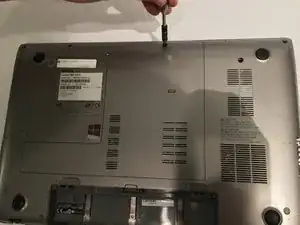
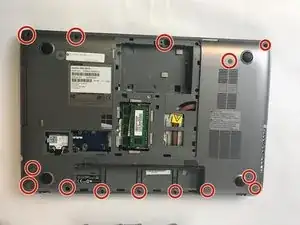
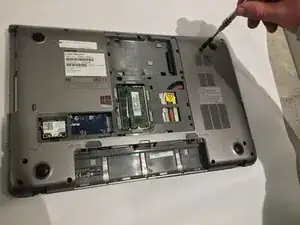
Remove the fourteen (14) screws using a Philips #0 screwdriver for the 1.5mm screws on the underside of casing.
-
-
-
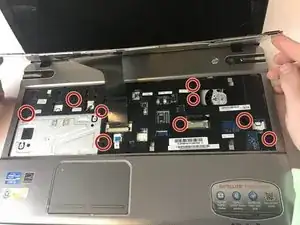
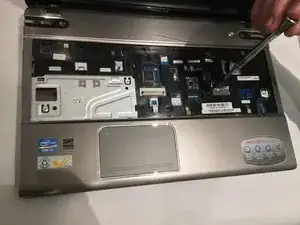
Unscrew the nine 1.5mm screws using a Philips #0 screwdriver under the keyboard with the F6 printed next to them.
-
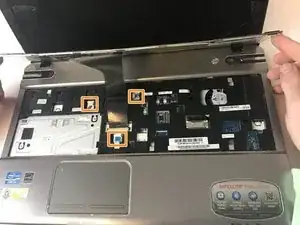
Unplug the three no-fuss ribbon cable connector cables by gently pulling on them away from you towards the keyboard.
-
-
-
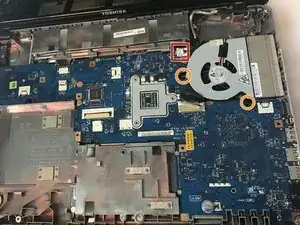
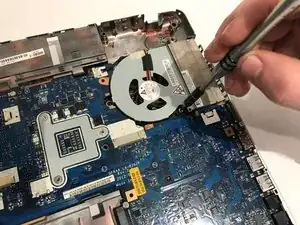
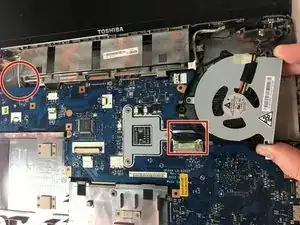
Unplug the single no-fuss cable connector using the plastic opening tool pushing the edges towards the fan.
-
Unscrew the two 1.5mm screws using a Philips #0 screwdriver by the head mounting holding down the fan.
-
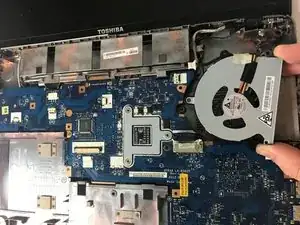
Pull the fan up and remove it from the device.
-
-
-
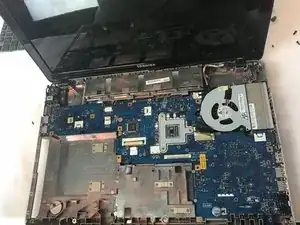
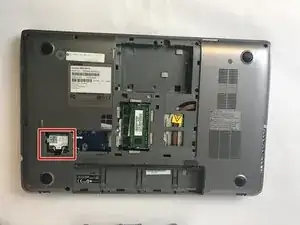
Turn laptop upside down with the spine facing towards you and locate the microchip.
-
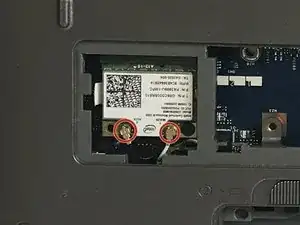
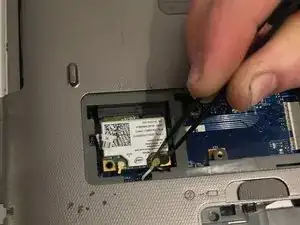
Remove the white and black sliding connector wires by prying upward with tweezers gently pulling the black and white wires upwards.
-
-
-
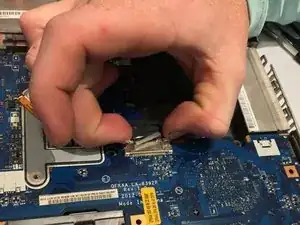
Unplug the single ZIF connector ribbon by gently pulling up.
-
Pull the white and black wires through from the underside of device.
-
-
-
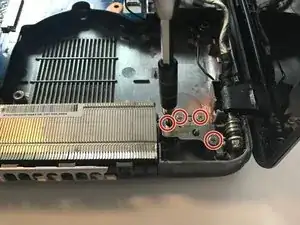
Unscrew the four hinges mounting the 1.5mm screws on each side from casing using a Philips #0 screwdriver.
-
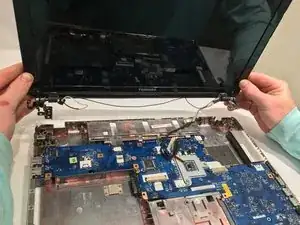
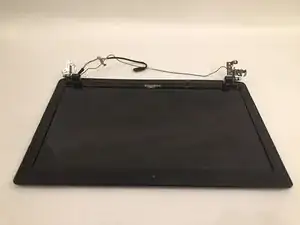
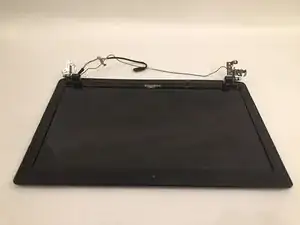
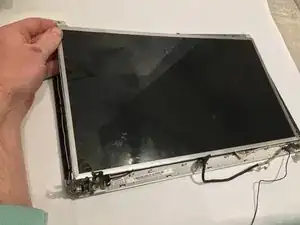
Remove entire screen assembly from casing.
-
-
-
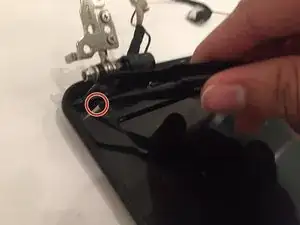
Locate the two black sticker covers on the bottom of both sides of the monitor
-
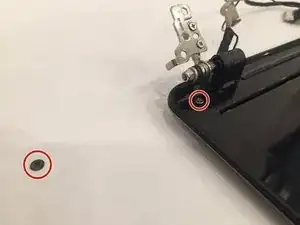
Using a pair of tweezers, carefully remove black stickers concealing two screws
-
-
-
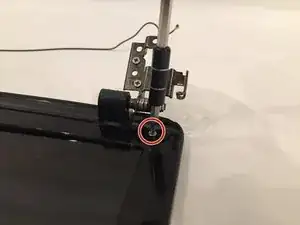
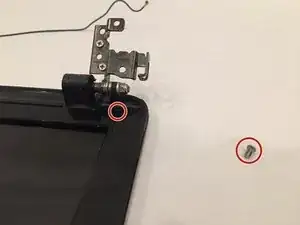
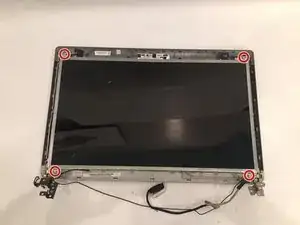
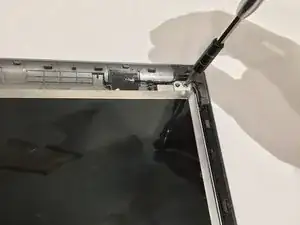
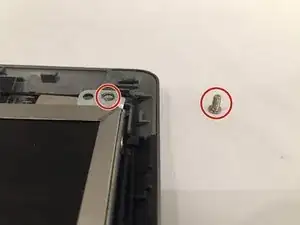
Using the Philips #0 screwdriver, remove the four 1.5mm screws at the corners of the screen.
-
-
-
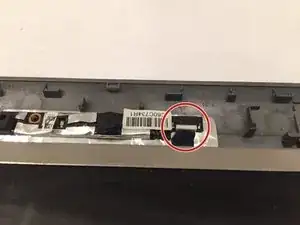
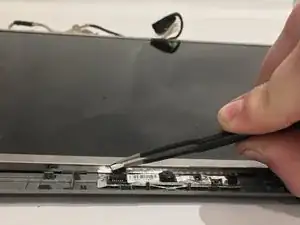
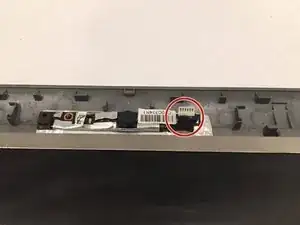
At the top of the screen, using the tweezers, remove the ZIF ribbon connector by gently pushing it up.
-
-
-
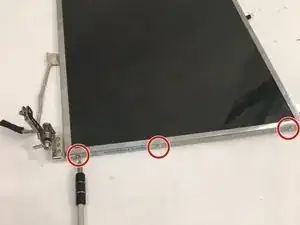
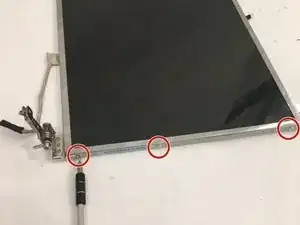
Remove the three screws on the sides of the screen using the Philips #0 screwdriver.
-
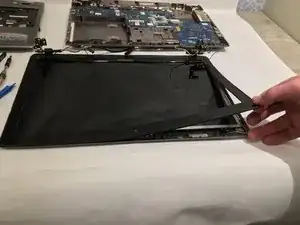
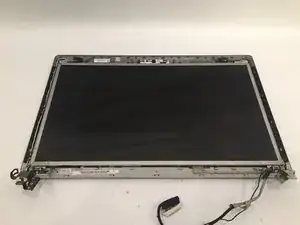
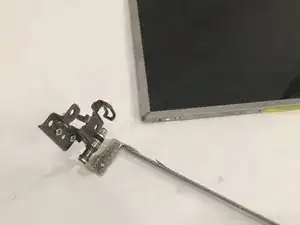
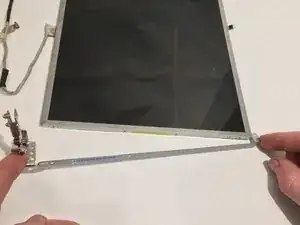
Once unscrewed, pull the frame off along with the hinge.
-
To reassemble your device, follow these instructions in reverse order.
