Einleitung

The cooling fans are responsible for regulating the temperature of the laptop. Cooling fans often become louder as they begin to fail. Please refer to the Cooling Fan Troubleshooting Guide to determine if your cooling fan needs to be replaced.

  1. qXYWdLPG6KYQT3Jf
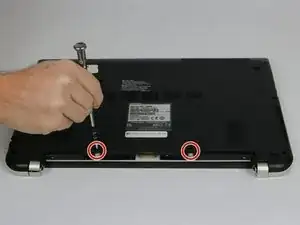
    • Remove the two 7 mm Phillips #1 screws that hold the battery in place.

  2. 22NOxfwqYBWUPlrs
    22NOxfwqYBWUPlrs
    CARh1lwcVNDyBZHu
    GY6YNZXcYernCXhH
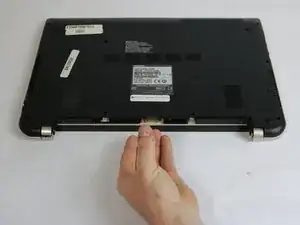
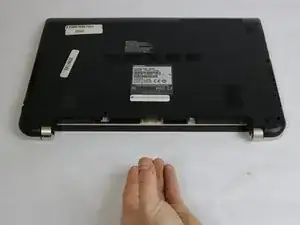
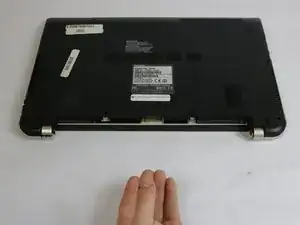
    • Pull the battery from laptop.

  3. 6WLAUEJAHdAonSU1
    6WLAUEJAHdAonSU1
    k1gloK4g2HOaeBpC
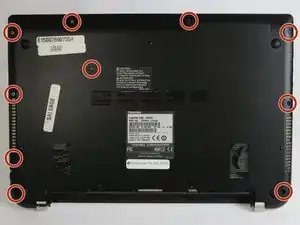
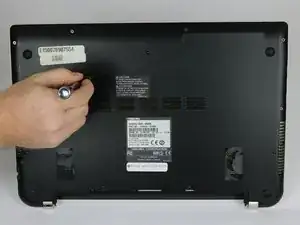
    • Remove the ten 7 mm Phillips #1 screws that secure the back cover.

  4. iJgaav4o6Fl5R5Zr
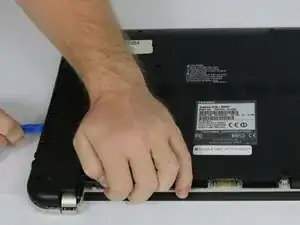
    • Wedge the tip of a plastic opening tool between the back cover and the metal frame.

    • Twist the plastic opening tool, while wedged, in order to release the retaining tabs from the frame.

    • Repeat these steps in a circular pattern around the laptop to release all retaining tabs.

  5. w5vlWaUh3UB4QOuD
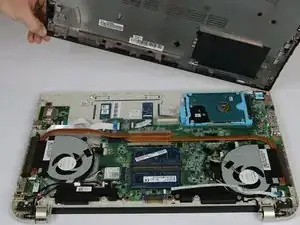
    • Once all retaining tabs are released from the frame, you can pull up on the back cover to remove it.

  6. tPkDWTpw2ZAEusQO
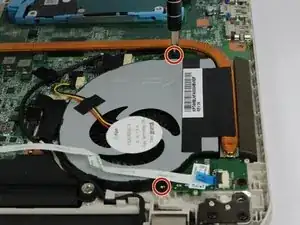
    • Remove the two 3.5 mm Phillips #1 screws that hold the cooling fan in place.

  7. eiHgWosTVxp1ZxEB
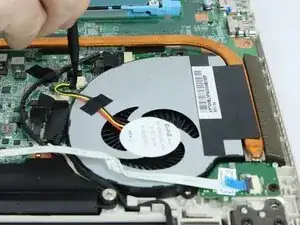
    • Wedge the flat end of the spudger between the connector and its socket.

    • Twist back and forth in order to pry the connector loose from its socket.

    • Although you can pull on the connector wires to remove it from the socket, it is not recommended until the connector is loose to prevent damage to the wires.

  8. pEPwqU2rgJ4WDNlm
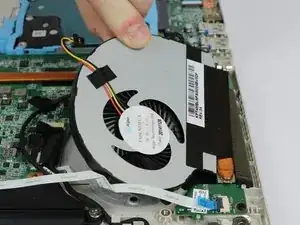
    • Lift up on the cooling fan to remove it from the laptop.

    • Repeat steps 6-8 for the other cooling fan.

Abschluss

To reassemble your device, follow these instructions in reverse order.
George Gillespie

Mitglied seit: 15/09/16

721 Reputation

0 Kommentare