Einleitung

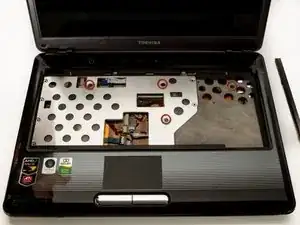
The faceplate is the area next to the keyboard that protects the inside parts of the device. Sometimes it may need to be taken off to repair other parts. This guide will show how to remove it.

  1. QH6QTCiBPHChluI1
    • Make sure that the laptop is off and unplugged.

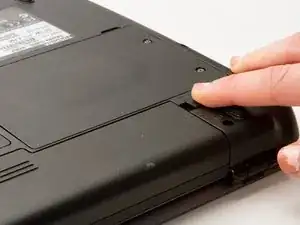
    • Turn the laptop over.

    • Slide back the left lock, and you should hear a click when it is successfully locked back in.

  2. fKOkrOaMdbaPR4bK
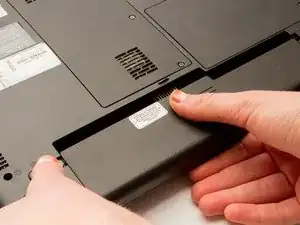
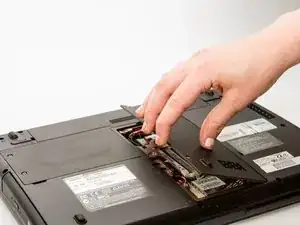
    • Rotate the laptop 180 degrees so that the battery is near you.

    • Hold back the spring slide and pull the battery out.

  3. iZECH3TAuFq4Nsuf
    iZECH3TAuFq4Nsuf
    kJZUuBJDJ3qwmlAm
    mEWCjohuEJluFhfa
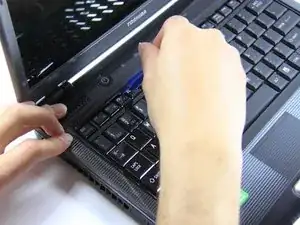
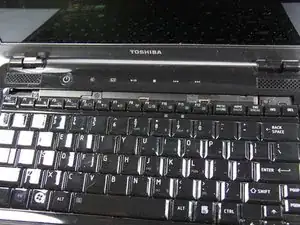
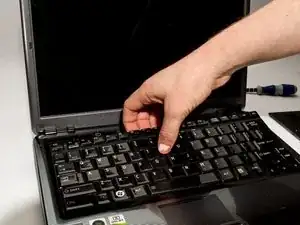
    • Situate the laptop so that it is open and the display is facing you.

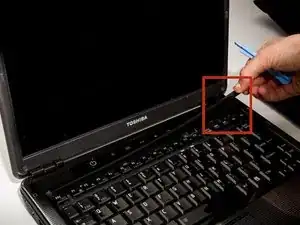
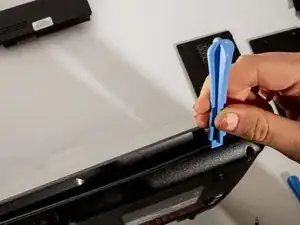
    • Use the plastic opening tool to pry the black plastic insert upward. The insert can be found at the top of the keyboard.

    • Once the insert is loose, carefully remove it from the device.

  4. VAcgmoskJsLGTXnX
    VAcgmoskJsLGTXnX
    vHdpxCeKJMSTovnC
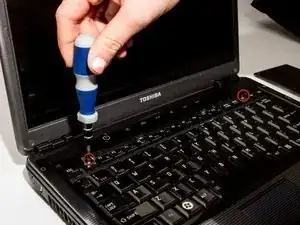
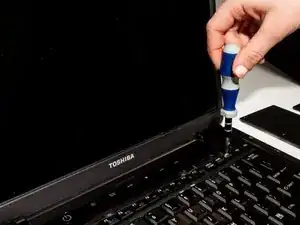
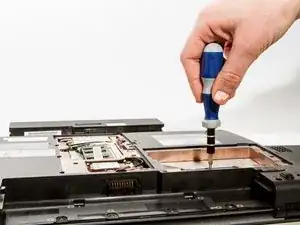
    • Using #1 Phillips Screwdriver, remove both of the 5 mm screws that are located beneath the insert.

  5. fjaNYDsgqpEcMpJr
    fjaNYDsgqpEcMpJr
    16NXVDQBAdt3DUiK
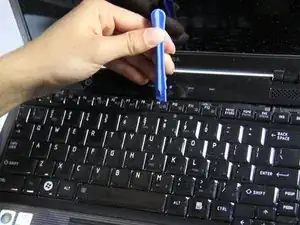
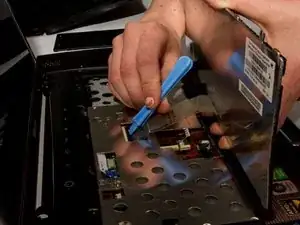
    • Use the plastic opening tool to begin removing the keys off of the device.

    • Once the keys are off, gently remove the keyboard. Be careful of the ribbon cable that still connects the keyboard to motherboard.

  6. WcEfMBRthSBXdLan
    WcEfMBRthSBXdLan
    l55OWdy4jpBZN4Hf
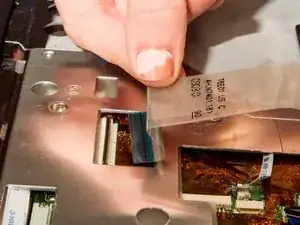
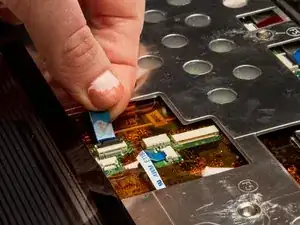
    • Lift up the gate on the ZIF socket to release the ribbon.

    • Ease the ribbon connecting the keyboard to the motherboard out of the ZIF socket.

  7. FELeTyhLwuAhHuhH
    FELeTyhLwuAhHuhH
    aRHX3HvHCAkyRVZ4
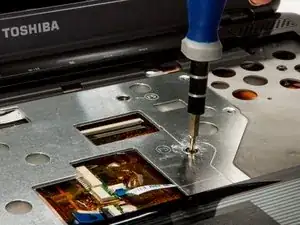
    • With the keyboard removed, locate the marked screws.

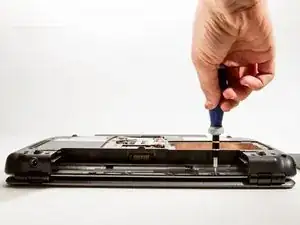
    • Remove the marked, 5mm screws using the #1 Phillips Screwdriver.

  8. ReRJMgW4Rjlctx2A
    ReRJMgW4Rjlctx2A
    Z3ISX3npSdQbS14t
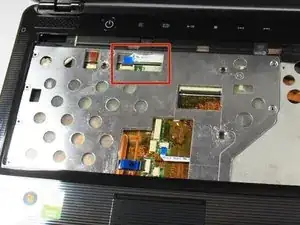
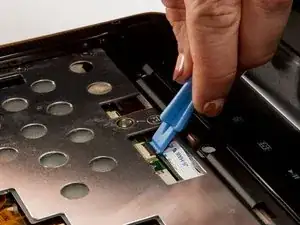
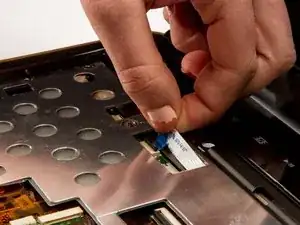
    • In the opening above the mouse pad, use the plastic opening tool to push up the black gate of the ZIF socket.

    • Remove the ribbon from the ZIF socket.

  9. oR3kjcuWZpIKQhfT
    oR3kjcuWZpIKQhfT
    2XlrPTjNA4MRgYDB
    n1N56wXXHWugHJcT
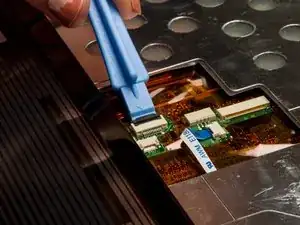
    • Locate the wide opening at the top near the screen.

    • Use the plastic opening tool to open the black ZIF socket.

    • Remove the blue ribbon.

  10. APmHO5ODmlxekTKF
    APmHO5ODmlxekTKF
    e2taypXPxgHhOlfd
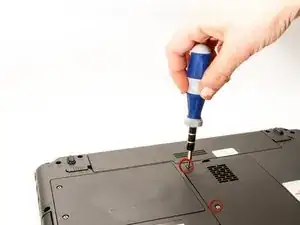
    • After removing the screw in step 3, carefully close the laptop and put it face down. Locate the center panel.

    • Remove the three, 3 mm screws using the #1 Phillips Screwdriver.

  11. dfLCEkf4gWNOXKvW
    dfLCEkf4gWNOXKvW
    5ZwgNHH6fNou5NK6
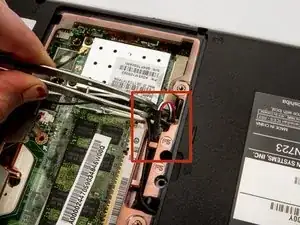
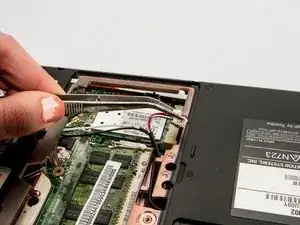
    • Grasp the power cable with your tweezers and remove it from the wireless antenna.

  12. N1Uy3UixEeVvpxYD
    N1Uy3UixEeVvpxYD
    BkJVJd2YTRR3bRPo
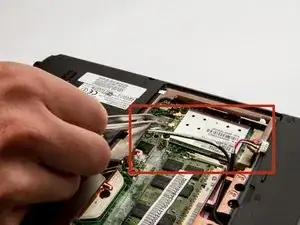
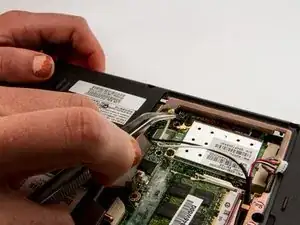
    • Locate and remove both the white and black antenna leads with the tweezers.

  13. hodlvVICqAE1JMpR
    hodlvVICqAE1JMpR
    CQTamQGWHJbcKFLs
    h4dnODoENybmUG4i
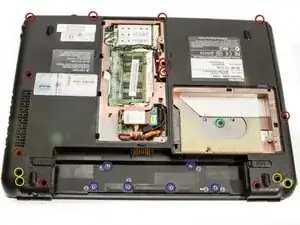
    • Remove screws for back assembly.

    • 11 x F5 (5 mm #1 Phillips)

    • 6 x F2 (2 mm #0 Phillips)

    • 4 x F8 (8 mm #1 Phillips)

    • 1 x F3 (3 mm #1 Phillips

  14. v4JRQ4lNWFlZfKXR
    • Use the plastic opening tool to release the back panel from the laptop.

    • If all of the screws are removed it should come off with very little effort. Do not force it. If it still feels attached, check that you didn't miss a screw or two.

  15. CtRcbXdKql1I6rR5
    CtRcbXdKql1I6rR5
    XoVqnkGnj5XZqwb4
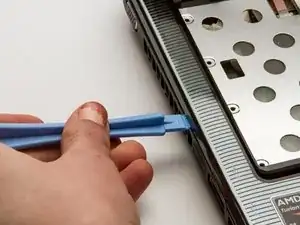
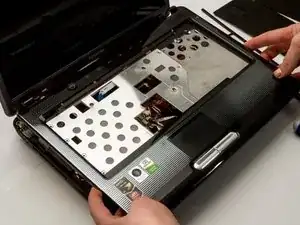
    • Use the plastic opening tool to separate the top faceplate.

    • The faceplate is the plastic surface and the metal piece under the keyboard.

    • Carefully lift the faceplate off of the base by sliding the plastic opening tool around the outside of the device. You'll hear clicks as you do this.

    • Prying apart the faceplate will be a little hard, but try not to bend it too much - you do not want to crack it.

  16. lNDIjHgZPoEl1ZRL
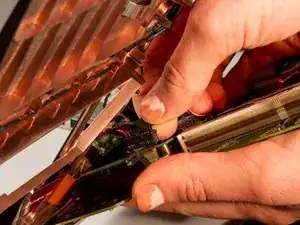
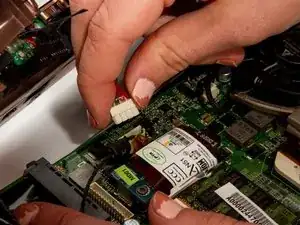
    • Lift the back panel and carefully disconnect the main power cable.

  17. APd56dbNFNJJVhMs
    APd56dbNFNJJVhMs
    A2WZNArxVrWK1tfg
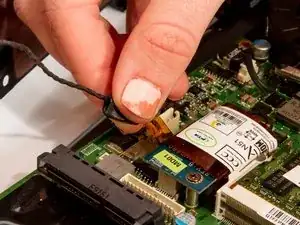
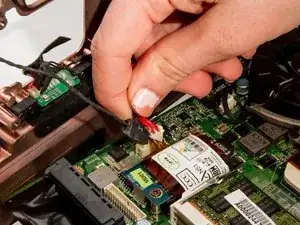
    • Remove the black signal cable attached at the blue circuit board.

  18. B25VnX5TVn4ZXt5a
    B25VnX5TVn4ZXt5a
    mgL3aOIR1KbKPrd2
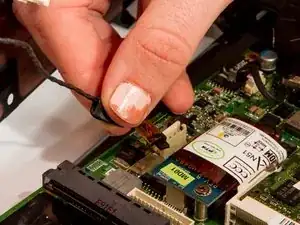
    • Remove auxiliary power cable attached to the blue board at the back of the laptop.

Abschluss

To reassemble your device, follow these instructions in reverse order.
Brandon Kirklen

Mitglied seit: 11/01/13

311 Reputation

0 Kommentare