Einleitung
The keyboard needs to be removed to access everything (hard drive, optical drive, RAM, motherboard).
Werkzeuge
-
-
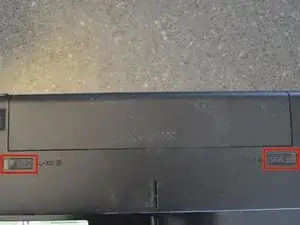
With the battery away from you, slide the locking clips out.
-
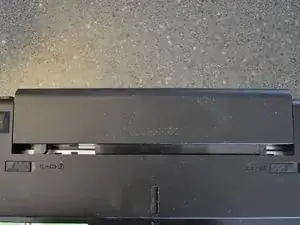
Slide the battery away from you.
-
-
-
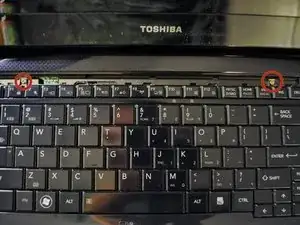
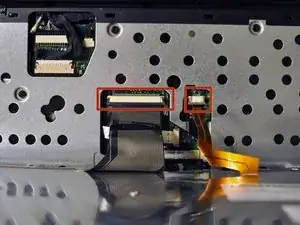
Carefully tilt the keyboard towards you and release the ribbon cables.
-
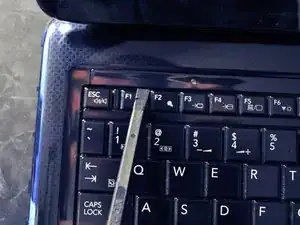
Use a spudger if needed to release the latch. The latch slides out.
-
The keyboard is now free and can be set aside.
-
To reassemble your device, follow these instructions in reverse order.
2 Kommentare
What is the brass colored ribbon for? Mine is broken will it effect funconality , if so how do i fix it
If I remember correctly, this keyboard is backlit. Most likely the copper cable is for the backlit power. A new keyboard would need to be purchased to fix it.
Tyler -
