Einleitung
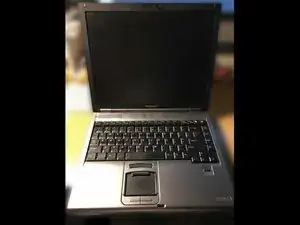
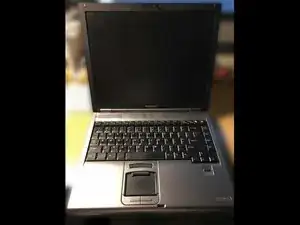
I swapped out a T2400 CPU, replacing it with a T7600, which as far as I can tell is the fastest Intel CPU that can go into a Tecra M5. According to benchmarks, the new CPU provides a 48% performance boost. I found a "buy it now" replacement CPU on eBay for $20.90; you may be able to find one for less.
There are some tricky steps in this guide. It should only be attempted by those who are very comfortable working in the cramped confines of a laptop computer.
Werkzeuge
Ersatzteile
-
-
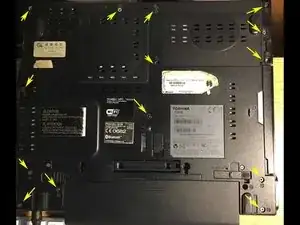
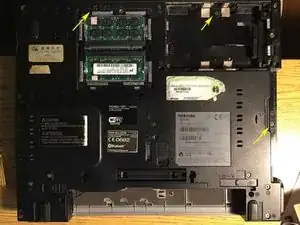
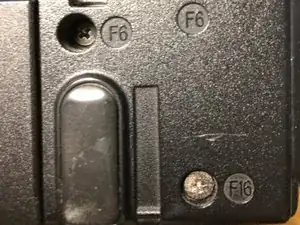
Remove the cover for the memory compartment. Then remove the indicated screw hidden under the cover.
-
Remove the cover for the hard drive compartment. Remove the hard drive. Then remove the indicated screw hidden under the hard drive.
-
Remove the optical drive by pulling on it while holding the middle sliding lever. Then remove the indicated screw hidden under the optical drive, at the edge of the laptop.
-
-
-
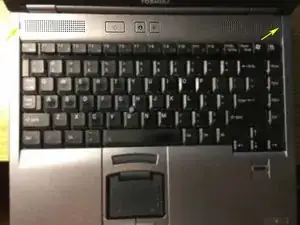
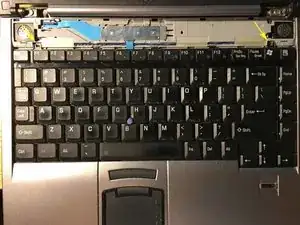
Open the laptop all the way. Remove the plastic trim plate above the keyboard, by gently prying at the indicated points. See first photo.
-
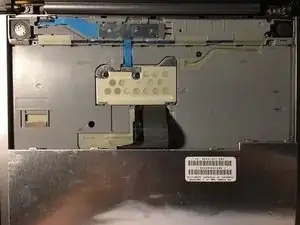
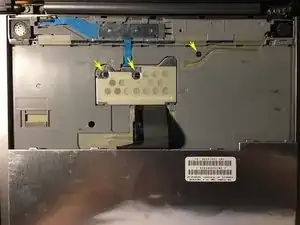
The trim plate conceals two screws that hold the keyboard. Remove these screws. See second photo.
-
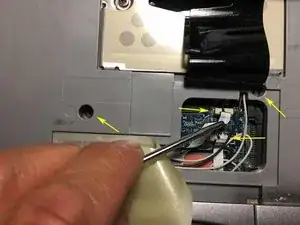
Pull the top of the keyboard up and out. Flip the keyboard toward you, exposing the ribbon cable. See third photo.
-
-
-
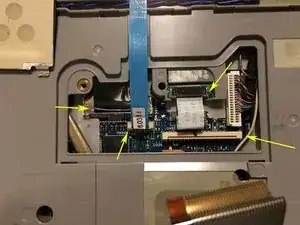
Remove the two screws adjacent to the translucent cover.
-
Peel back the translucent cover. Remove the two narrow white ribbon cables by gently pulling up on their collars to release the connector, and then sliding the ribbon cable out.
-
Remove the metal cover held down by two screws. Remove the additional screw to the right of the cover. See second photo.
-
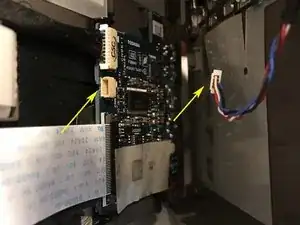
Detach the keyboard ribbon cable from the connector by gently pulling up on the long white collar to open the connector. See third photo.
-
Detach the blue ribbon cable in the same manner.
-
Detach the white ribbon cable from the connector by gently pulling the gray connector collar toward you.
-
Detach the black display ribbon cable by gently pulling it straight up off the motherboard.
-
-
-
Peeking in from the side, disconnect the red, white, blue and black cable by carefully pulling the connector out of the socket.
-
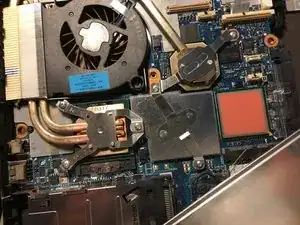
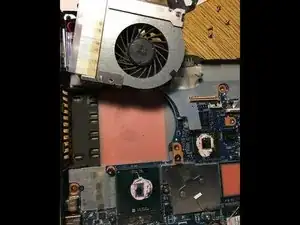
Move and rotate the case bottom out of the way, exposing the CPU and CPU fan assembly. See second photo.
-
-
-
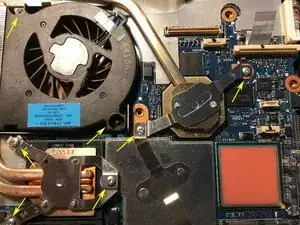
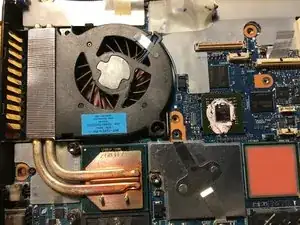
Remove the indicated screws. See first photo.
-
Remove the sheet metal straps holding the copper heat pipes to the chips. See second photo.
-
Remove the copper heat pipe to the upper chip.
-
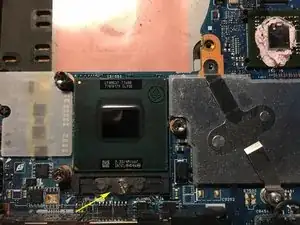
Flip the fan over, exposing the socketed CPU chip. See third photo.
-
-
-
Turn the ZIF retaining screw to release the CPU chip. When properly released you will be able to easily lift the CPU out of its socket.
-
Apply heat sink compound to the raised portion of new CPU chip. Also apply heat sink compound to the smaller chip in the upper right corner of the photo.
-
-
-
Boot the computer and log in. The Windows Settings/System/About dialog will still show the old processor. Let's jump through a few more hoops to fix this.
-
-
-
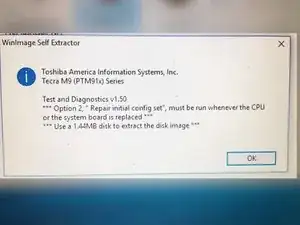
Download the Toshiba tem91t1 maintenance tool. This must be run whenever the CPU changes.
-
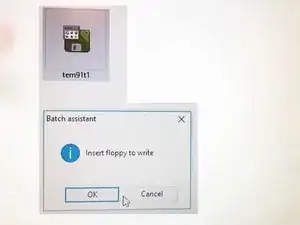
The download creates a bootable floppy that runs the maintenance tool on your laptop. It wants to create a floppy disk, so run this on a PC that has a floppy drive.
-
-
-
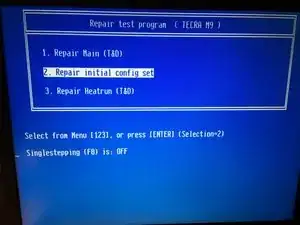
Boot your Tecra M5 from the maintenance floppy. Select option 2: Repair initial config set. This is supposed to shut down your system when it finishes, but it failed to terminate on my laptop. Eventually I removed the floppy and rebooted my Tecra M5 laptop.
-
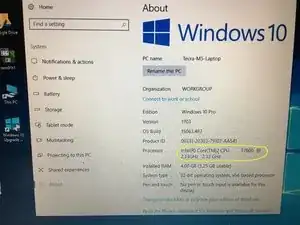
The Settings/System/About dialog now shows the updated CPU.
-
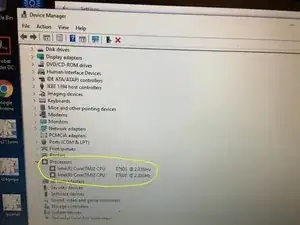
The device manager now shows the updated CPU.
-
To reassemble your device, follow these instructions in reverse order.
