Einleitung
This guide will show you how to replace the speakers in your Toshiba Thrive.
Werkzeuge
-
-
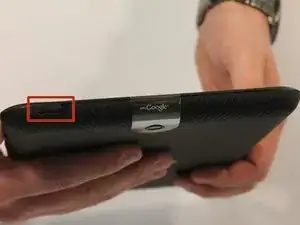
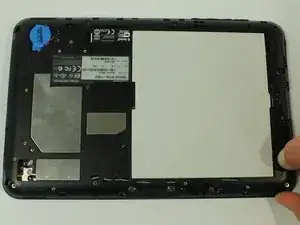
Make sure the lock switch for the back cover is unlocked.
-
The cover is unlocked when the switch is slid in the direction of the 'unlock' icon.
-
-
-
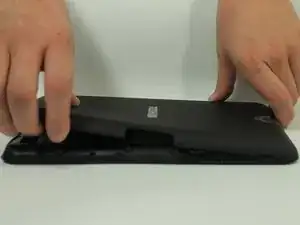
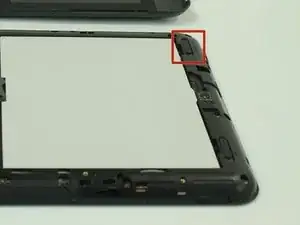
Remove back cover by prying away from the Thrive.
-
The easiest place to pry from is one of the two speakers.
-
-
-
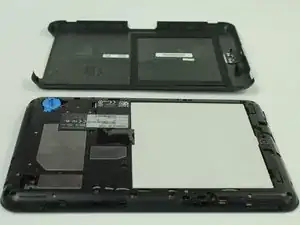
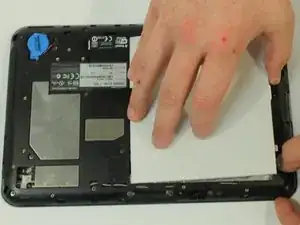
To remove the battery, make sure the lock switch is in the unlocked position.
-
The battery is unlocked when the switch is slid to the unlocked position.
-
-
-
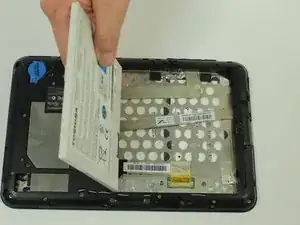
Slide the battery switch release to the right.
-
While holding the switch in place, lift up the battery.
-
-
-
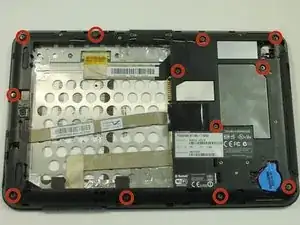
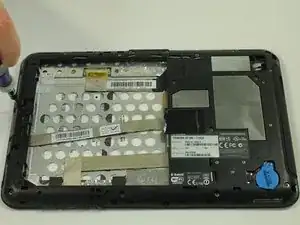
Start by using a PH0 phillips head screwdriver to remove the 12 screws holding on the back cover
-
All of these screws are identical so don't worry about getting them mixed up.
-
-
-
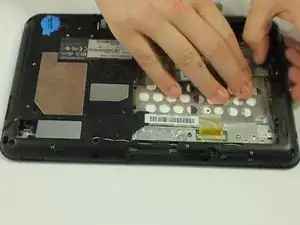
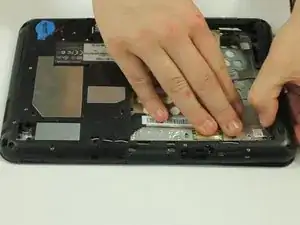
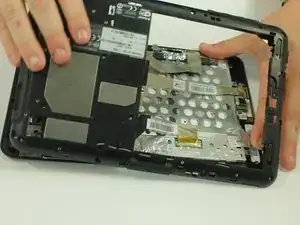
Start to gently pry the back of the device off, while leaving it loosely in place.
-
Be careful not to tear or damage the cables when removing the back.
-
-
-
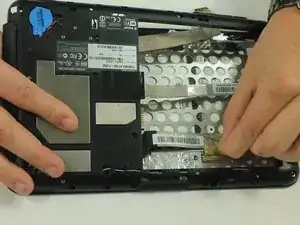
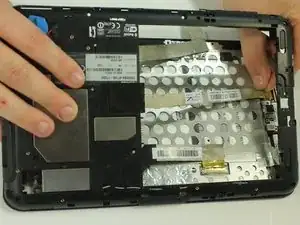
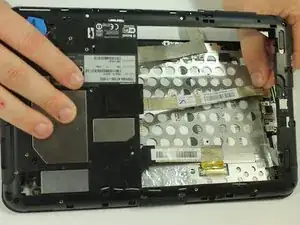
Once the back of the case is off, disconnect the wires by gently pulling on the plastic tabs as shown.
-
-
-
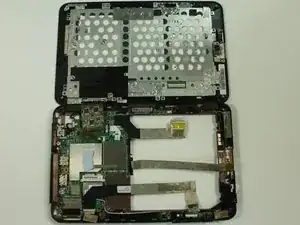
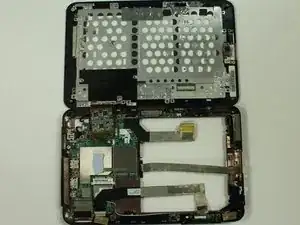
carefully open the device like a book and lay the two halves beside each other.
-
put the screen assembly in a safe place as you complete the rest of the guide.
-
-
-
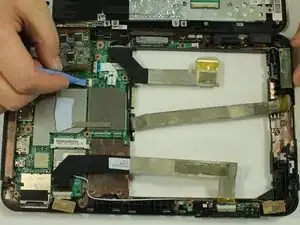
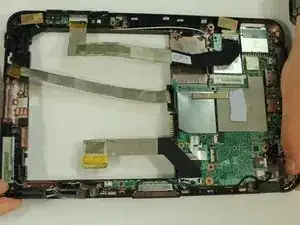
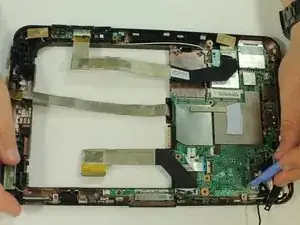
Use the plastic opening tool to open the latch holding the last wire to the back of the device.
-
-
-
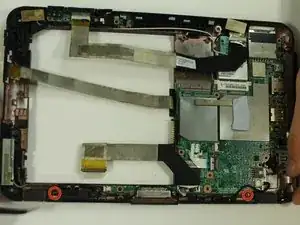
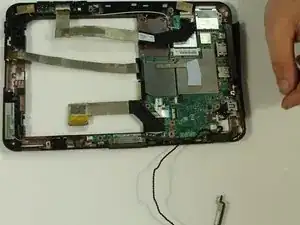
Remove the two screws holding the speakers in place. The screws are 3mm in length and require a PH0 screwdriver.
-
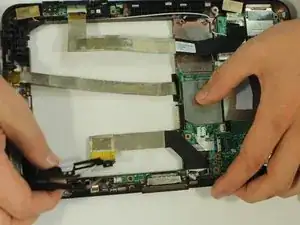
Using a pair of tweezers, remove the speaker.
-
-
-
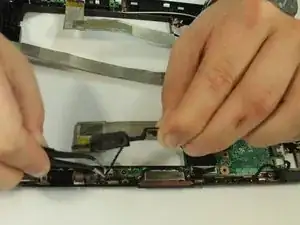
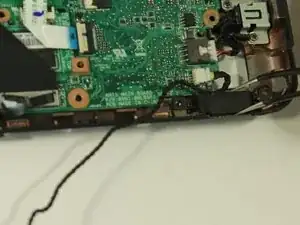
Use the tweezers to help you remove the speaker wire from the clips holding them in place.
-
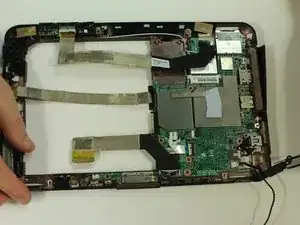
After removal place the left speaker on the side.
-
-
-
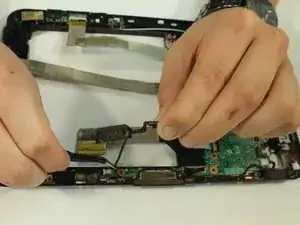
Use the tweezers again to help you remove the right speaker from its position.
-
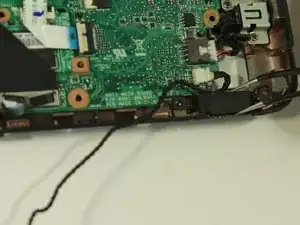
Use a plastic opening tool to pull the connector connecting the speaker to the motherboard out of its port.
-
To reassemble your device, follow these instructions in reverse order.
