Einleitung
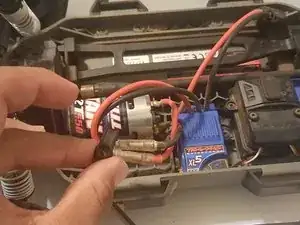
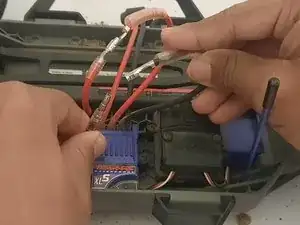
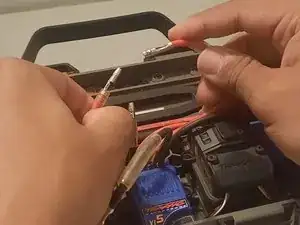
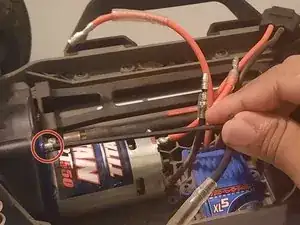
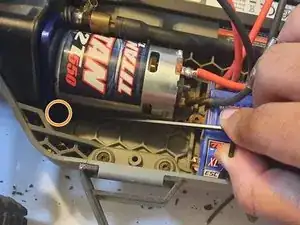
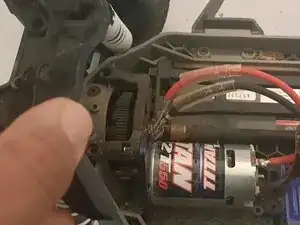
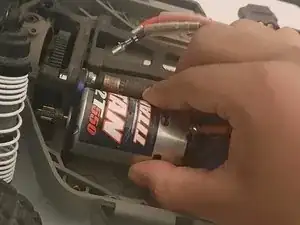
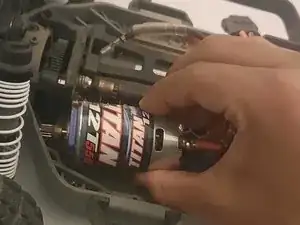
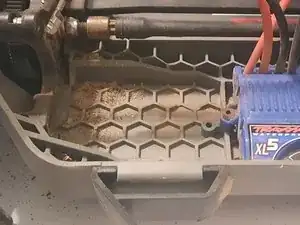
In the situation where the motor in a Traxxas Ford Fiesta ST Rally fails due to natural wear, lack of maintenance, or is somehow defective, the user may need to remove the motor and replace it with a functioning motor. The process will not take long and will only require the use of standard hex keys. This guide will provide a walkthrough of the process of removing the broken motor and installing a new one that can be ordered online or bought at a hobby store. Before using this guide, please disconnect the battery in the chassis and ensure that any dust or dirt will not pose a hazard to components before completing the fix. Any hazardous dirt can often be removed with canned air, a duster, or lightly shaking the dirt off holding the chassis upside down.
Werkzeuge
Ersatzteile
-
-
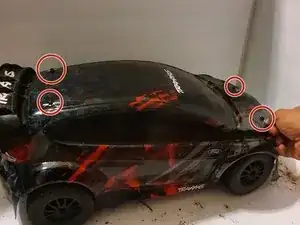
Remove each of the four pins that hold the scale model shell by pulling them from their posts.
-
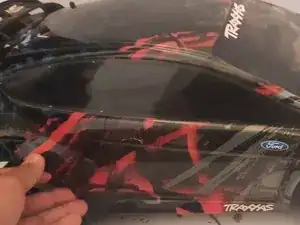
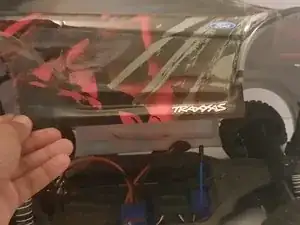
Remove the shell by lifting it off the chassis using your hands.
-
-
-
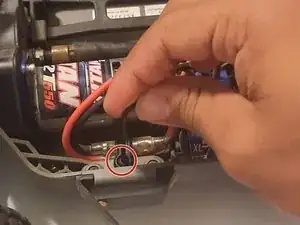
Remove the 3x6 mm screw holding the wire retainer in place using a 2.5 mm hex key.
-
Remove the wire retainer by lifting it off the chassis.
-
-
-
Remove the 3x15 mm retaining bolt using the 3 mm hex key.
-
Remove the 3x6 mm flat head screw holding the motor plate in place with the 3 mm hex key.
-
-
-
Use the 2.5 mm hex key to remove the 3x6 mm screw for the gear cover.
-
To remove the cover, simply lift it up and off of the chassis.
-
-
-
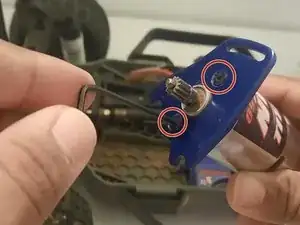
Use the 2.5 mm hex key to loosen the 3x8 mm screws to remove the motor plate.
-
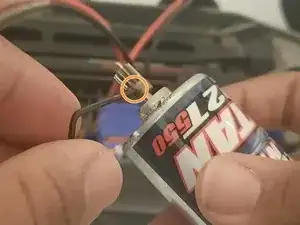
Use the 2 mm hex key to loosen the 3 mm grub screw enough to remove the pinion gear from the motor.
-
Slide the pinion gear right off the motor's external rod when loose enough.
-
Follow these instructions in reverse order to reassemble your device using the new/functioning motor.
