Einleitung
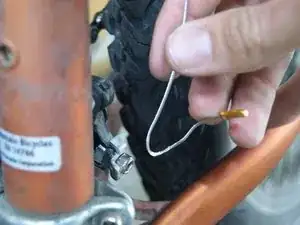
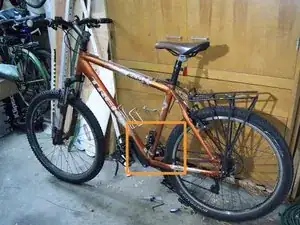
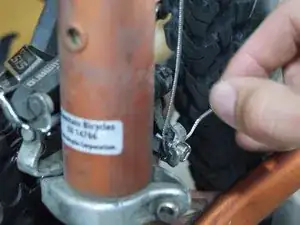
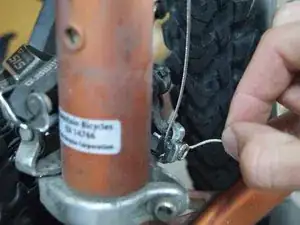
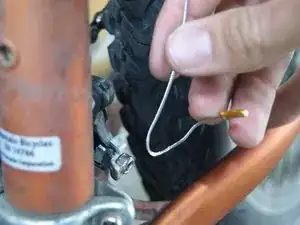
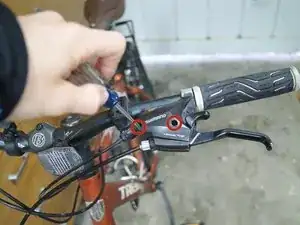
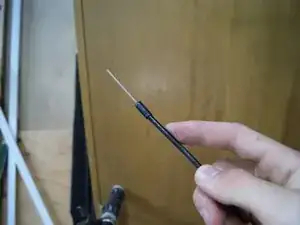
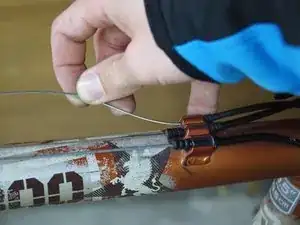
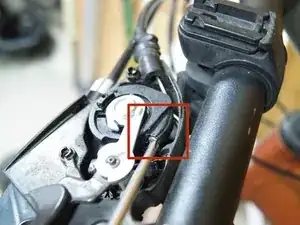
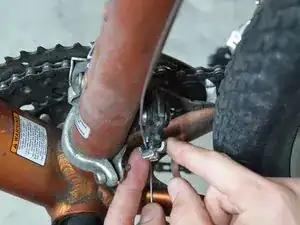
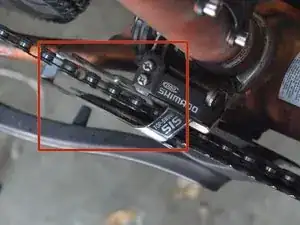
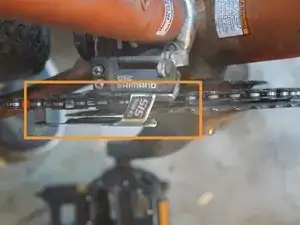
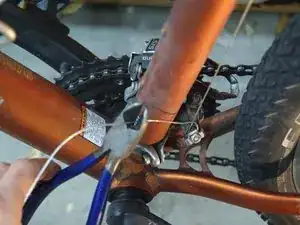
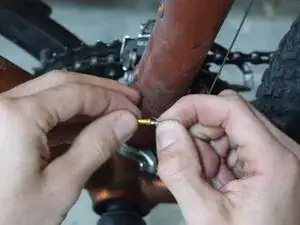
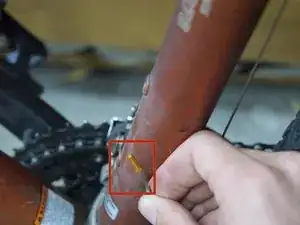
This guide gives simple directions on how to replace the front derailleur cable, an important component that is easy to replace. The derailleur is the part of the bike that allows a rider to quickly shift gears while riding. Most bikes have two, one in the front and one in the back. This guide deals only with the front one. A broken or overly frayed derailleur cable can cause the derailleur to misalign, create difficulty shifting, or prevent the chain from going on any of the sprockets (gears).
Werkzeuge
Ersatzteile
-
-
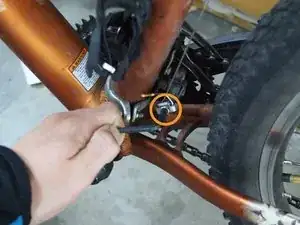
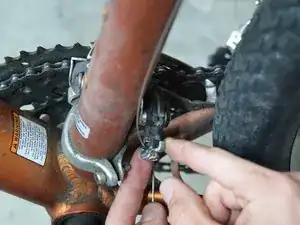
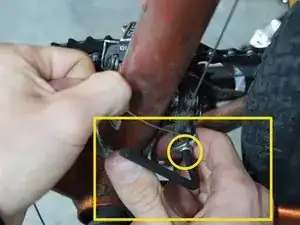
Use the Allen wrench to loosen the Allen bolt that keeps the derailleur cable in tension and attached to the derailleur body.
-
-
-
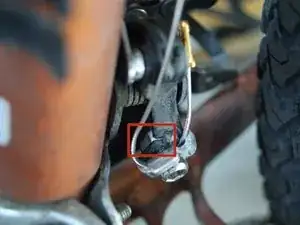
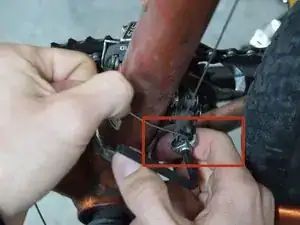
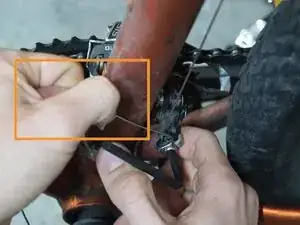
Free the cable from the derailleur body.
-
Depending upon the fit, this may require forcing the cable through the narrow gaps between the derailleur body and the small silver holding plate held by the Allen bolt.
-
-
-
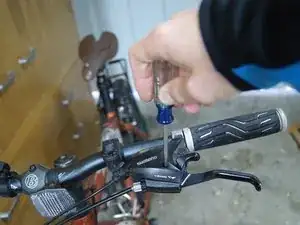
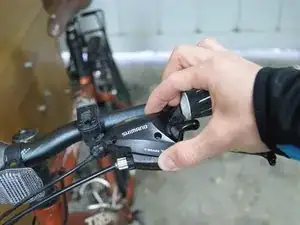
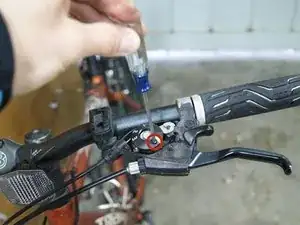
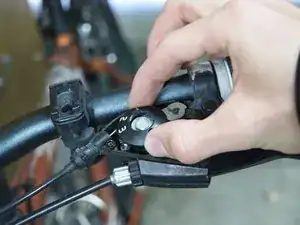
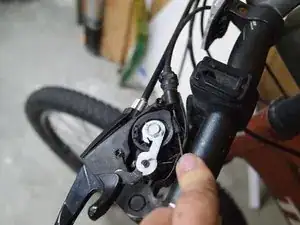
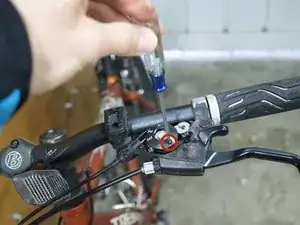
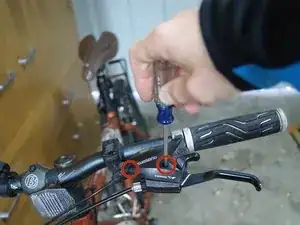
Remove the #0 Phillips 6 mm screw attaching the indicator dial onto the shifter mechanism.
-
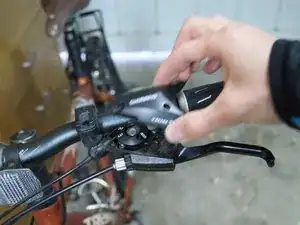
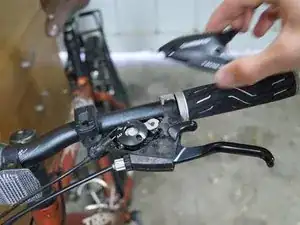
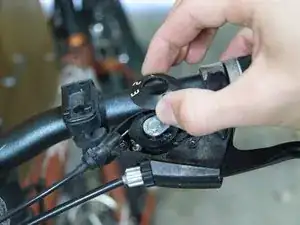
Remove the indicator dial.
-
-
-
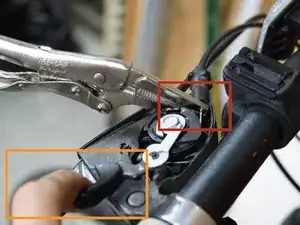
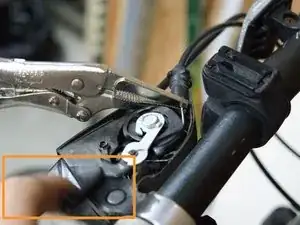
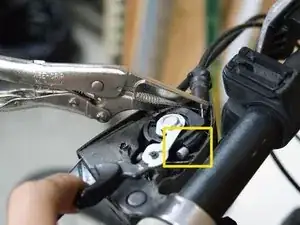
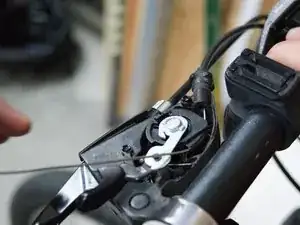
Free the end of the cable from the shifter.
-
Trick: use pliers or vise grips to hold the cable in front of the shifter mechanism.
-
Downshift while holding the cable.
-
The end is forced out!
-
-
-
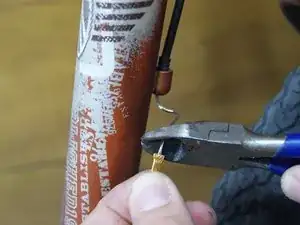
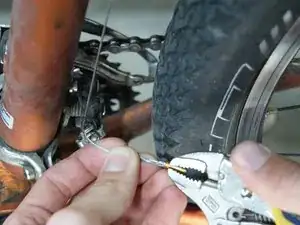
If the cable is not already cut, cut any excessively frayed ends or crimps off the end by the derailleur so the cable can easily be pulled back through the housings.
-
-
-
Pull on the shifter end of the cable to pull the cable free of the bike, through the shifter and all the housings.
-
-
-
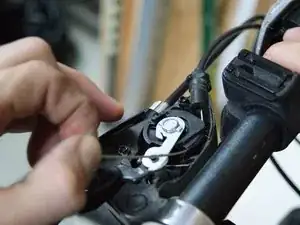
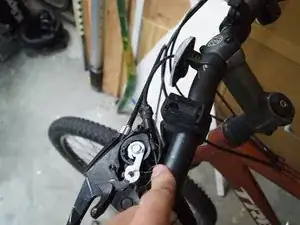
Make sure the head of the derailleur cable is properly seated in the shifter mechanism.
-
Pushing against the head while also pulling the cable tight can help check this.
-
-
-
Run the end of the cable around the tightening Allen bolt, between the silver holding plate and the derailleur body.
-
-
-
Lift the derailleur into position.
-
Pull the derailleur cable tight, while still holding the derailleur in position.
-
Tighten the Allen bolt to fix the derailleur cable to the derailleur and hold the derailleur in position.
-
-
-
Check the derailleur placement.
-
The chain should be roughly centered in the derailleur, so that no extra friction is caused, and that the chain is not unintentionally pushed off the sprocket.
-
If not in the correct position, reloosen the tightening bolt and redo step 13. This may take several tries.
-
-
-
Once the derailleur is in the correct position, cut the cable to length, leaving 2 to 3 inches to allow for later adjustment if needed.
-
-
-
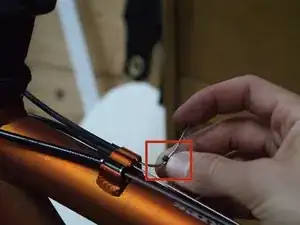
Place the crimp on the cut end of the cable, making sure to get any loose strands within the crimp as well.
-
-
-
Reassemble the shifter, putting back the indicator, the case, and their corresponding screws
-
Before putting away the tools, test the alignment of the derailleur by shifting between the gears while pedaling the bike to make sure it smoothly and easily changes gears. If not, the tightening bolt can be readjusted until it is properly adjusted. Also look into the derailleur adjustment screws on the top of the derailleur for fine adjustment if desired.
2 Kommentare
The above is very helpful, however my shift lever is part of the handle bar. I just rotate my hand to shift. How do I get into this shift to get to
the cable?
Hey, this was awesome…. I have the same color Trek 4300 and the bike is in similar condition, i’m repairing the rear derailleur cable now… Cheers!! Manish - India
