Einleitung
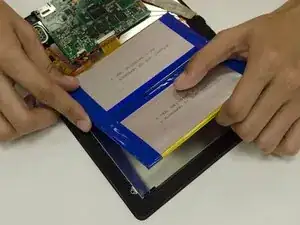
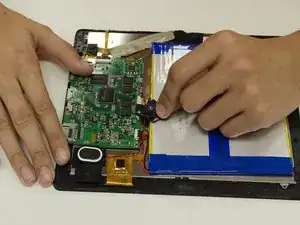
Here, you will be working with live wires on a power source! Be very careful when you desolder them, and make sure you don't let the leads touch!
Werkzeuge
-
-
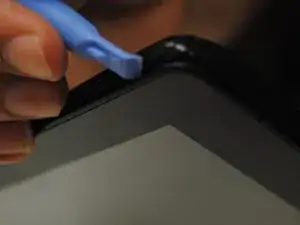
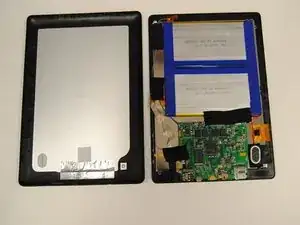
Take one of the plastic opening tools and wedge it in the middle of the tablet, starting on the USB Port side.
-
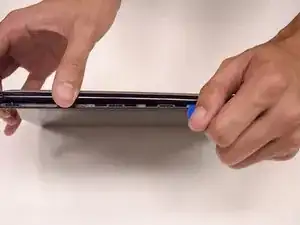
Holding the tool in place, take one of the 6 plastic opening picks and slide it across the opening you made with the opening tool.
-
-
-
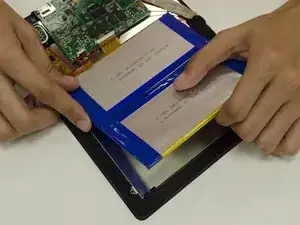
Continue going around the tablet sides with the plastic pick, being sure that you are maintaining the openings you made with either your hand or the opening tool.
-
-
-
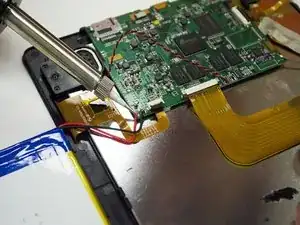
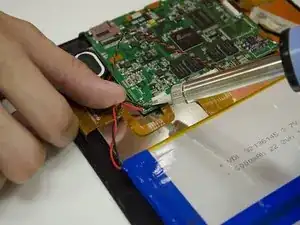
Prepare your Soldering Iron and Removal Tools.
-
Contact the iron with each of the battery leads, and pull the lead away from the board.
-
Remove any excess solder as needed.
-
-
-
To replace your battery, you must reinsert the Battery leads into the Motherboard, being sure that the Red wire goes into the + (positive) terminal and the Black wire goes into the - (negative) terminal.
-
Apply heat and solder to each lead individually.
-
Remove any excess solder if flooding occurs.
-
To replace the battery, you must re-solder the leads on the battery into the motherboard. You MUST make sure that the leads were in the correct order as when you started.
Ein Kommentar
Is it possible that the wiring to the battery just became loose and I could use these same directions and reconnect or solder (or do both?) The existing battery ?
