Einleitung
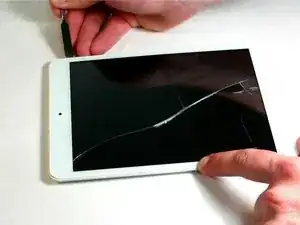
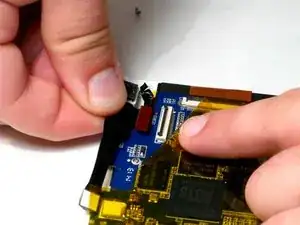
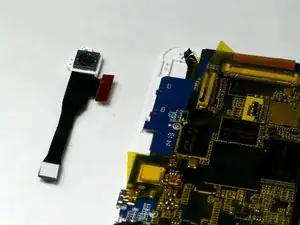
This guide will demonstrate how to replace the camera in a Trio Stealth-G4X tablet. You may be experiencing malfunctions with your camera such as blurry pictures, a broken lens, the camera not taking pictures, etc. These problems may be caused by a damaged camera that needs to be replaced. However, make sure that the camera is damaged and you are not experiencing a software issue before attempting this replacement. You can check the troubleshooting page to see if your problem requires camera replacement or if it can be fixed otherwise.
Werkzeuge
-
-
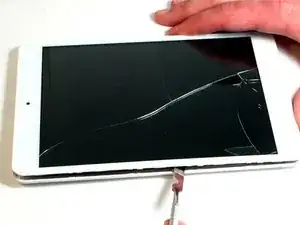
Starting near the middle edge of the Trio Stealth-G4X tablet, gently work an opening pick or spudger in between the seams of one side of the tablet.
-
-
-
Work your way around all four corners of the tablet, unlocking all of the retaining tabs that hold the tablet together. This will allow you to separate the two halves of the tablet and access the motherboard.
-
-
-
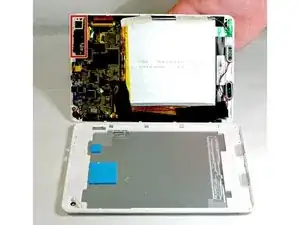
Once the two halves are separated, set aside the back cover of the tablet as you will not need it until reassembly. Now locate the camera on the motherboard of the tablet.
-
-
-
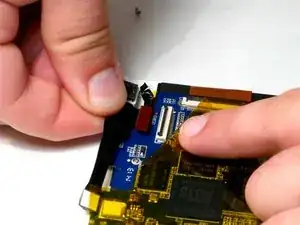
Peel back the yellow protective film on the motherboard to access the camera's ribbon cable.
-
-
-
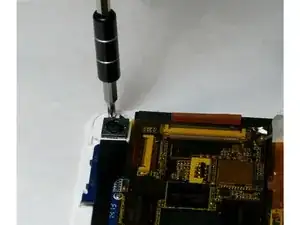
Take the Phillips head screwdriver and unscrew the 3mm screw right above the camera assembly. Place the screw aside so you do not lose it.
-
-
-
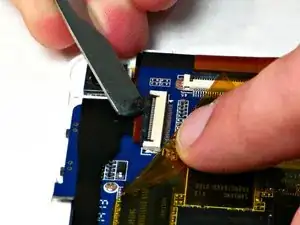
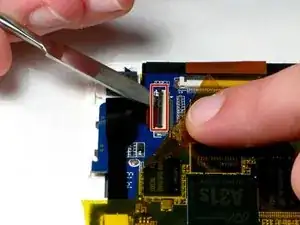
Use a spudger to pry the black tab on this connection point upwards. This will unlock the ribbon cable that connects the camera to the motherboard.
-
Once unlocked, very carefully pull the cable out of the socket to disconnect it.
-
-
-
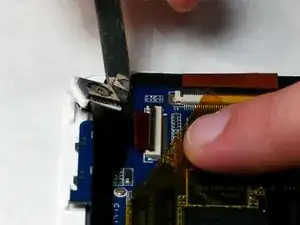
Now you can remove the camera assembly. Use a spudger to gently loosen the camera out of place.
-
-
-
You have now removed the camera assembly and can set it aside. Insert replacement camera by following the steps in reverse. Then reassemble the tablet the same way.
-
To reassemble your device, follow these instructions in reverse order.
