Einleitung
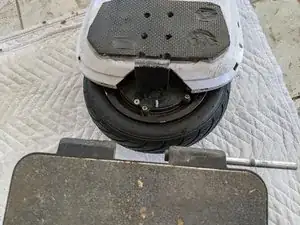
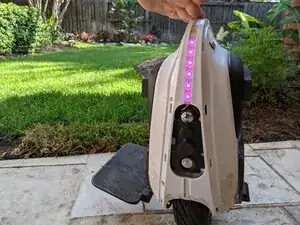
I did this after losing two inner tubes in the first 100 miles. Critical steps are installing the valve, installing the tire without damaging it, sealing and setting the bead, and adding sealant.
A very special thanks to @Declan acoustic-unicyclist for the zip-tie trick.
Werkzeuge
Ersatzteile
-
-
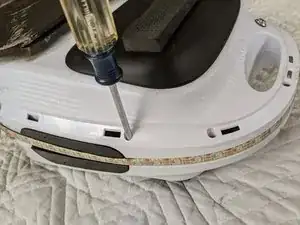
Remove the four edge screws with a #1 Phillips screwdriver. Turn the Mten3 over. Remove the additional four edge screws.
-
-
-
Lay the machine left-side-up (anti-spin switch facing up)
-
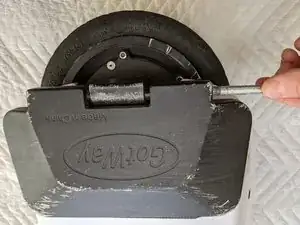
Remove the two 5mm hex Allen set screws, one at each end of the left foot pedal
-
Use the Allen tool to push the hinge pin in so it protrudes at the other end, and then remove the hinge pin
-
Set aside the foot pedal, Allen screws, spacers, and hinge pin
-
-
-
Remove the screws that mount the left half-shell of the housing to the motor.
-
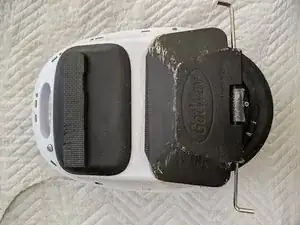
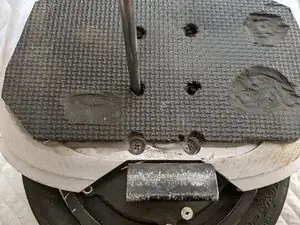
This may require you to remove the pad. To explain the photo, I installed a jump pad home-made from exercise mat. I used a small magnet to locate the closure magnet for reference, and an awl to locate the screws and then punch access holes.
-
-
-
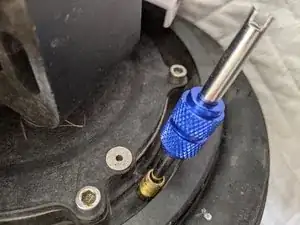
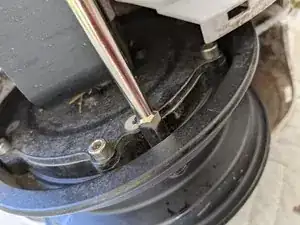
Use a removal tool to remove the Schrader valve core to relieve the inner tube of any remaining pressure.
-
-
-
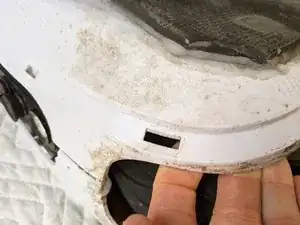
Open the case, starting at the wheel well. If you have followed this procedure before, you will need to tear the seal above the wheel well.
-
-
-
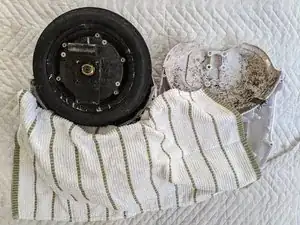
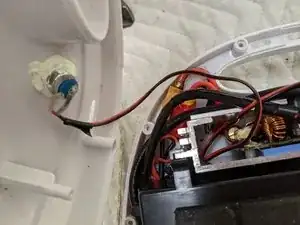
Lay the halves of the case open side by side so that the wiring for the anti-spin-out switch is slack
-
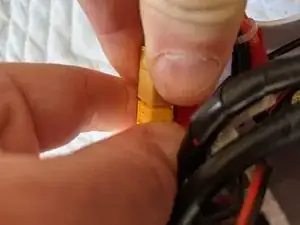
Disconnect the battery. Cover the battery connector, for example with tape or a small plastic bag.
-
Cover the battery and controller with a shop rag or towel.
-
-
-
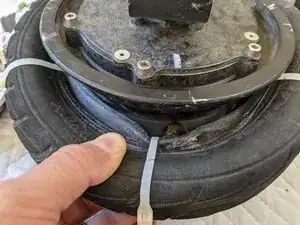
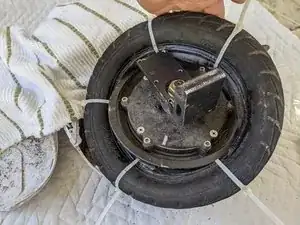
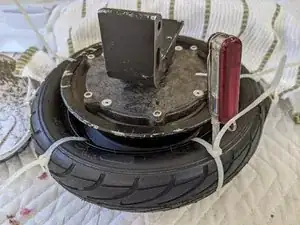
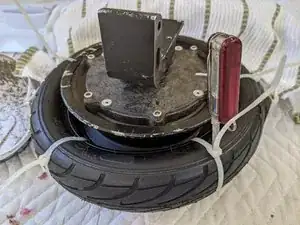
Thread at least five zip ties between the rim and the tube/tire, all the way through the channel, equally spaced around the rim.
-
For each zip tie, press the two tire beads together, with the tube inside the tire. Snug the zip tie so the beads are held closed together. This will allow the beads to drop into the channel at the center of the wheel.
-
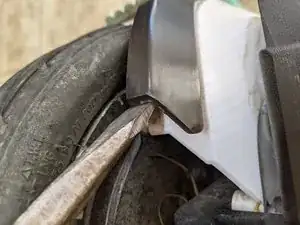
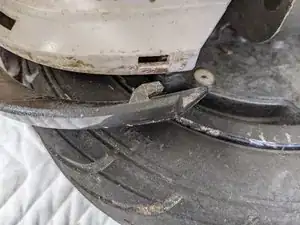
It is now possible to pull the tire off-center and work it over the rim. A flat-blade screwdriver can be used, but hand strength may be sufficient.
-
The zip ties can be salvaged by inserting a knife blade between the tongue and tail to disengage the ratchet of the zip-tie fastener.
-
-
-
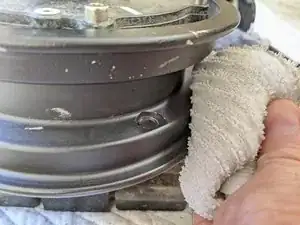
Inspect the inside of the wheel rim where the tire bead was seated, visually and by feel. Use sand-paper to remove any corrosion or gouges.
-
If the tire bead is damaged (for example because of using a screwdriver during tire removal), you will need a replacement tire.
-
-
-
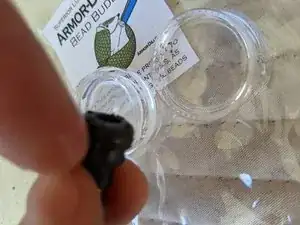
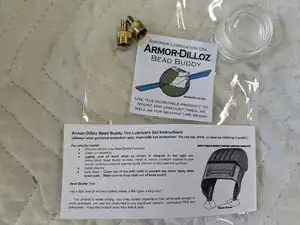
Apply a non-corrosive non-solvent lubricant/sealant. I used Armor-Dilloz Bead Buddy because I had it, worked great. Dish detergent would probably work well enough. Don't use a grease like faucet lube as it won't ever set, and so the stem will spin when you tighten or loosen the cap.
-
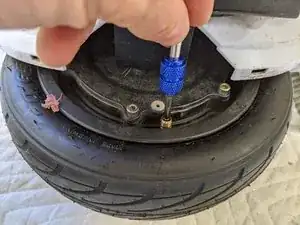
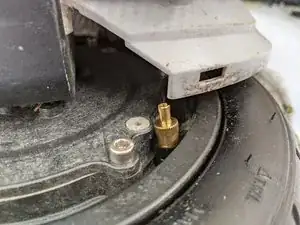
Insert the stem from inside the wheel. Screw a valve extender onto the stem and use it to pull the stem until it pops into place.
-
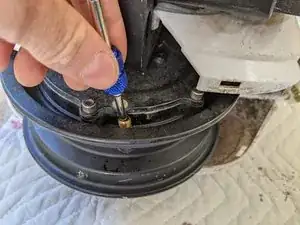
Remove the valve core and set it aside.
-
-
-
Seal and lubricate the bead. I used Bead Buddy. Dish detergent might be a ready alternative. Apply to the bead area of both sides of the tire. Apply to the bead area inside both sides of the wheel.
-
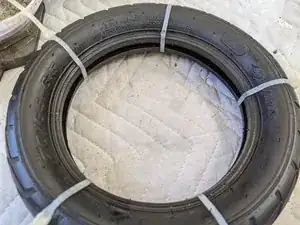
Prepare the tire for installation by cinching the beads together using zip ties.
-
Slide the tire onto the wheel. This should be a fairly quick and easy manual operation.
-
Remove the zip ties.
-
-
-
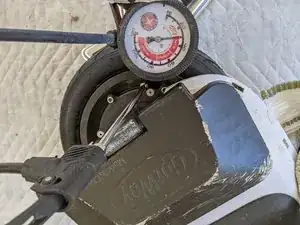
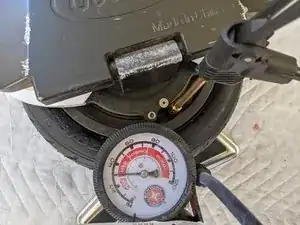
The valve core is still removed. Using a hand-pump, inflate quickly and slightly over pressure. You may hear a popping noise as the bead drops into place, but I did not.
-
-
-
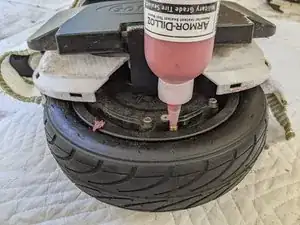
Add tire sealant as directed. I used 2 oz of Armor-Dilloz Red.
-
Reinstall the valve core
-
Reinflate the tire to 30 psi
-
-
-
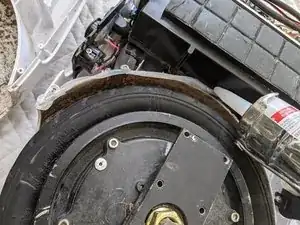
Apply a bead of sealant at the top of the wheel well as a barrier to forceful water and dust penetration from the wheel well into the electrical power and electronics housing.
-
Silicone bathtub caulk is working for me. In my experience it is easily tearing loose when I need to open the case. I looked for some "H-channel" but couldn't find a source.
-
-
-
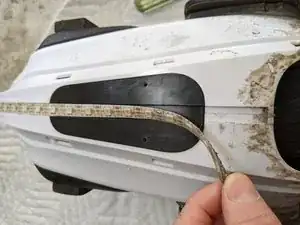
Reassemble the shell, screws, foot pedal, LED strip, and bezel in reverse order of disassembly.
-
Perform an intermediate test at the first stage that is safe to do so.
-
To reassemble your device, follow these instructions in reverse order.
Ein Kommentar
Thanks for the instructions!
Just want to add that I was told (by eWheels folks) that the tire from the Ninebot also fits on the MTEN3.
The tire from the Ninebot is available (for example here: https://www.ebay.com/itm/294319386406) whereas the tire from the MTEN3 is on backorder.
