Einleitung

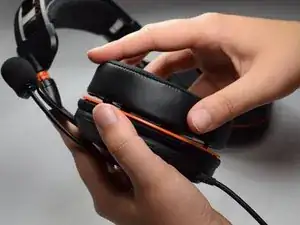
This guide will assist users in replacing the right speaker with a new speaker. It will be useful for users whose right speaker is no longer producing any sound or is producing sound that is broken and scratchy.

  1. 4HnOUT2ZPCNYIwOT
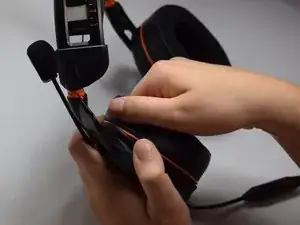
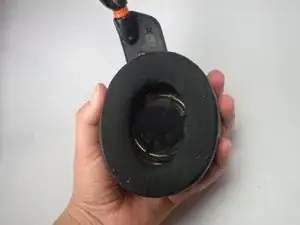
    • Firmly pinch ear cushion between thumb and forefinger.

    • Using the hand not holding the ear cushion, grasp the orange plate that is below the ear cushion.

    • If the black rubber lining on the orange plate is grasped, then the rubber lining on the ear piece may tear.

  2. CPUuo2O13j2fUnsg
    CPUuo2O13j2fUnsg
    T4ByFJi24kFcD5xB
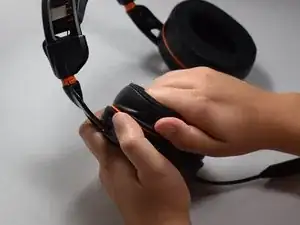
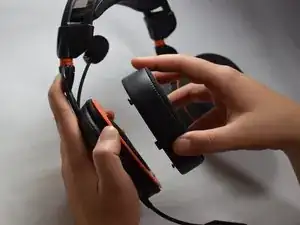
    • Rotate ear cushion counter-clockwise about half an inch.

    • The ear cushion should audibly snap out of place.

    • After it has audibly snapped out of place, lift the ear cushion off of the device.

    • During reassembly, rotate the ear cushion clockwise.

  3. UcEY3JGNXO4yPTk4
    UcEY3JGNXO4yPTk4
    J5NmVTYwSsO6UMCS
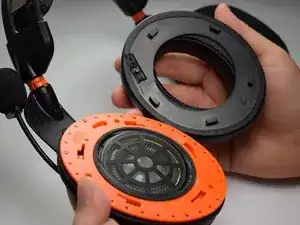
    • Using the new cushion, align the pegs located on both the orange plate and ear cushion.

    • Make sure that both the ear cushion and the orange plate have the same designation.

    • Once the pegs are aligned, push the new ear cushion in place.

  4. wogvTIKBltnjLVBH
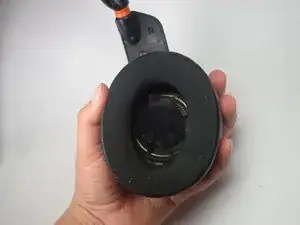
    • Remove the right ear cushion.

    • The right ear piece does not have any additional attachments.

  5. EySZ2uxyOZ6MBA2Z
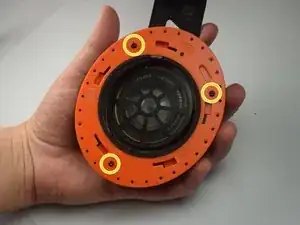
    • Using the Phillips #0 screwdriver, remove the 6.0 mm screws on the orange plate.

  6. gqpHGiMB6OX4eSZS
    gqpHGiMB6OX4eSZS
    6hKJ3KtIMhCseeTJ
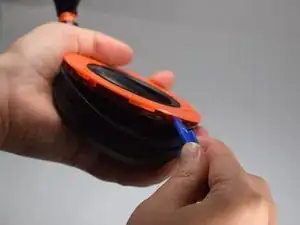
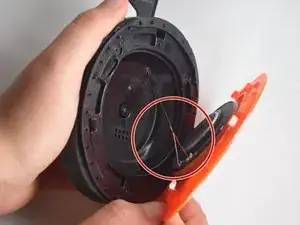
    • Use the opening tool to separate the orange plate from the black base plate.

    • Focus on the wires that are connected to the speaker.

  7. HI366XkaHFtu4DEo
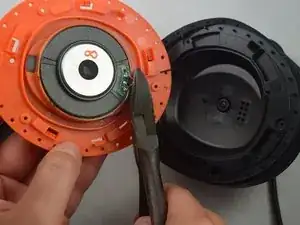
    • Cut the two wires that are attached to the speaker.

    • Cut the wires as close to the speaker as possible. These wires will be used in the next step.

  8. T1SqGPCtXFZDQA6v
    T1SqGPCtXFZDQA6v
    r4gEfroMbDKhGXAR
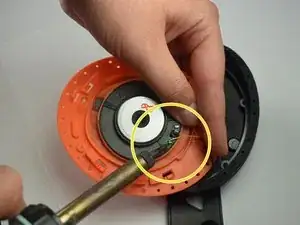
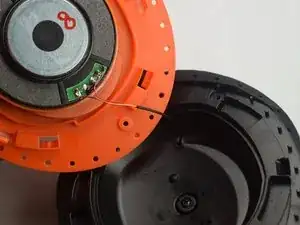
    • Replace the old speaker with the new speaker.

    • Using the soldering iron, solder the wires to the new speaker.

    • Make sure to solder the wires to their original locations on the speaker.

Abschluss

To reassemble your device, follow these instructions in reverse order.
Alexis Uribe

Mitglied seit: 24/03/17

510 Reputation

0 Kommentare