Einleitung
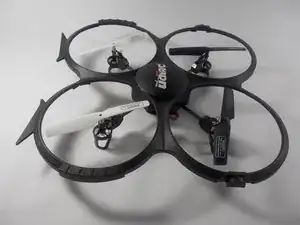
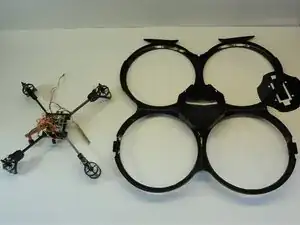
Removing the drone cover is the only way to access many of the inner components of the U818A.
Werkzeuge
-
-
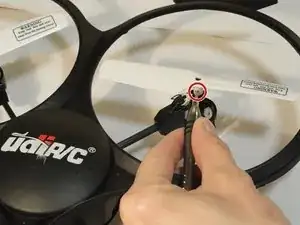
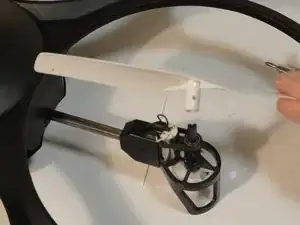
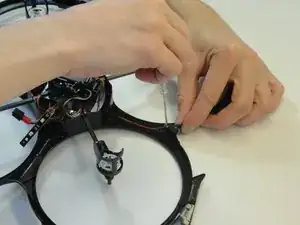
Remove the 5 mm screws connecting each propeller to the rotating post using a Phillips #000 screwdriver.
-
-
-
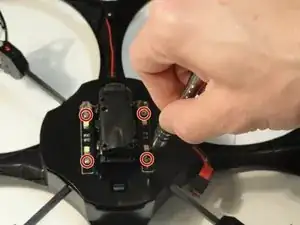
Remove four 3 mm screws connecting the electronics to the frame using a Phillips #000 screwdriver.
-
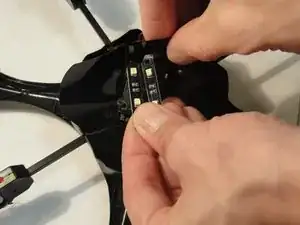
Pull the two LED bars through the dust cover and remove the thin plastic dust cover from the drone.
-
-
-
Remove the single 5 mm screw from the head lamp using a Phillips #000 screwdriver.
-
Remove the head lamp from the rest of the drone.
-
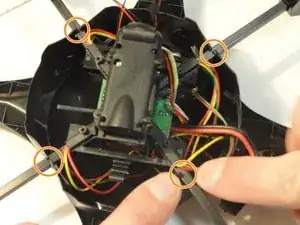
Disconnect the electronics from the frame of the drone by pulling each arm out of the hole in the frame holding it in place.
-
-
-
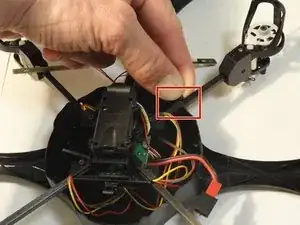
If present, remove the white tape over the black and red wires on the head lamp with a spudger.
-
Separate the plastic tabs securing the motor arms to the drone cover and delicately pull out the arm. Do this for all four arms to remove the frame from the cover.
-
To reassemble your device, follow these instructions in reverse order.
