Einleitung

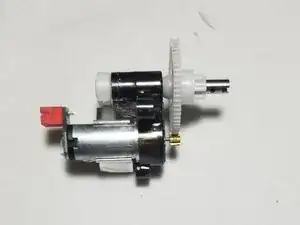
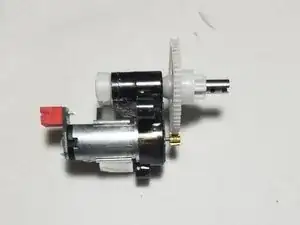
The DC motors which power the propellers are relatively easy to break. Fortunately, they are also relatively easy to replace. By purchasing a cheap U842 motor (either U842-03 or -04 for counterclocwise and clockwise motors respectively) and following these simple instructions, your drone will be flying again in no time.

  1. MH41DlyuoNWhshdh
    MH41DlyuoNWhshdh
    tUQLaYaSXopJpHtp
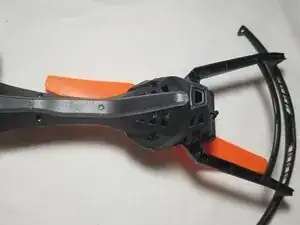
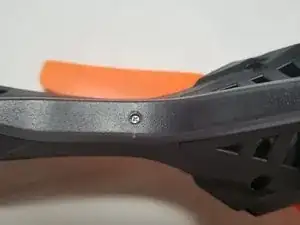
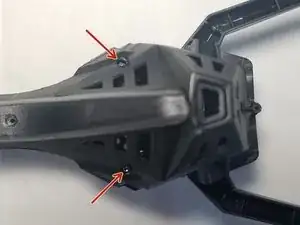
    • To open up the motor housing, first remove the bottom light by unscrewing,

    • One 6mm Phillips screw.

  2. vtwOVVItCKjC3wAG
    vtwOVVItCKjC3wAG
    bXEXZa1jKQ5TGYUJ
    yB4mtQUsvPnipuUT
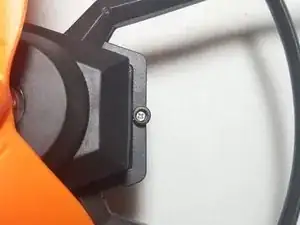
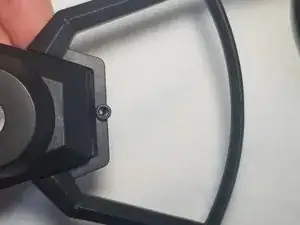
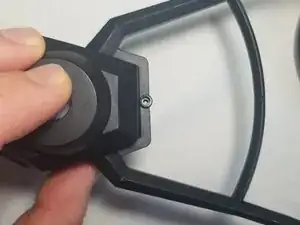
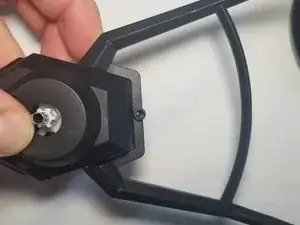
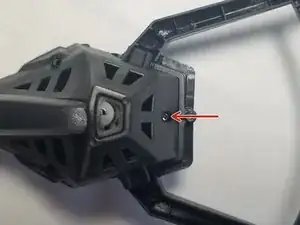
    • Unscrew the single propeller bumper screw on the outside of the of the motor housing.

  3. AO61kPjKECoGtViY
    AO61kPjKECoGtViY
    QDMpXI1GDRIcyAUF
    OEOUsOsbiaHR4JPA
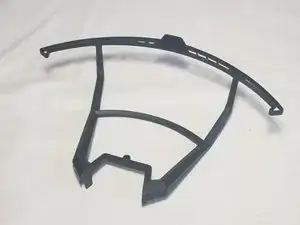
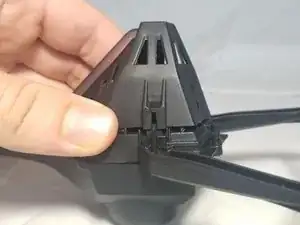
    • Push up on each of the two tabs that connect the bumper to the bottom casing.

    • Slide the bumper up off of the drone.

    • The propeller is not shown in these photos because the steps for removing the bumper and the propeller are interchangeable. Choose whichever sequence feels most comfortable!

  4. ibpfPMITBgHlSQUh
    ibpfPMITBgHlSQUh
    yixFrk2qMDSMcXpQ
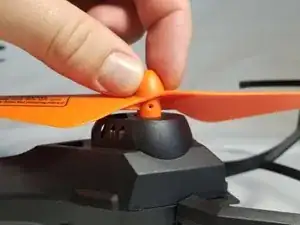
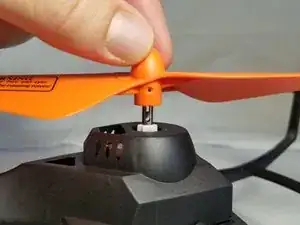
    • To remove the propeller, first unscrew the propeller set screw.

    • Next, slide the propeller up off the motor gear shaft.

  5. XdvEsEBFGJADxboI
    XdvEsEBFGJADxboI
    5hul5FYLdA611nAZ
    • Unscrew the three screws on the perimeter of the motor casing.

    • Three 6mm Phillips screws.

  6. h1bbOjy4SBJAmhjd
    h1bbOjy4SBJAmhjd
    DBdWZmLDO3SiIXki
    4FbNbSbo3Jj2UXmd
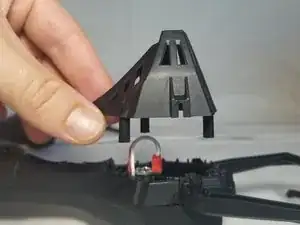
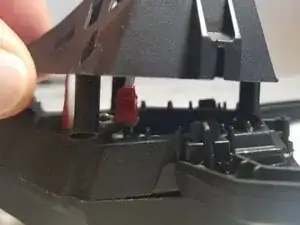
    • Remove the motor casing by pulling up on the edges of the prismatic housing.

    • The casing may require heavy force to remove. Be cautious to avoid breaking the mating pins (shown up close in the third picture).

  7. mBLdhAnCRqVtwymP
    mBLdhAnCRqVtwymP
    HsBYWHAOvWrRoeTn
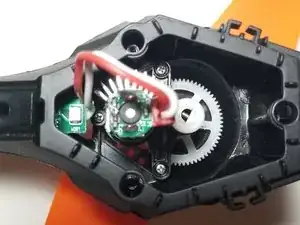
    • Remove the three motor mounting screws.

    • Three 6mm Phillips screws.

  8. ePRNZSwBB2TkWrvg
    ePRNZSwBB2TkWrvg
    DgOGdBbqiOlIB1FE
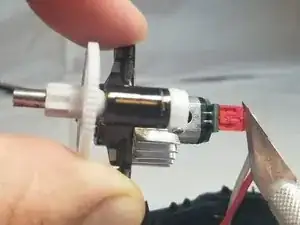
    • The motor-cable plug appears to be covered in a waxy sealing material.

    • Use a thin blade or an X-ACTO knife to slice along the bottom of the wax to free the plug.

  9. AQNUWPBcwKQ1iSlm
    AQNUWPBcwKQ1iSlm
    hAHs2HLE6F4Ep5lU
    lAxVUGiwP6xFgual
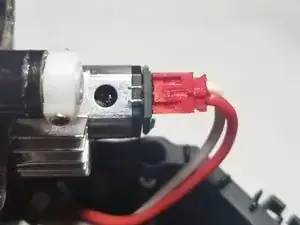
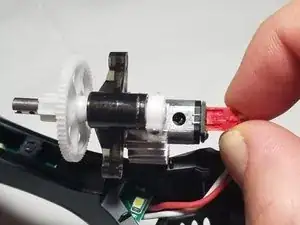
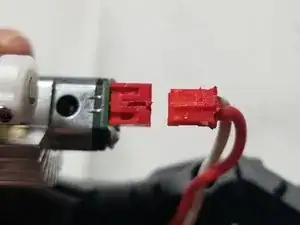
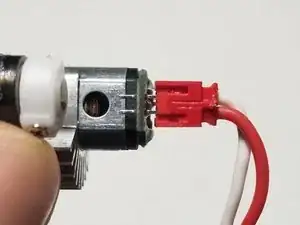
    • Detach the motor cable by pulling outward and gently wiggling the plug.

    • Be careful to avoid pulling off the board-mounted connector, as shown in the third photo. If the connector starts to come loose, just press it back down and it will snap into place.

  10. QXOBsL3IJVPhGZnx
    QXOBsL3IJVPhGZnx
    HK6YxxHyQ1mWf6jc
Abschluss

To reassemble your device, follow these instructions in reverse order.
Adrian Eaton

Mitglied seit: 12/01/15

614 Reputation

0 Kommentare