Einleitung

  1. uSuZiSyIYSWrmqnX
    uSuZiSyIYSWrmqnX
    4HyPTlp4WvY6KSmn
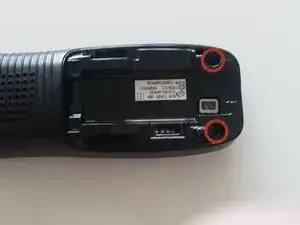
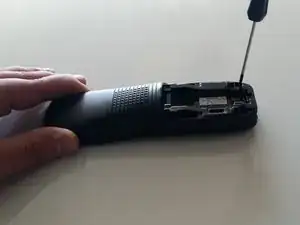
    • Remove the two 9mm Phillips #1 screws in the battery compartment.

  2. WEFSJvCnMWtJpfe2
    WEFSJvCnMWtJpfe2
    oTlda24BNtJhyYTP
    Mlx2MvNRxvDVrThW
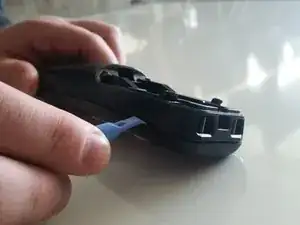
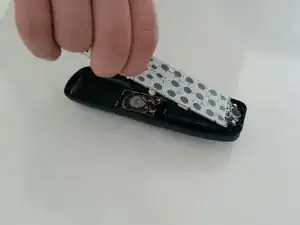
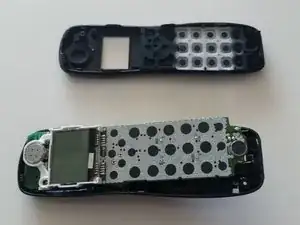
    • Use the plastic opening tool to carefully separate the two halves of the case.

    • Slowly work around the entire case to fully separate the halves before pulling them apart.

    • Wires inside the case hold the two halves together, tearing these wires will lead to a need for additional repair.

  3. JTNQF3lgL3TJhoGa
    JTNQF3lgL3TJhoGa
    YAqopRjY6sDqfdQf
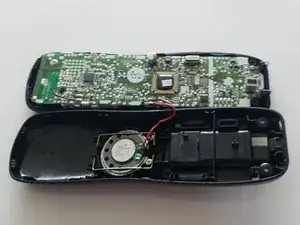
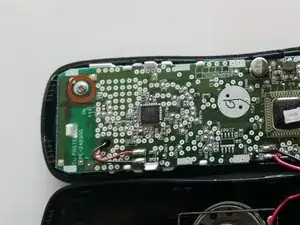
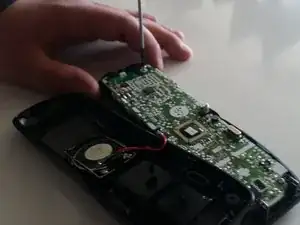
    • Carefully remove the 9mm Phillips #1 screw from the top corner of the circuit board.

  4. Z1CaNLHUoyjLaUK3
    Z1CaNLHUoyjLaUK3
    jkddo2sYSluLCTCH
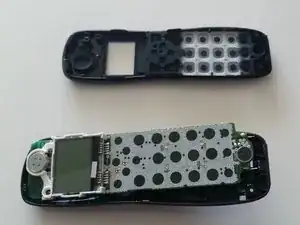
    • Carefully grasp either side of the circuit board and lift it straight out of the front half of the case.

    • Set the board in the lower half of the case.

Abschluss

To reassemble your device, follow these instructions in reverse order.
Arbitrary Name

Mitglied seit: 28/01/15

1083 Reputation

0 Kommentare