Einleitung
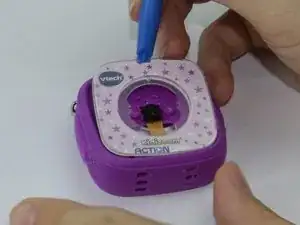
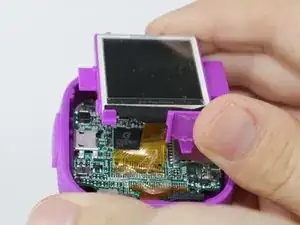
Exercise caution when lifting the LCD screen, as any excessive pulling can damage the motherboard. Otherwise, the LCD screen is one of the easiest parts of the device to replace and only requires a small amount of unscrewing, prying and gluing.
Werkzeuge
-
-
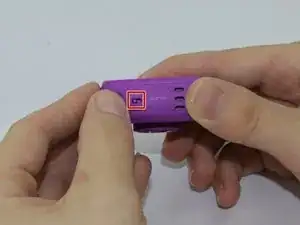
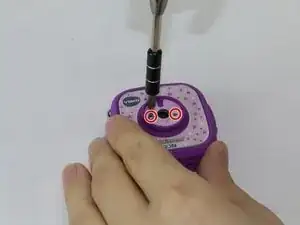
Use a #0 screwdriver to remove the two 2.5mm Phillips head screws located on the second layer of plating.
-
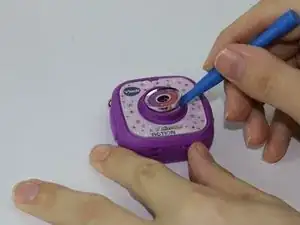
Remove the second layer of plating previously held down by the screws by gripping it with your fingers and pulling upward.
-
-
-
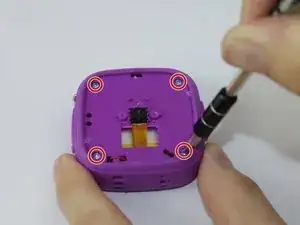
Unscrew the (4) 2.5mm Phillips head screws from the third layer of plating using a #0 screwdriver.
-
-
-
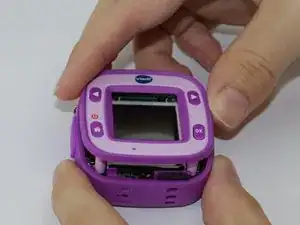
Turn the camera around and gently remove the plating that surrounds the LCD screen by grasping it with your fingers and pulling away from the device.
-
-
-
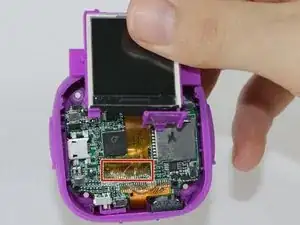
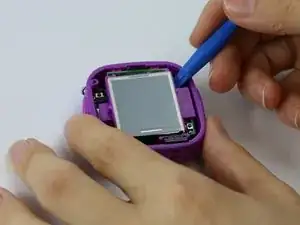
Use the plastic opening tool to lift the LCD screen, including the purple casing and set it aside, revealing the motherboard and connector ribbon.
-
-
-
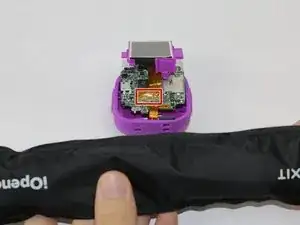
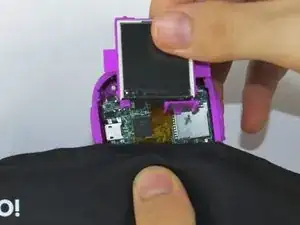
Heat the iOpener tool, then press the iOpener tool onto the connectors to heat the glue on the connector ribbon.
-
-
-
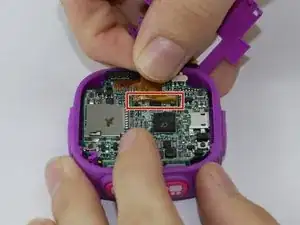
Gently peel the connector ribbon being held down by the heated glue until it is completely removed.
-
To reassemble your device, follow these instructions in reverse order.
Ein Kommentar
Where do I find a new LCD screen replacement part?
Abbie -
