Einleitung

Exercise caution when removing the camera lens's connecting ribbon , as any excessive pulling can damage the motherboard. Otherwise, the camera lens is one of the quickest replacements, as it only requires light unscrewing, prying, and re-applying hot glue.

  1. udhIuANoONOQDryl
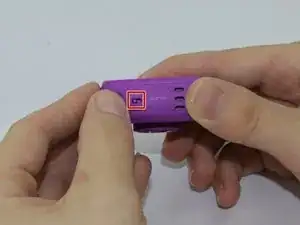
    • Make sure that the master power switch is set to the (O) position.

  2. OEPKJLlVKQEplYbY
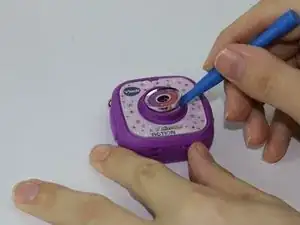
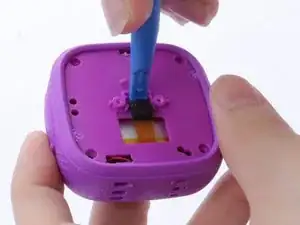
    • Using a plastic opening tool, gently pry off the circular plating over the camera lens.

    • The circular plating is held by a mild adhesive. It will not be necessary to replace this adhesive during the reassembly process.

  3. bEVFeBR4cCunaMgj
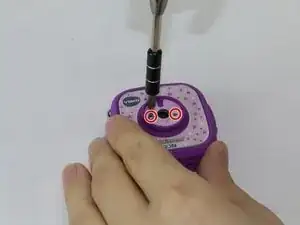
    • Use a #0 screwdriver to remove the two 2.5mm Phillips head screws located on the second layer of plating.

    • Remove the second layer of plating previously held down by the screws by gripping it with your fingers and pulling upward.

    • As there will be many screws being removed from the device, we recommend using a magnetic device such as the iFixit Magnetic Project Mat.

  4. tKAOXvUQM2gdaSSD
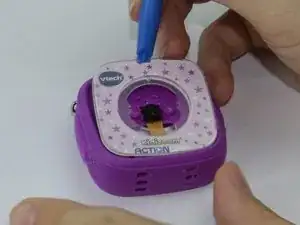
    • Pry off the transparent plating and paper design using a plastic opening tool.

  5. W1boYlpJOiKw1quT
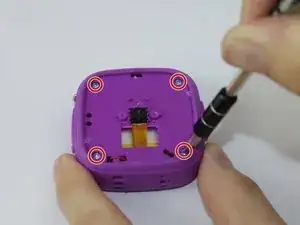
    • Unscrew the (4) 2.5mm Phillips head screws from the third layer of plating using a #0 screwdriver.

  6. QIUi4REf4NsbfqZt
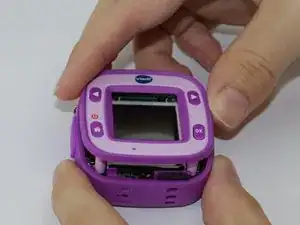
    • Turn the camera around and gently remove the plating that surrounds the LCD screen by grasping it with your fingers and pulling away from the device.

  7. sL1aEpysAnr2WJXZ
    sL1aEpysAnr2WJXZ
    3JJ2XNXM1EQCYqh5
    EIxrE2CHSPZuegyO
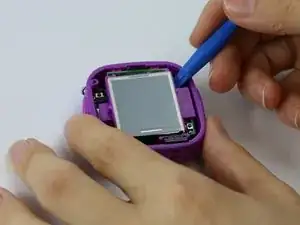
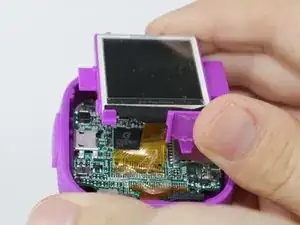
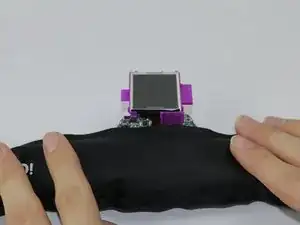
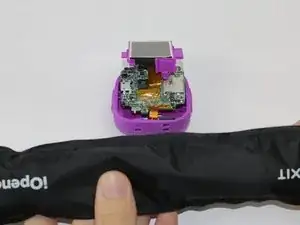
    • Use the plastic opening tool to lift the LCD screen, including the purple casing and set it aside, revealing the motherboard and connector ribbon.

    • Exercise caution while performing this step, as any excessive pulling may tear the connector ribbon from the motherboard.

    Step 7 should read: Unsecure camera lens from front of device using plastic lifting tool by gently separating adhesive. Remove LCD screen and mother board assembly by gently lifting mother board out with plastic lifting tool. Adhesive on speaker may need to be loosened to allow mother board assembly to lift easily out. Use caution not to damage camera ribbon cable as it feeds through slot in front of device. Battery is located on rear of mother board.

    T. Ryan -

  8. BEZDd13jnBoESLEC
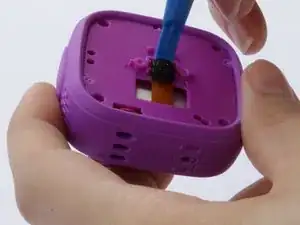
    • Use the plastic opening tool to pry the lens from it's holder.

    • This can be the final step before reassembling, but doing this before removing the ribbon makes the process easier.

  9. 4ZWTKvNRYcwGITng
    4ZWTKvNRYcwGITng
    bXX1HZrOCnMAwDXZ
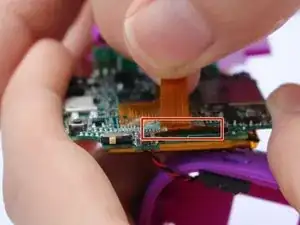
    • Heat the iOpener tool, then press the iOpener tool onto the connectors to heat the glue on the connector ribbon.

    • If the iOpener tool is not available, use a hair dryer to heat the glue on the connector ribbon and then use a Q-tip dabbed in Isopropyl alcohol to dab the heated glue.

  10. PHpYdPwBuFfqmCHH
    • Gently peel the connector ribbon being held down by the heated glue until it is completely removed.

    • Be cautious of very hot glue when peeling the connector ribbon off of the motherboard

    • When connecting the new camera lense, press the new connector ribbon to the original ribbon's position.

Abschluss

To reassemble your device, follow these instructions in reverse order.
Anthony Teresi

Mitglied seit: 10/02/16

671 Reputation

0 Kommentare